automated_testing_framework 5.0.0+14  automated_testing_framework: ^5.0.0+14 copied to clipboard
A testing framework that allows in app tests to be built and executed in an automated way.
automated_testing_framework #
Table of Contents
- Live Example
- First Party Plugins
- Platforms
- Introduction
- Running the Example
- Framework Philosophy
- Quick Start
- Annotating Testable Widgets
- Creating Tests
- Saving and Loading Tests
- Reporting Test Results
- Working with Variables
- Remote Drivers
- Framework in Action
- See Also
- Plugins
Live Example #
- Web
- Note: Please wait a few seconds after the example loads for the tests to start. Once the tests are complete, you can interact with the app and build and run your own tests.
First Party Plugins #
Platforms #
For some reason, the static analyzer on pub.dev incorrectly flags this package as Android / iOS only. That's incorrect as this uses conditionals with constants to let the tree shaker to avoid code that would fail on other platforms. In fact, this library supports all platforms that Flutter supports (except maybe Fuscia as I cannot currently test there):
AndroidiOSLinuxMacOSWindows
Introduction #
Automated Testing Framework that allows for the building and executing of automated tests on emulators and / or physical devices. Unlike the Flutter Driver, this framework does not require any host driver so it does not have the same limitations, such as the requirement that iOS devices be on the same network as the host computer.
Via this framework, the application itself is the test driver so it can execute in any circumstance the Flutter application itself can execute. It also opens Flutter applications up to being tested on more standard cloud testing solutions as the app "self tests" so provided the app can be installed, the tests can execute.
For users of the Framework, the three most important classes to become familiar with are:
| Name | Description |
|---|---|
| Testable | Widget that is used to wrap application level widgets to provide the framework with the ability to interact with it. |
| TestRunner | Top-level widget that must wrap the application as a whole. Acts as an owner for the testing framework. |
| TestController | Controller that is used to create, edit, load, save, and execute the tests. |
Running the Example #
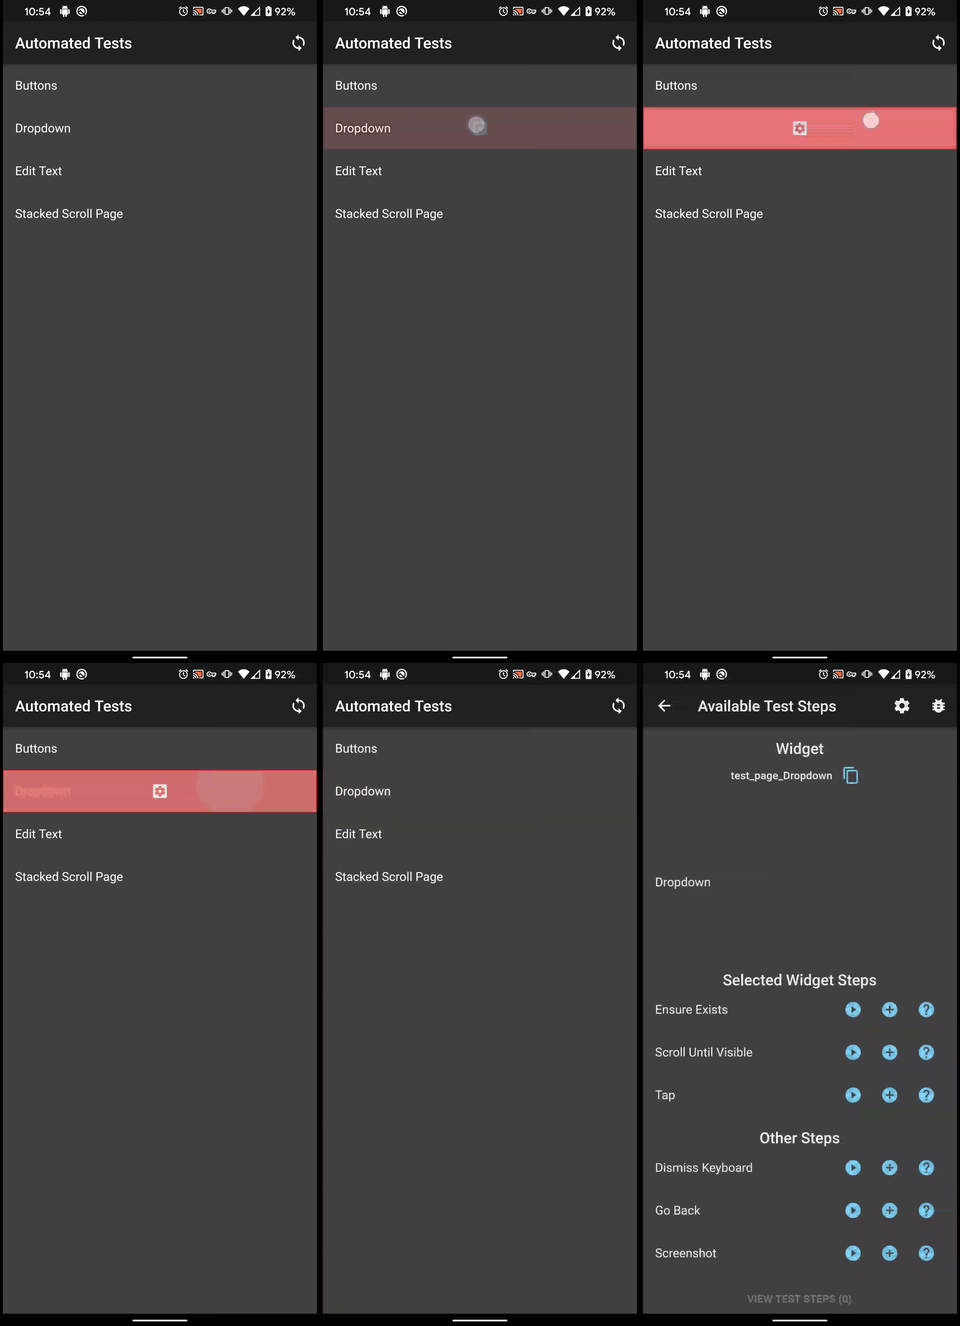
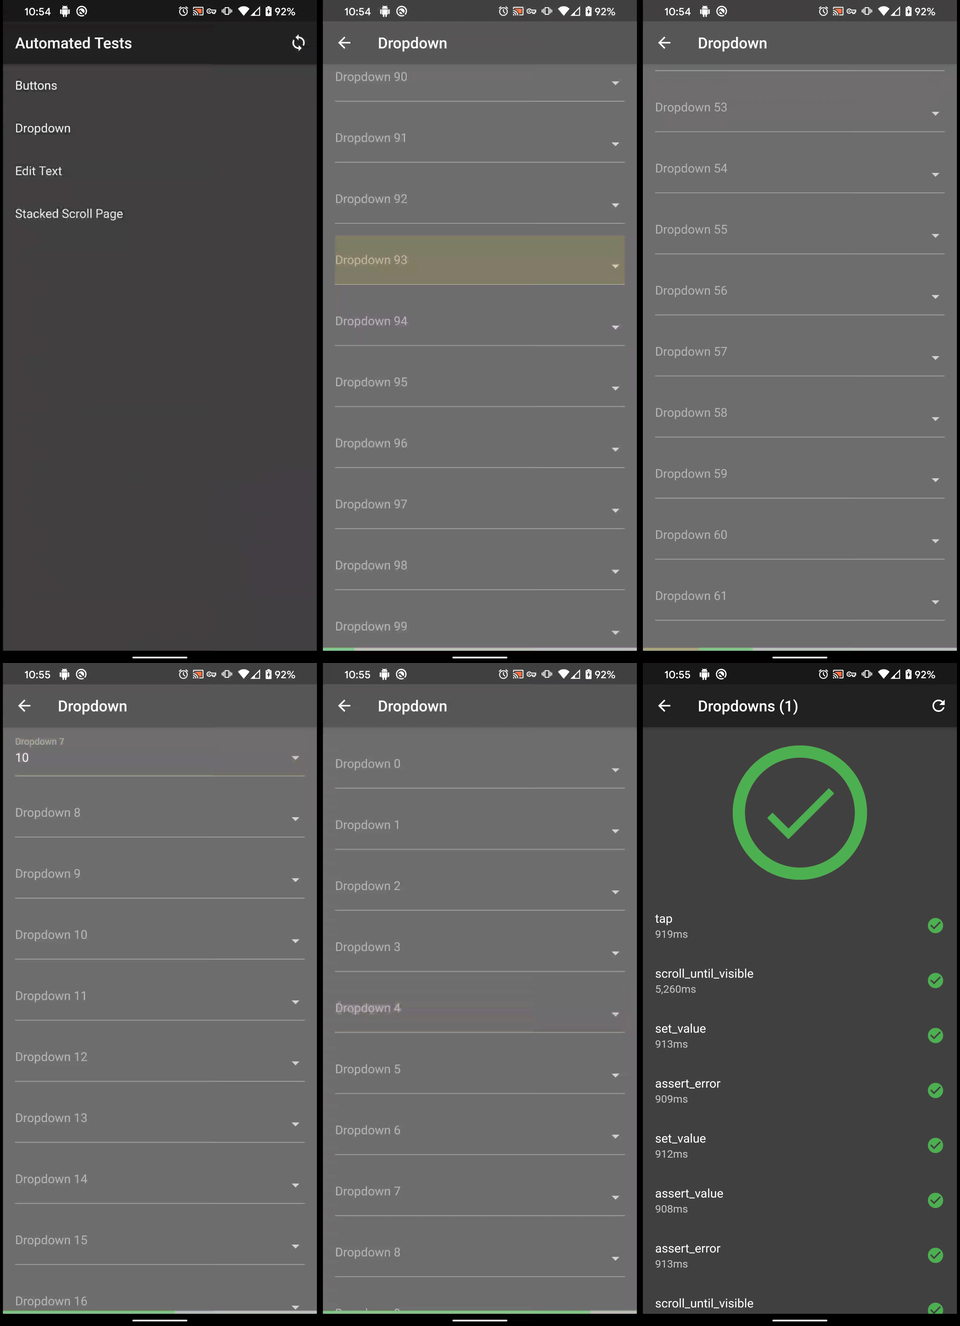
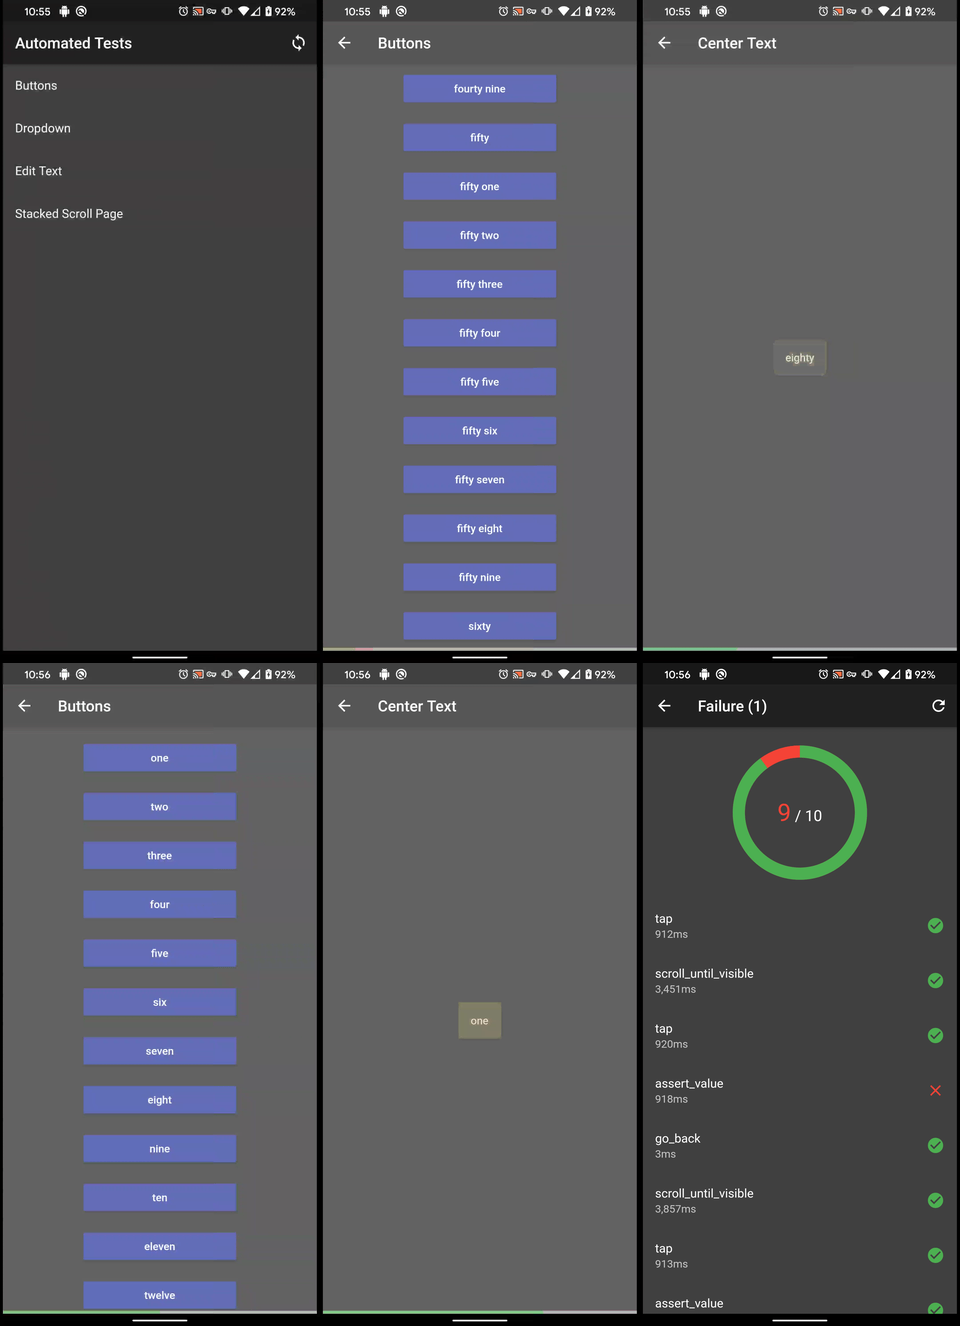
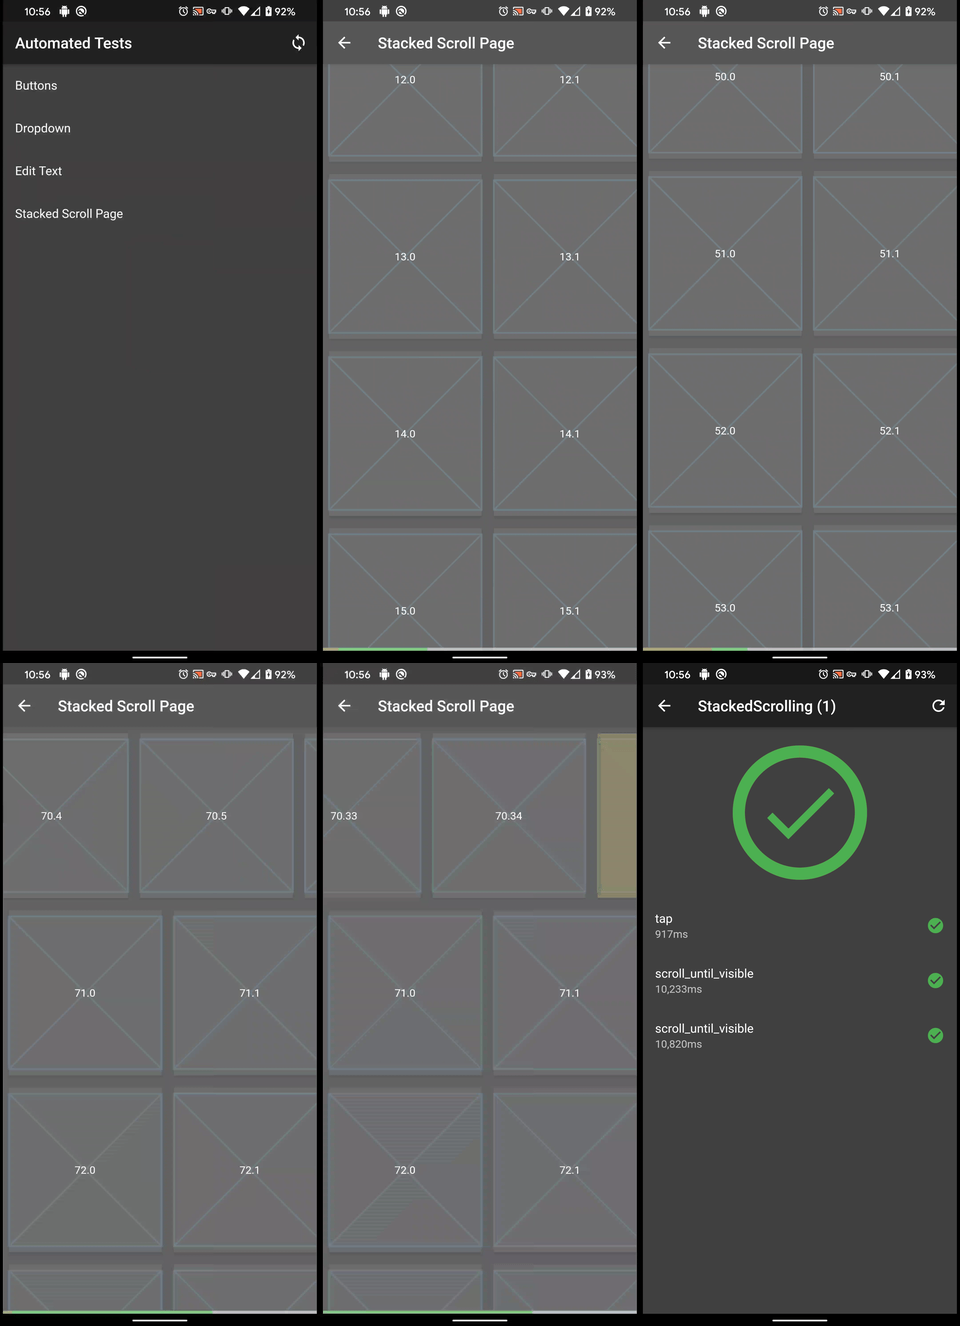
The framework comes with an example application that showcases the majority of the features the framework provides. If you run the example in debug mode, you can interact with the Testable widgets, create tests, run tests, and see the results.
If you run the framework in profile mode, the application will immediately start executing the bundled test suite and at the end of the tests, it will provide a result page.
To see the tests in action, run the example via:
flutter run --profile
Framework Philosophy #
The testing framework is designed to be utilized by developers, QA members, or even Product folks to build and run automated tests. The base framework is purposefully "Dart Native" to provide compatibility with steps that are easy to understand and used by the widest number of people.
The framework provides plugin capabilities to allow for more advanced test steps or steps that require non-Dart-native dependencies.
All steps provided by the framework or any first party plugins are guaranteed to be fully editable within a testable application itself. While JSON experience may be beneficial, it is not required.
Quick Start #
In order to run the automated tests, the framework must be associated to your application. First, the framework utilizes the logging package to allow fine control over the console messages. A quick way to enable all logging from the framework is to set up a log emitter to the console as follows:
import 'package:logging/logging.dart';

void main() {
  Logger.root.level = Level.ALL;
  Logger.root.onRecord.listen((record) {
    print('${record.level.name}: ${record.time}: ${record.message}');
    if (record.error != null) {
      print('${record.error}');
    }
    if (record.stackTrace != null) {
      print('${record.stackTrace}');
    }
  });

  ...
}
Feel free to change the logging levels based on your application's needs.
Next your app will need to create a TestController. The controller is the logic heart of the framework. That controller will now need to be passed to a TestRunner that is attached to the base of the widget tree.
The following code is a minimal use case for getting started:
import 'package:automated_testing_framework/automated_testing_framework.dart';
import 'package:flutter/foundation.dart';
import 'package:flutter/material.dart';


void main() {
  ...

  runApp(MyApp());
}

class MyApp extends StatefulWidget {
  @override
  _MyAppState createState() => _MyAppState();
}

class _MyAppState extends State<MyApp> {
  static const _testsEnabled = !kReleaseMode;
  final GlobalKey<NavigatorState> _navigatorKey = GlobalKey<NavigatorState>();

  StreamController? _resetController;
  TestController? _testController;
  UniqueKey _uniqueKey;


  @override
  void initState() {
    super.initState();

    if (_testsEnabled) {
      _testController = TestController(
        navigatorKey: _navigatorKey,
      );

      _resetController = _testController!.resetStream.listen((_) => _onReset());
    }
  }

  @override
  void dispose() {
    _testController?.dispose();

    super.dispose();
  }

  /// Application specific logic that resets the app to a base state.  The code
  /// below is a relatively straight forward way to accomplish this reset, but
  /// your application may require more logic to actually clear any internal
  /// state.
  Future<void> _onReset() async {
    while (_navigatorKey.currentState.canPop()) {
      _navigatorKey.currentState.pop();
    }
    _uniqueKey = UniqueKey();
    setState(() {});
  }

  @override
  Widget build(BuildContext context) =>
    TestRunner(
      controller: _testController,
      enabled: _testsEnabled,
      child: MaterialApp(
        key: _uniqueKey,
        ...
      ),
    );

}
Annotating Testable Widgets #
Now that you've wired up the core portions of the framework, you will need to start annotating your application to identify widgets that the framework can interact with. The main class for tihs annotation is the Testable widget. Wrap widgets that need to be interacted with in an automated way with this Testable widget and the Testable widget will perform the bindings for you and also respond to commands from the framework when running tests.
Let's say you have a button that you want to be able to tap via the framework. That would look something like:
Testable(
  id: 'my-spiffy-button',
  child: RaisedButton(
    onPressed: () => _buttonPressed(),
    child: Text('Button Text'),
  )
)
The Testable will now wrap the button in a way that allows you to use it to build a test, run a test, and press the button via a test. Any widget can be wrapped via a Testable to provide interaction. By default, the only action that sub widgets are assumped to support is the tap and long_press capabilities. The Testable will try to search for common widgets in the child tree and add capabilities. However, if you know that there are capabilities you want to provide such as setting a value, checking a value, or checking an error, you will need to associate the appropriate methods:
onRequestError-- Informs the framework that the widget supports an error state. When executed, this mustonRequestValue-- Informs the framework that the widget supports a value that may be requested. When executed, this must return the widget's current value.onSetValue-- Informs the framework that a value may be set on this widget. When executed, the callback must set the value on the widget. Although the user may specify the type as aString, abool, adoubleor anint, it is actually recommended that the callback be very generous in what it accepts and try to support conversions internally as testers may not always be aware of which type to use when creating the steps.
In addition to the base Testable widget, there are a small number of widgets that automatically wrap and expose capabilities. Each of the wrapper widgets are API compatible with the widgets that they are wrapping with the exception that they each need an id set. They are:
| Name | Description |
|---|---|
| TestableDropdownButtonFormField | Wrapper for the DropdownButtonFormField to provide the common testable callbacks |
| TestableFormField | Wrapper for the FormField to provide the common testable callbacks |
| TestableTextFormField | Wrapper for the TextFormField to provide the common testable callbacks |
Creating Tests #
The Testable widgets add on to wrapped widgets gestures that allow you to interact with the test framework. It's important to note that if the wrapped widget listens for the same gesture as the Testable then the wrapped widget will "win" and the Testable will not receive that gesture. It is for that reason that the default implementation provides gestures for both a Long Press gesture and a Double Tap. The Testable also introduces the concept of a "direct" interaction and an "interdirect" interaction.
A "direct" action is one the Testable listens for even when it's in a transparent state to the user. An "indirect" action is one that the Testable listens to once it's activated to a more "in your face" state. These separate modes allow for a wider number of actionable gestures.
The defaults can be overridden by using the TestableGestures class. The widget gestures are all applied to the inactive Testable widget and the overlay gestures are applied to the activated overlay.
The default gestures are as follows:
| Target | Gesture | Description |
|---|---|---|
widget |
Long Press | Activate the Test Controls dialog |
widget |
Double Tap | Deactivate the Testable and hide the widget overlay |
overlay |
Double Tap | Activate the Testable and show the widget overlay |
overlay |
Long Press | Toggle the global overlay over all Testable widgets. This is useful to be able to quickly identify what widgets on a page have been annotated as Testable and which ones may have been missed. |
Saving and Loading Tests #
Tests can be saved and loaded by associating appropriate functions to the TestController. The functions to be associated are the TestReader and TestWriter functions.
As you might assume, the TestReader function must be able to load one or more tests from where ever your test store resides and the TestWriter is expected to be able to write out tests for long term storage.
The default implementation for both of these functions is a no-op that will not read or write any test data. However, the framework does come with a few convenience Test Store options to assist:
| Class | Function | Description |
|---|---|---|
| AssetTestStore | testReader |
Function capable of reading tests from built in Flutter assets |
| ClipboardTestStore | testReader |
Function that reads test data from the clipboard. Only really useful on emulators where the clipboard is shared with the host computer. |
| ClipboardTestStore | testWriter |
Function that writes the test data to the clipboard. This can be used on a device, but it is really intended for use on emulators where the clipboard is shared with the host computer. |
Reporting Test Results #
Similarly to the saving and loading of tests, the TestController provides a mechanism to send out reports from test runs. There are no built in reporters that will provide the data outside of the application. There are only screens that display test results at the end of a test or test suite.
To receive the test report, implement the testReporter callback to send the report to your targetted area.
Working with Variables #
The TestController supports variables within test steps and from external code. Within steps that support variables, the variables utilize the mustache syntax. For example: {{variableName}}. Test steps that support variables will attempt to resolve the variable at runtime. This provides the application the ability to set up common variables like usernames, passwords, etc. in a way that any test can generically refer to them.
Variables can be either the entire value or can be interpolated as a partial value. For example, a variable named "one" with the value of "1" and the string of: "Number {{one}}" will result in a value of "Number 1".
Reserved Variables #
Reserved variables are begin with an underscore (_) and should be reserved for the framework itself plus any plugins that are applied to the framework. Applications should avoid setting variables that begin with an underscore as they may be overwritten by plugins or the framework either now or at some future time.
The following table defines the reserved variables provided by the framework that can be used in any test:
| Name | Type | Example | Description |
|---|---|---|---|
_now |
DateTime |
n/a | Returns DateTime.now().toUtc(). |
_passing |
boolean |
true |
Describes whether the test is currently passing or not. This will be true up until the first failed step at which it will remain false for the remainder of the test. |
_platform |
String |
android |
The current platform running the test. Will be one of: android, fuchsia, ios, linux, macos, windows, web, unknown. |
Remote Drivers #
In addition to the ability to execute tests manually or at launch time, libraries exist to allow a device running the application be remotely connected to and have tests executed.
The current libraries utilize a singular realtime websocket based server written in Dart.
For the code hosting the client that needs to be included in the application as well as some example scripts, see: Websocket Driver.
For the code hosting the server portion, see: Websocket Server.
Framework in Action #


