cr_logger 2.6.1  cr_logger: ^2.6.1 copied to clipboard
Powerful logging plugin. Supports android, ios and web platforms.
cr_logger #

Web example
Flutter plugin for logging
- Simple logging to logcat.
- Network request intercepting.
- Log exporting (JSON format).
- Proxy settings for "Charles".
- Logs by level.
Supported Dart http client plugins:
✔️ Dio
✔️ Chopper
✔️ Http from http/http package
✔️ HttpClient from dart:io package
Table of contents #
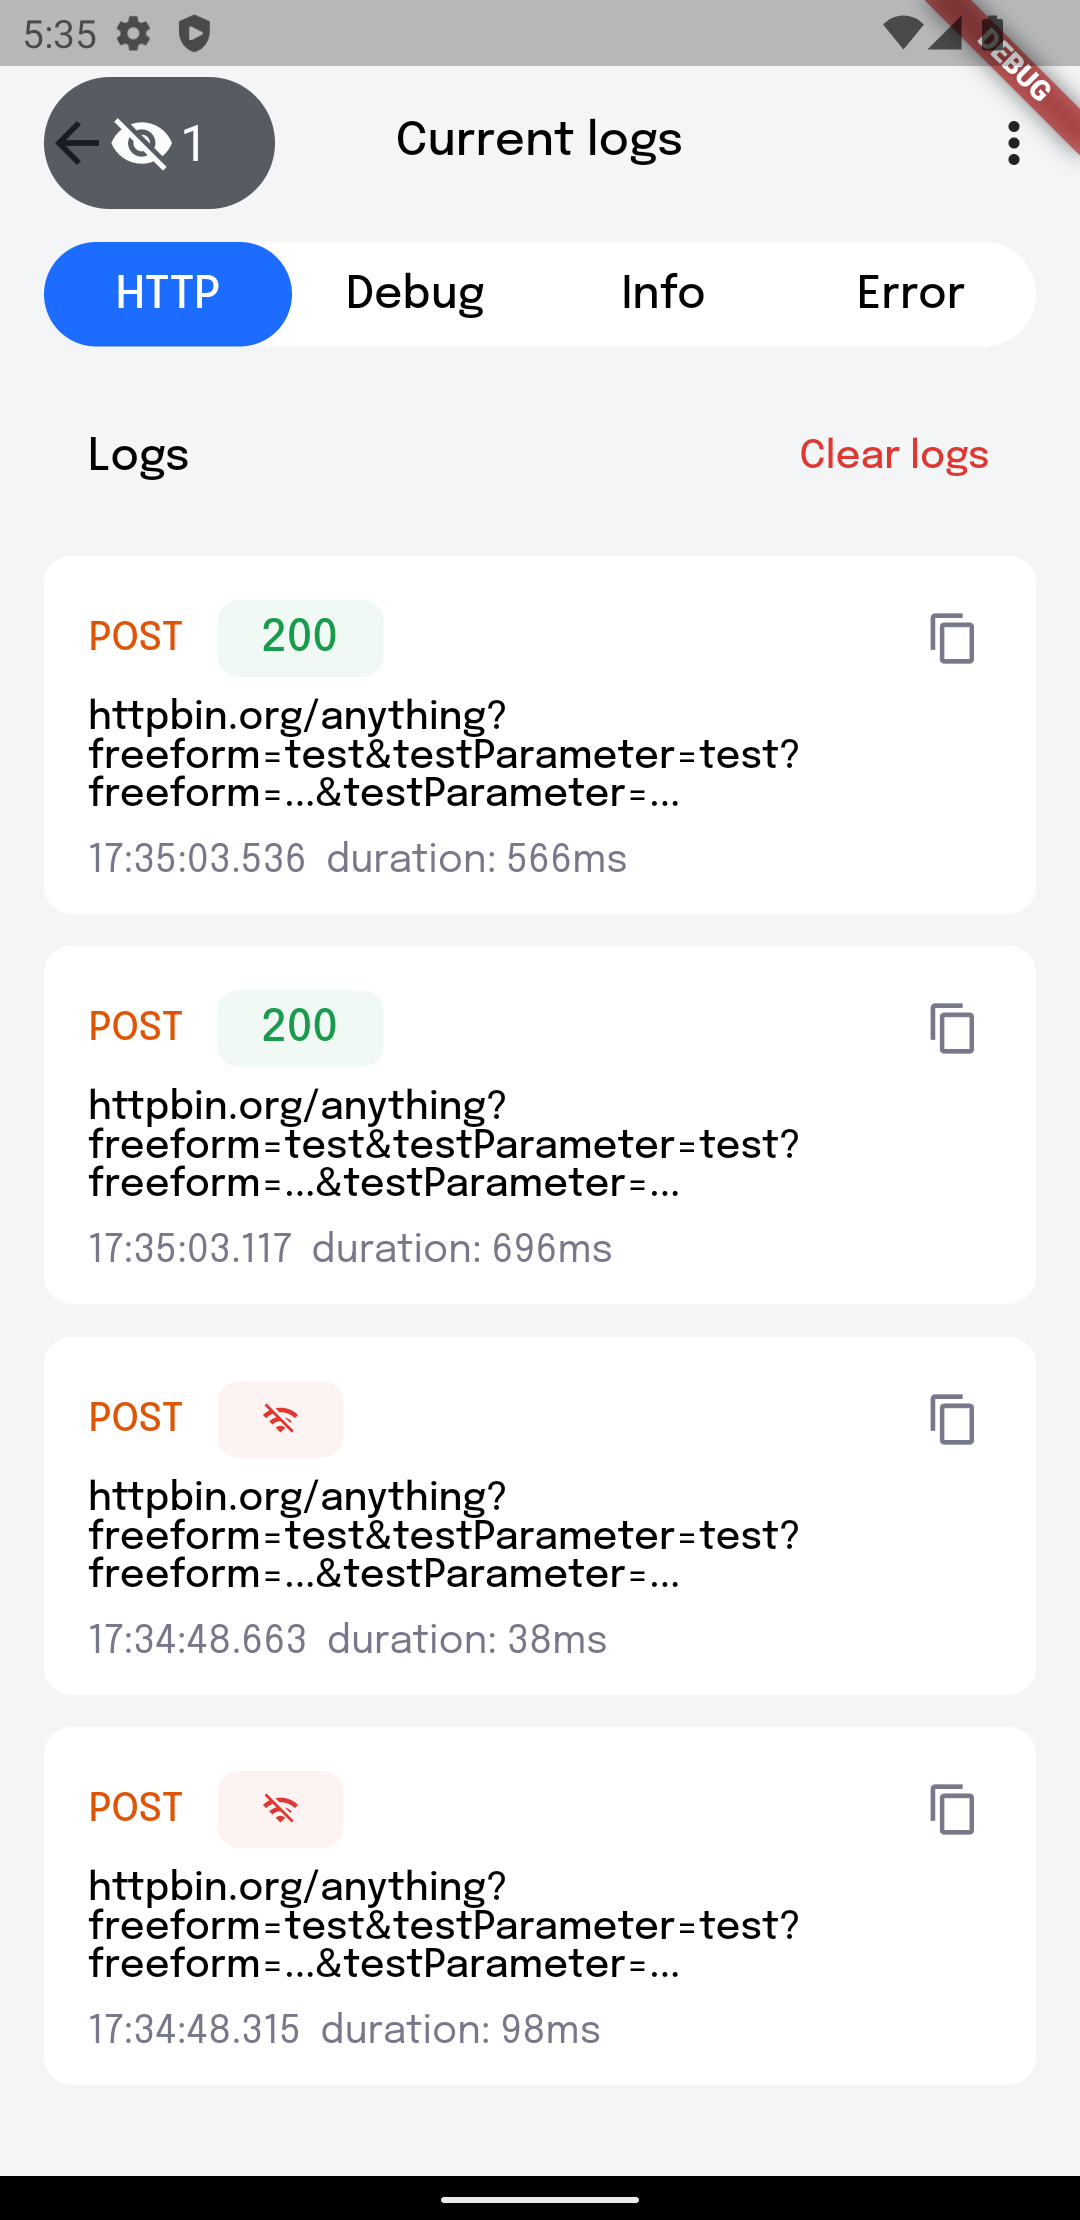
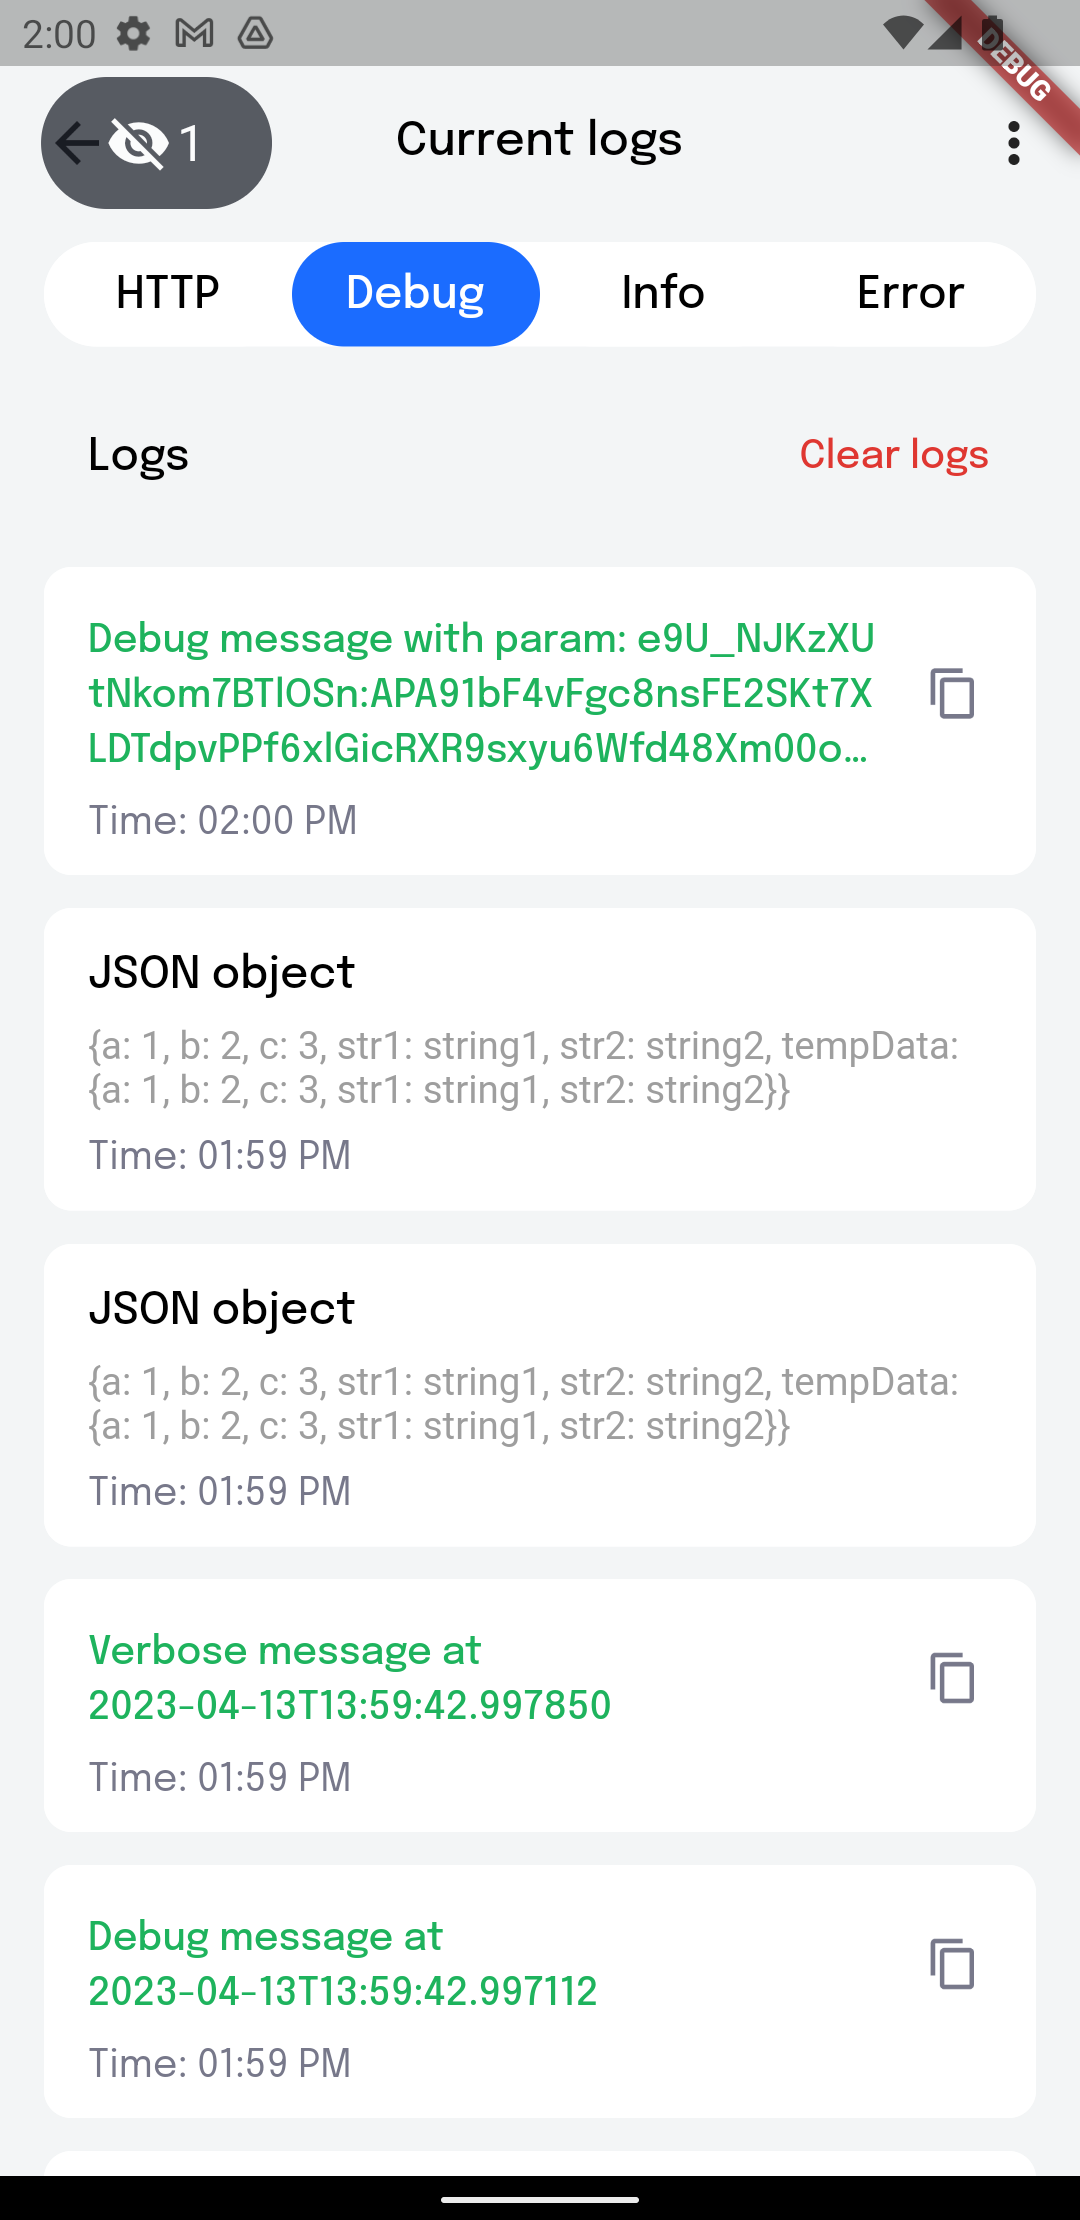
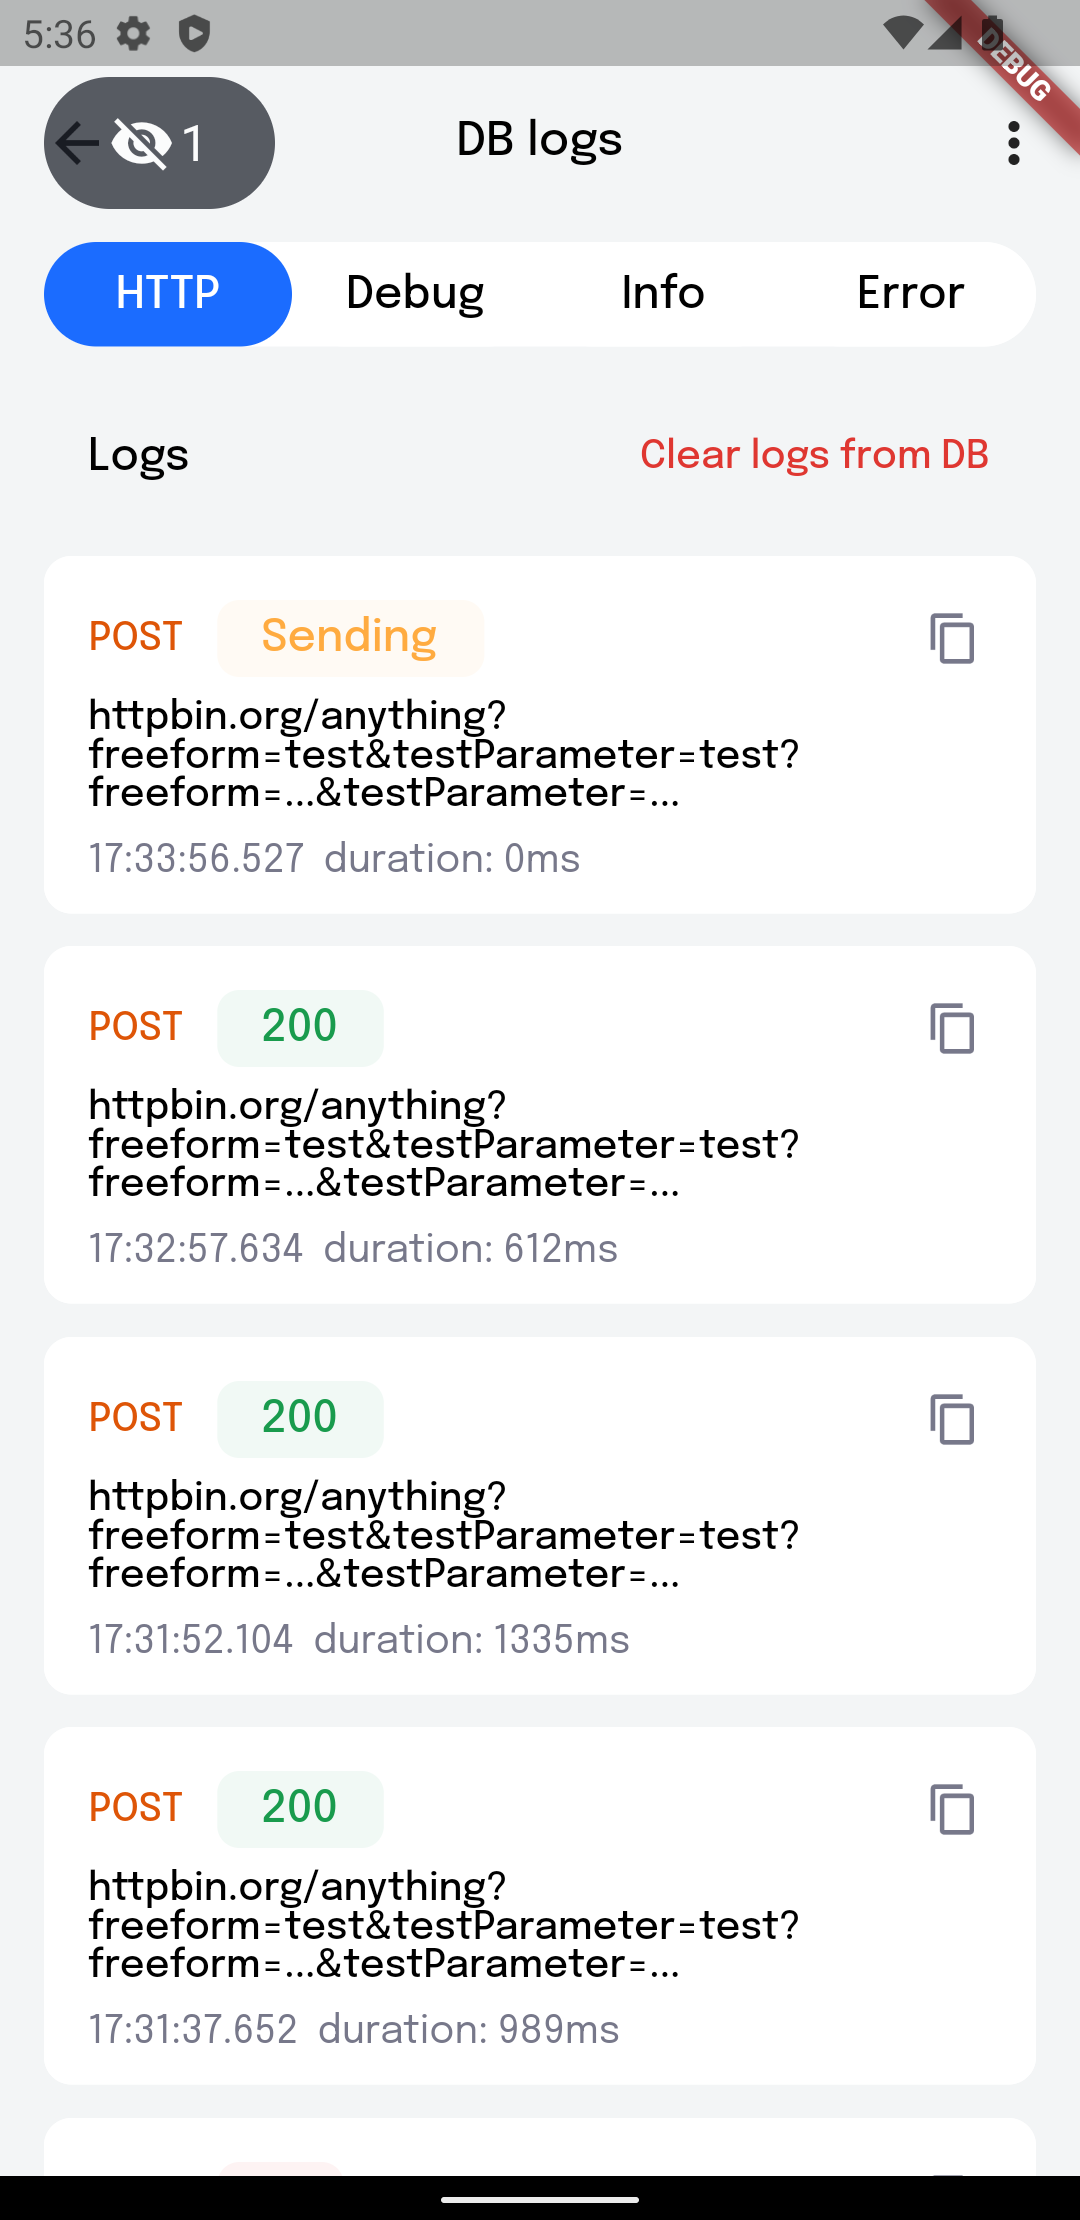
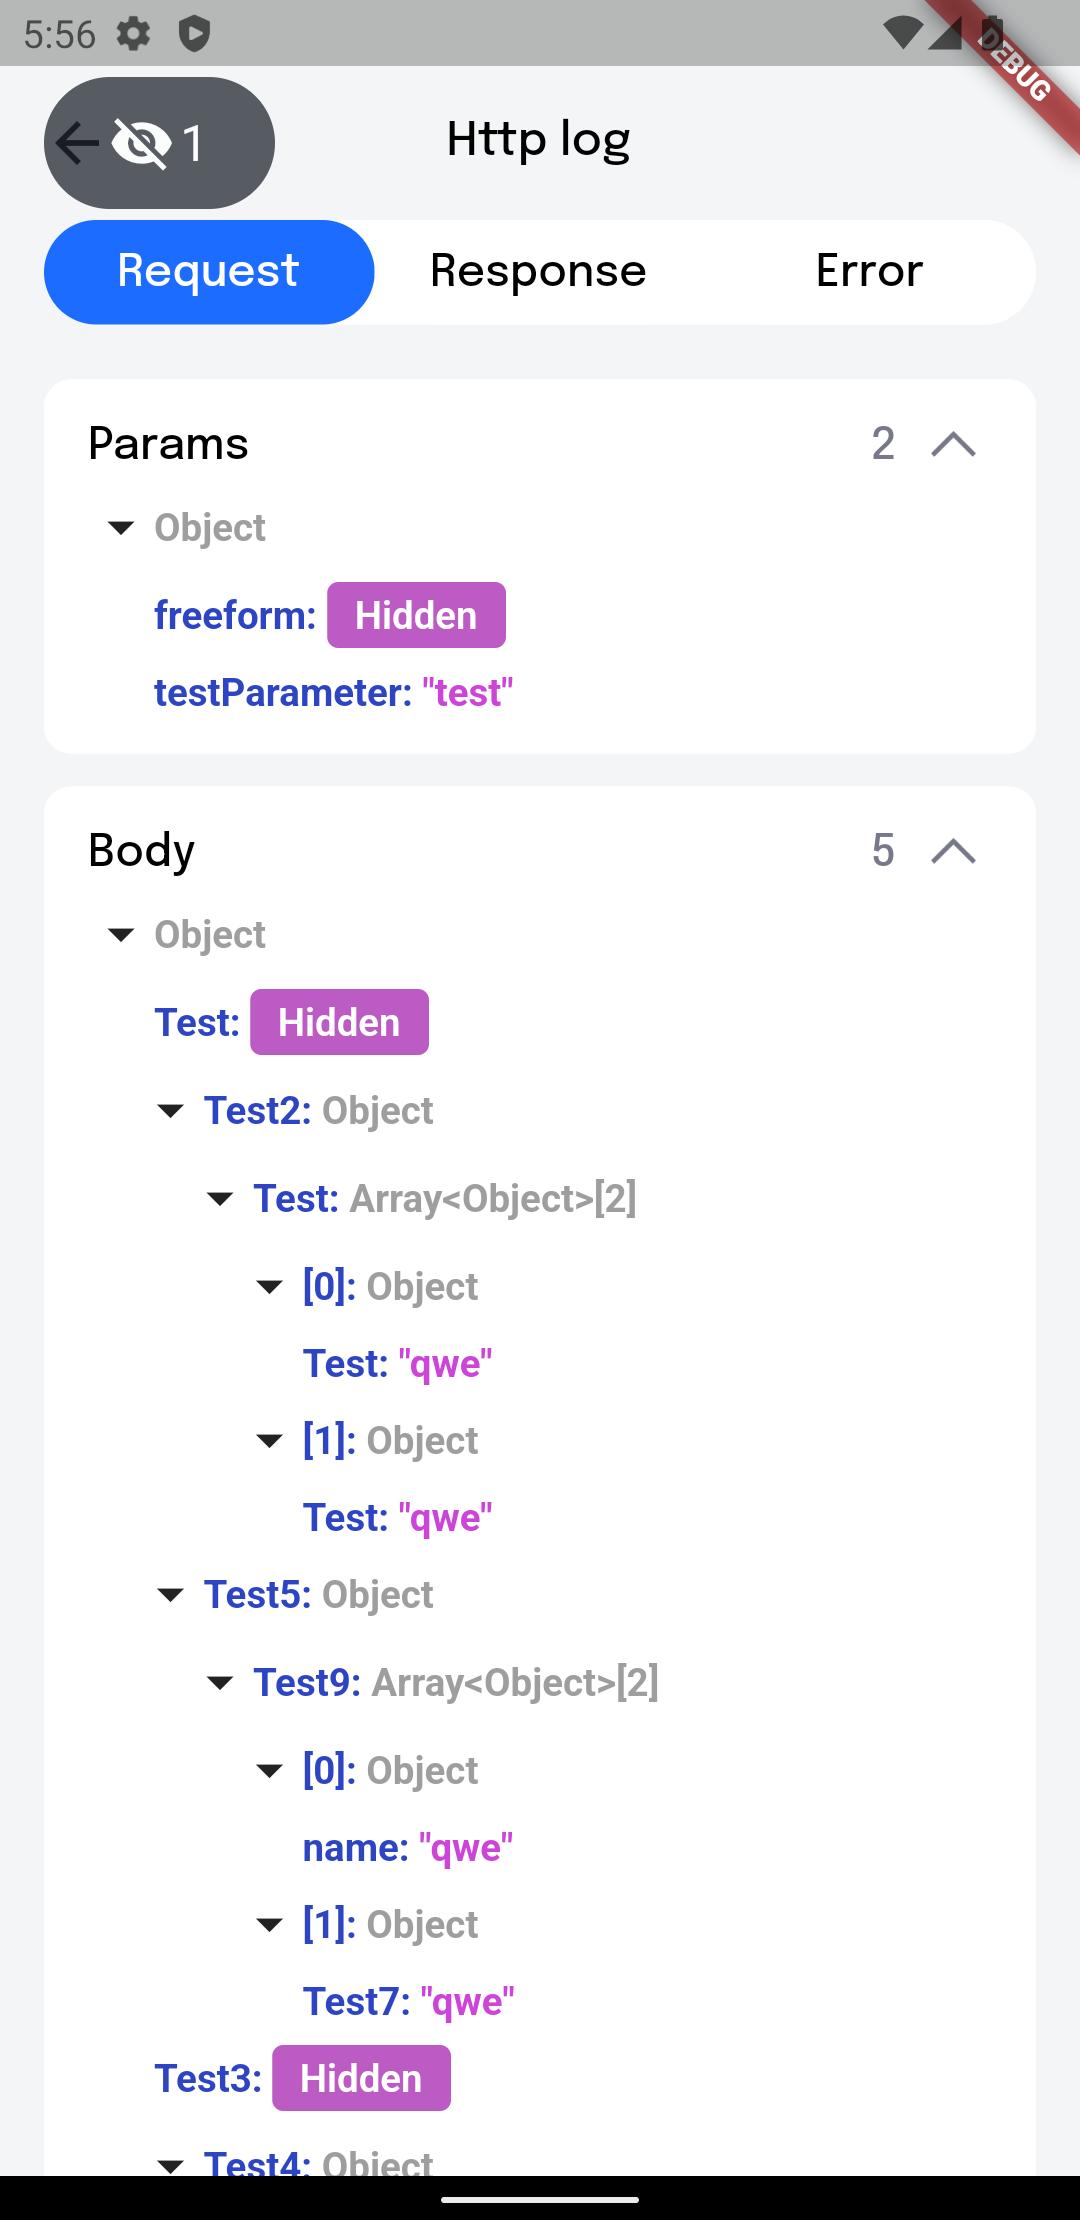
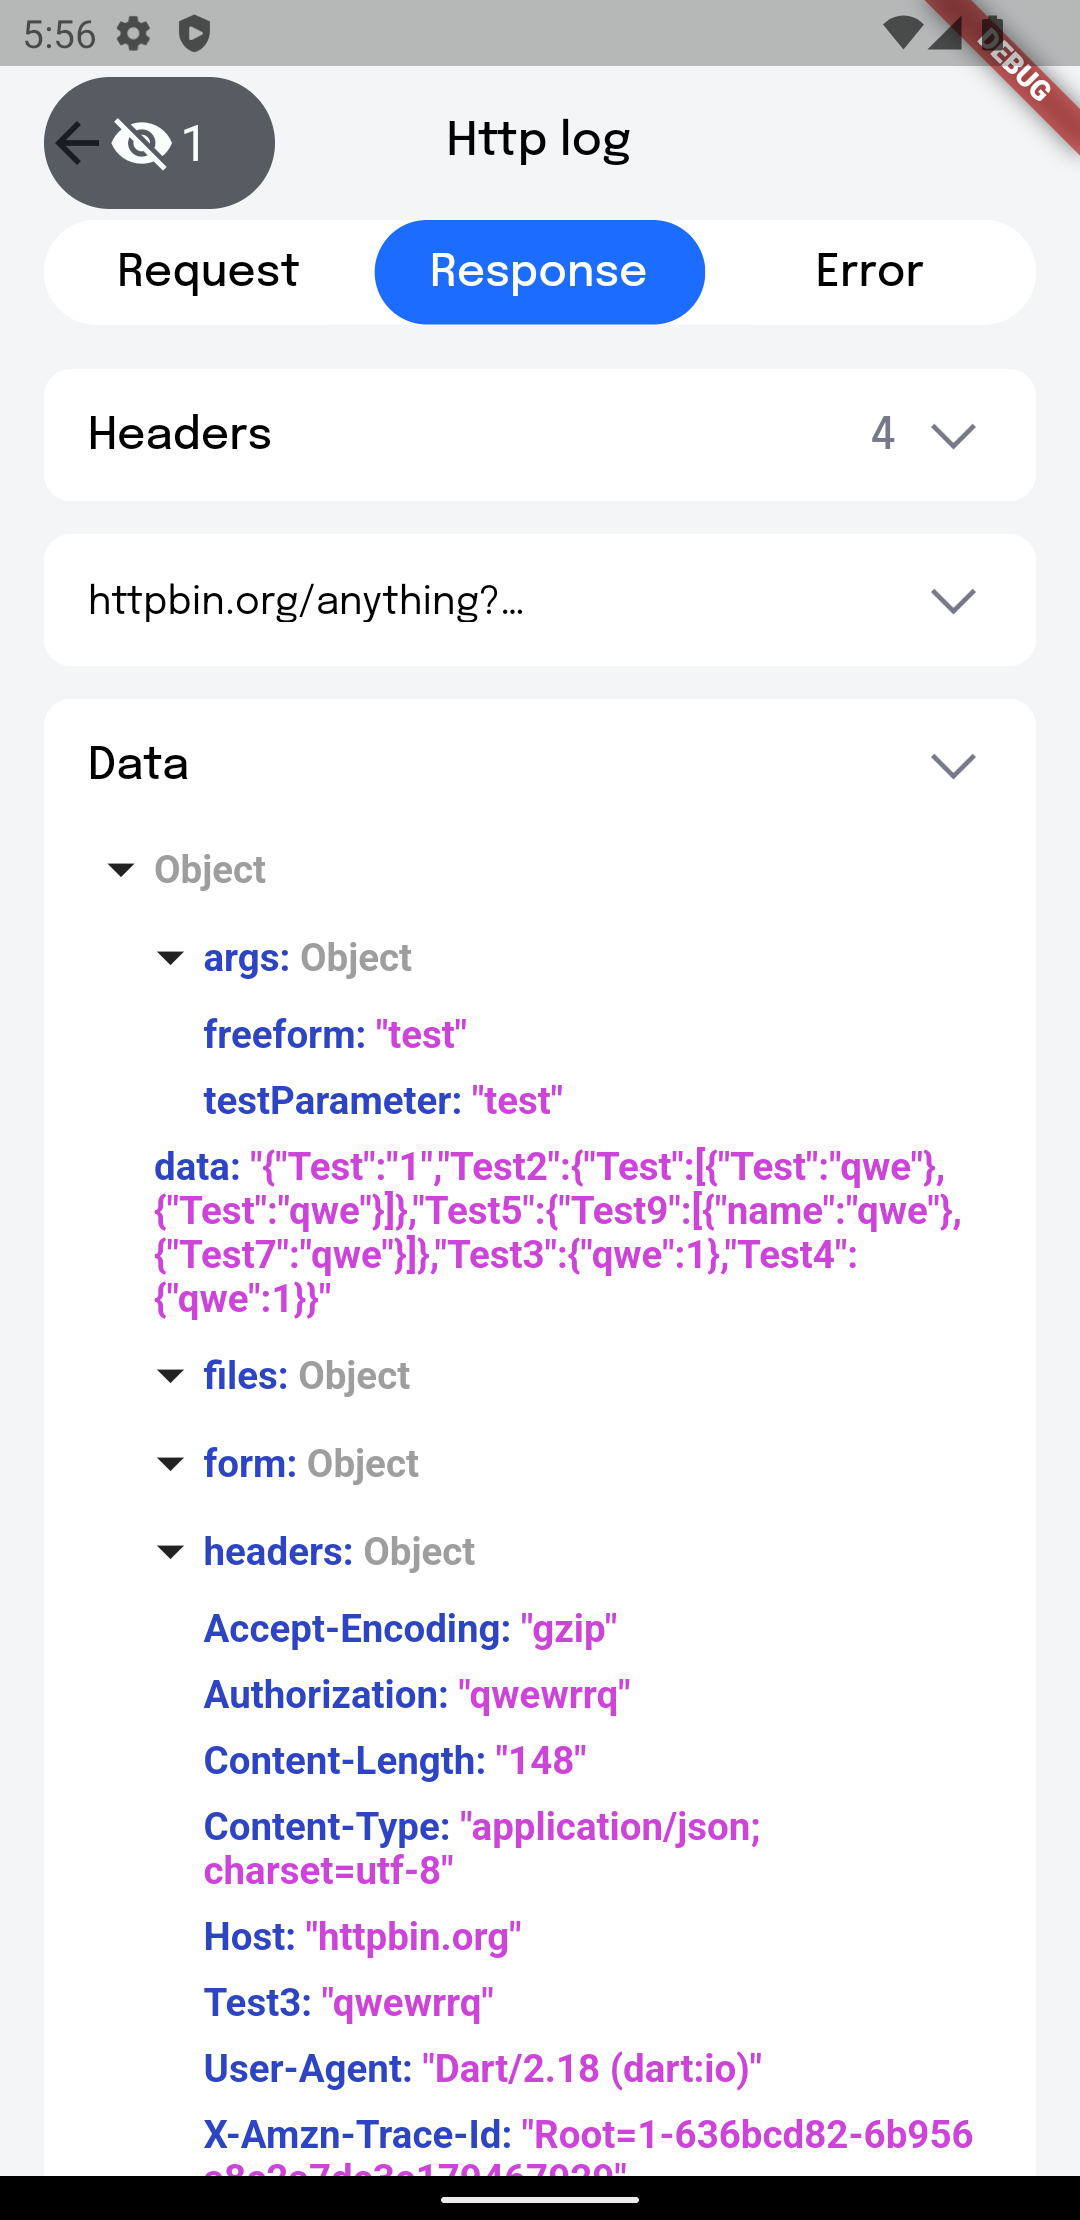
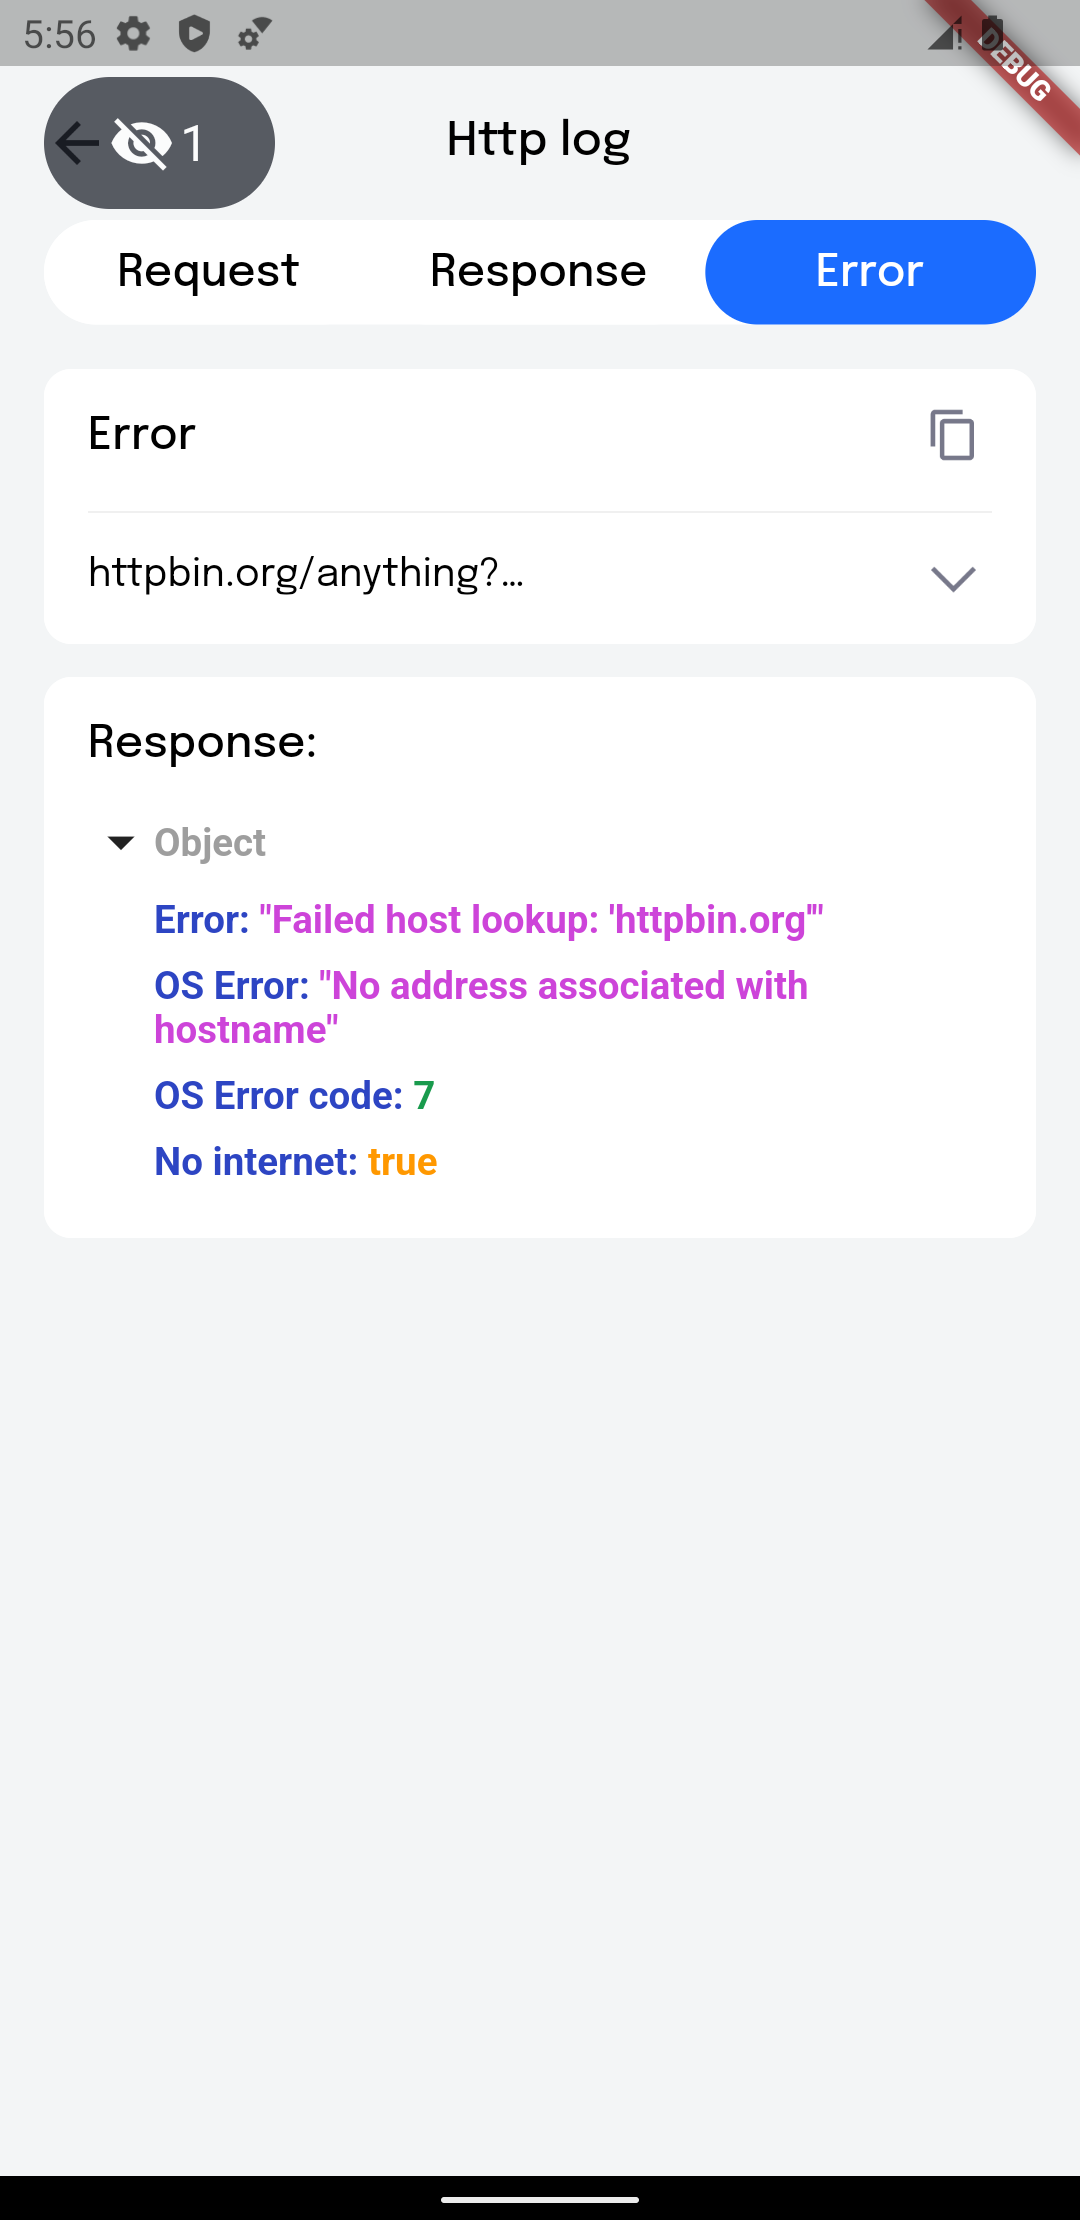
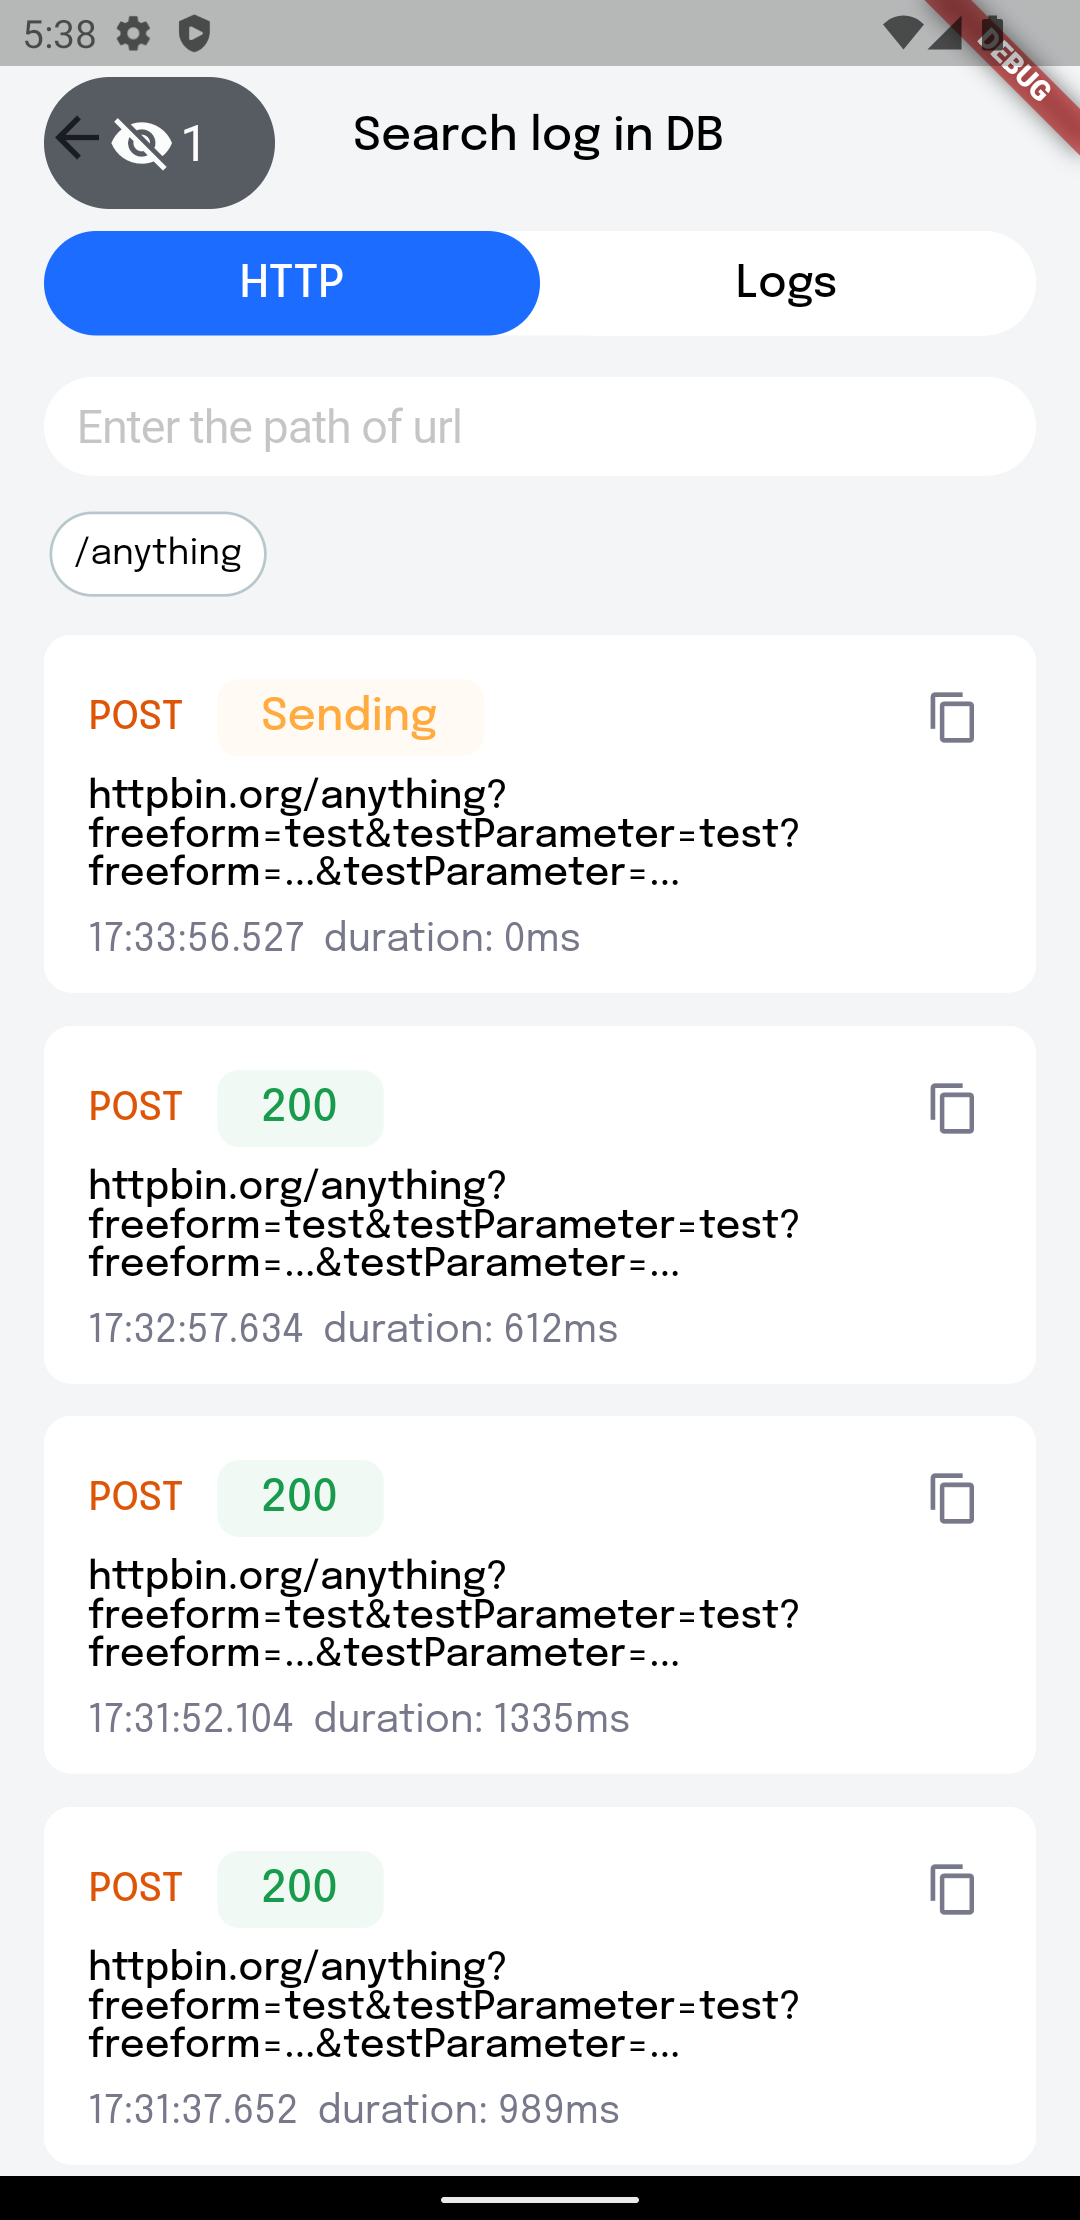
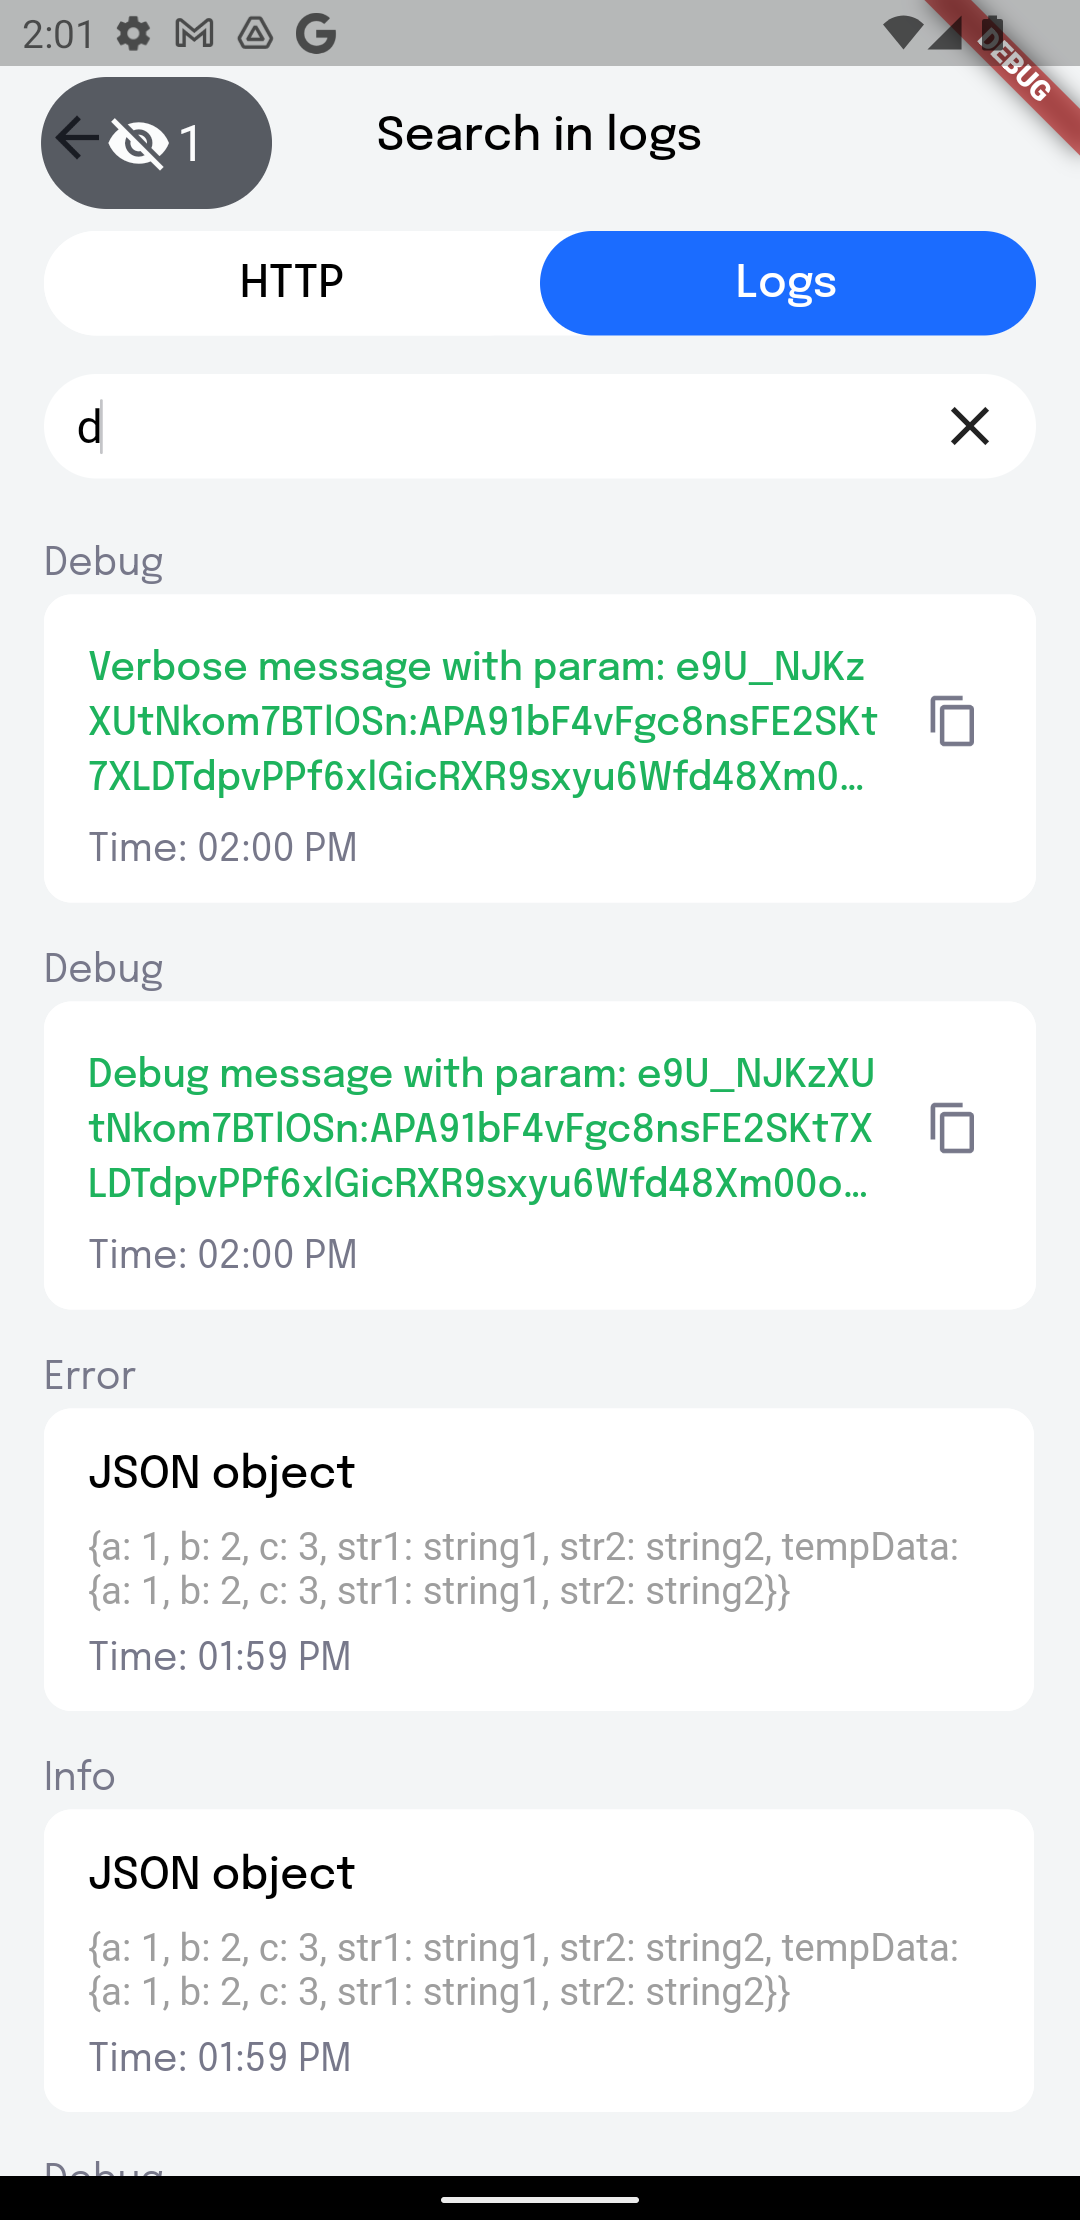
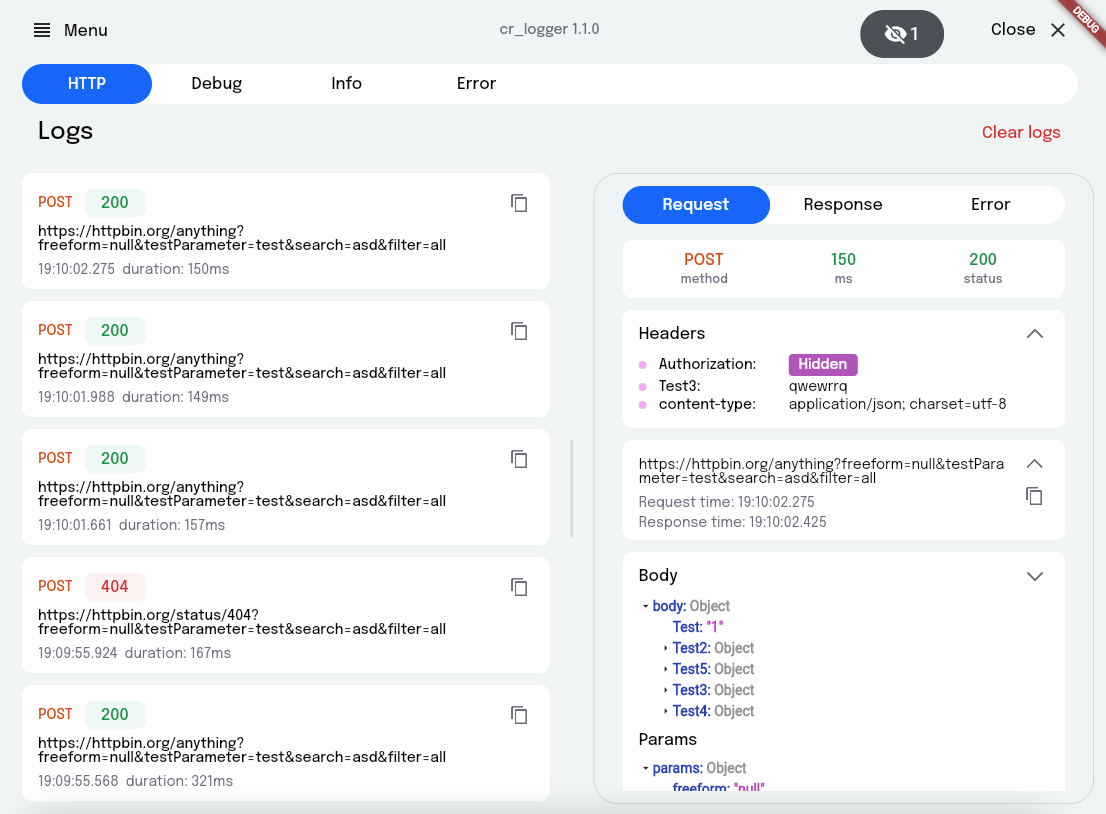
Screenshots #
Getting Started #
-
Add plugin to the project:
dependencies: cr_logger: ^2.2.0 -
Initialize the logger. main.dart:
❗ Database won't be working in Web
void main() { ... CRLoggerInitializer.instance.init( theme: ThemeData.light(), levelColors: { Level.debug: Colors.grey.shade300, Level.warning: Colors.orange, }, hiddenFields: [ 'token', ], logFileName: 'my_logs', printLogs: true, useCrLoggerInReleaseBuild: false, useDatabase: false, ); }printLogs- Prints all logs while [printLogs] is trueuseCrLoggerInReleaseBuild- All logs will be printed and used database when [kReleaseMode] is trueuseDatabase- Use database for logs history. Allows persisting logs on app restart. It will work only with [useCrLoggerInReleaseBuild] set to true.theme- Custom logger themelevelColors- Colors for message types levelColors (debug, verbose, info, warning, error, wtf)hiddenFields- List of keys, whose value need to be replaced by string 'Hidden'logFileName- File name when sharing logsmaxLogsCount- Maximum number of each type of logs (http, debug, info, error), by default = 50maxDatabaseLogsCount- Maximum number of each type of logs (http, debug, info, error), which will be saved to database, by default = 50logger- Custom loggerprintLogsCompactly- If the value is false, then all logs, except HTTP logs, will have borders, with a link to the place where the print is called and the time when the log was created. Otherwise it will write only log message. By default = true -
Initialize Inspector (optional):
return MaterialApp( home: const MainPage(), builder: (context, child) => CrInspector(child: child!), ); -
Define the variables:
4.1
appInfo- you can provide custom information to be displayed on the AppInfo pageCRLoggerInitializer.instance.appInfo = { 'Build type': buildType.toString(), 'Endpoint': 'https/cr_logger/example/', };4.2
logFileName- file name when exporting logs4.3
hiddenFields- list of keys for headers to hide when showing network logs -
Add the overlay button:
CRLoggerInitializer.instance.showDebugButton(context);button- Custom floating buttonleft- X-axis start positiontop- Y-axis start position -
Support for importing logs from json:
await CRLoggerInitializer.instance.createLogsFromJson(json); -
You can get the current proxy settings to initialise Charles:
final proxy = CRLoggerInitializer.instance.getProxySettings();
if (proxy != null) {
  RestClient.instance.init(proxy);
}
Usage #
If the logger is enabled, a floating button appears on the screen; it also indicates the project
build number. It's quite easy to use, just click on the floating button to show the main screen of
the logger You can also double tap on the button to invoke Quick Actions.
Quick actions #
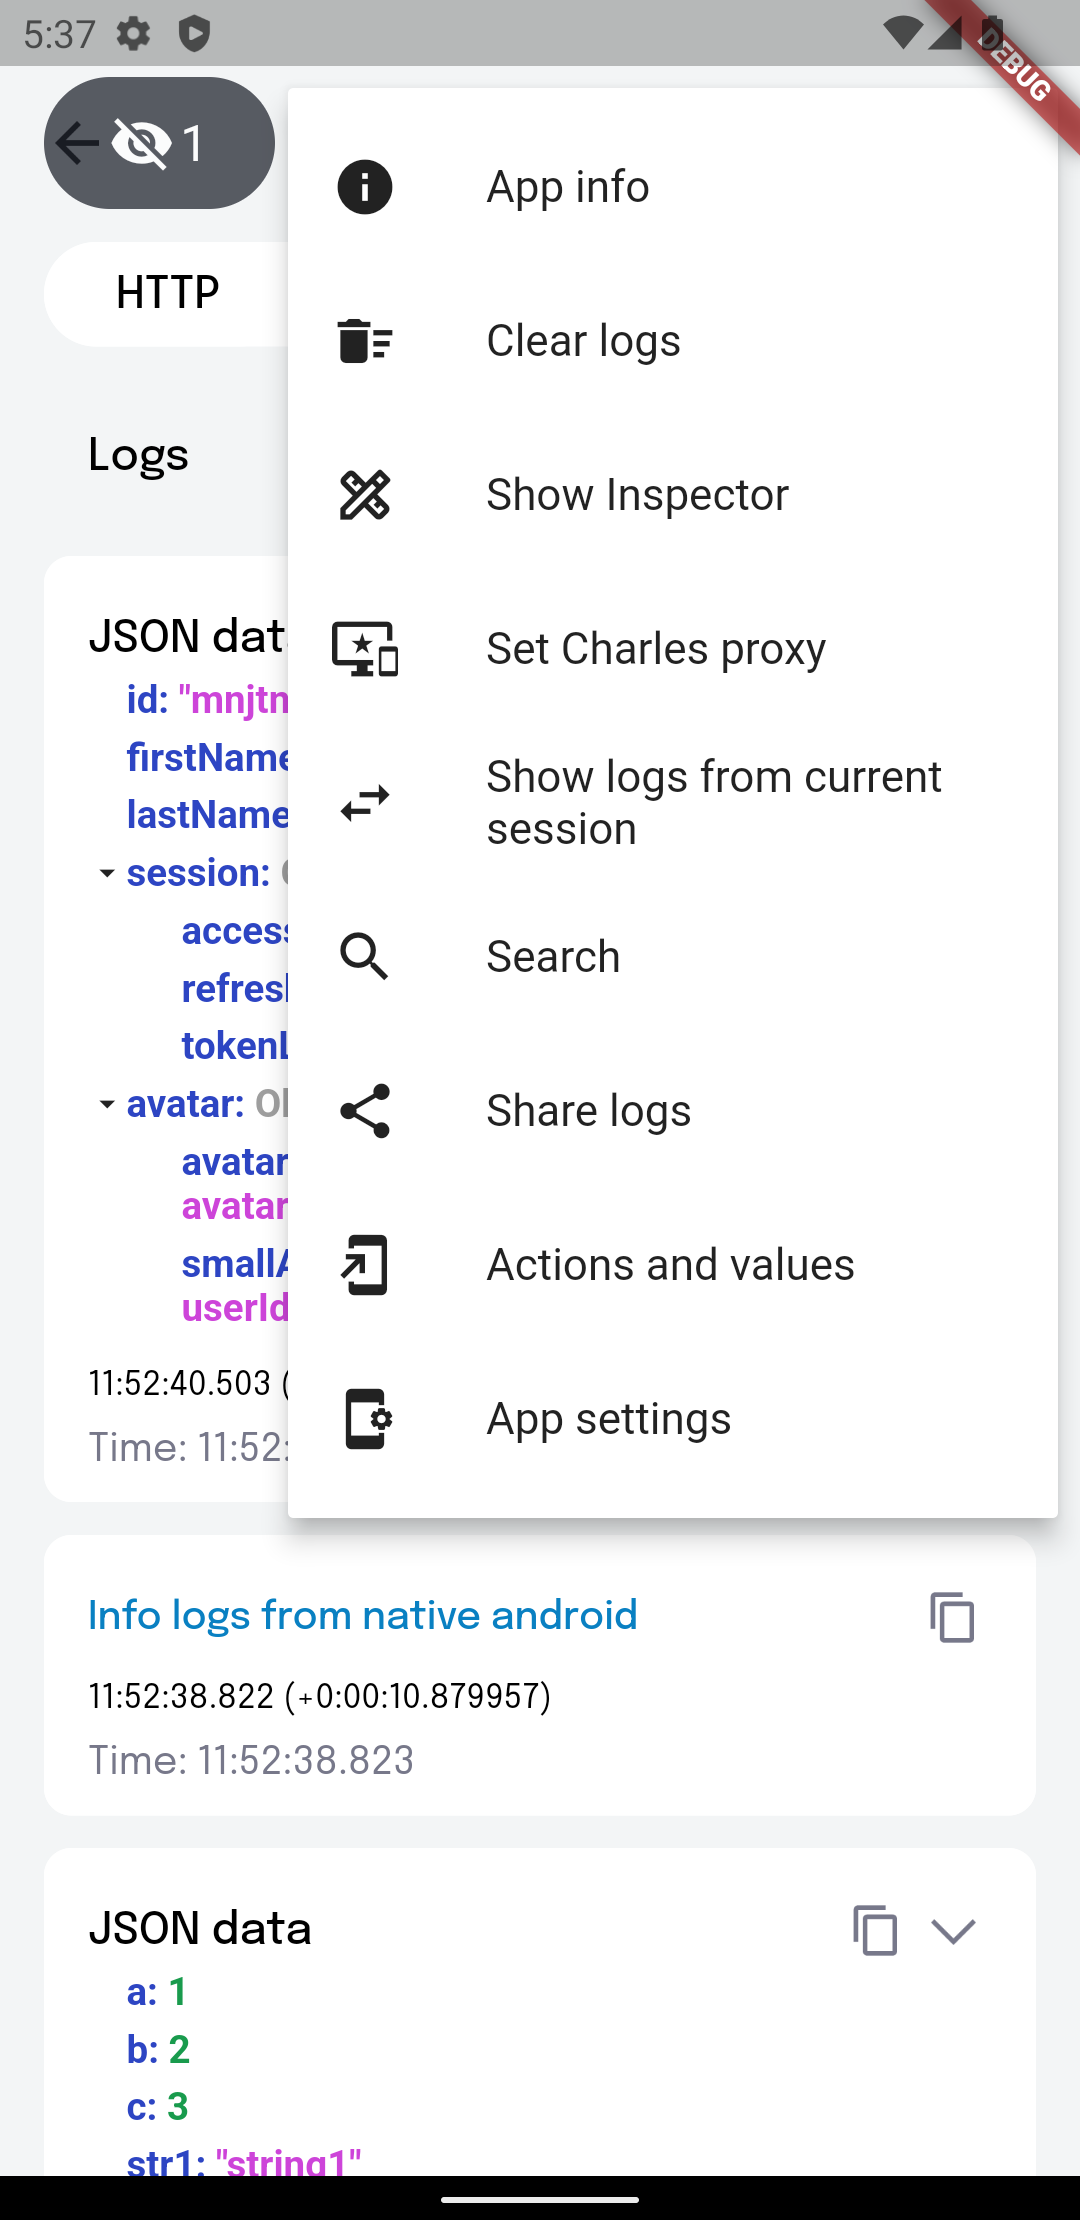
Using this popup menu, you can quickly access the desired CRLogger options. Called by a long press or double tap on the debug button.
App info
Allows you to view Package name, app version, build version
Clear logs
Clears certain logs or all of them. It is possible to do this with logs from the database
Show Inspector
If the inspector is enabled, then a panel appears on the right side of the screen, with buttons to toggle size inspection and the color picker.
Set Charles proxy
Needed to set proxy settings for Charles
Search
Provides search by logs. By paths, you can search for HTTP log you need. Also there is a search for logs from the database.
Share logs
Share logs with your team
Create log with parameter
You can create log with parameters. To do this use {{parameter}} pattern to highlight text needed to be displayed as parameter.
Example:
  const parameter = 'PARAMETER';
  log.d('Debug message with param: {{$parameter}}');
  log.v('Verbose message with param: {{$parameter}}');
  log.i('Info message with param: {{$parameter}}');
  log.e('Error message with param: {{$parameter}}');
Now you can copy the value of this parameter by simply clicking on it in the details of the log.
Actions and values
Opens a page that contains action buttons and value notifiers.
Action buttons allows you to add different callbacks for testing
-
Add actions:
CRLoggerInitializer.instance.addActionButton('Log Hi', () => log.i('Hi')); CRLoggerInitializer.instance.addActionButton( 'Log By', () => log.i('By'), connectedWidgetId: 'some identifier', ); -
Remove actions by specified id:
CRLoggerInitializer.instance.removeActionsById('some identifier');
Value notifiers help keep track of changes to variables of ValueNotifier type.
-
Type notifiers:
/// Type notifiers final boolNotifier = ValueNotifier<bool>(false); final stringNotifier = ValueNotifier<String>('integer: '); /// Widget notifiers final boolWithWidgetNotifier = ValueNotifier<bool>(false); final boolWidget = ValueListenableBuilder<bool>( valueListenable: boolWithWidgetNotifier, builder: (_, value, __) => SwitchListTile( title: const Text('Bool'), subtitle: Text(value.toString()), value: value, onChanged: (newValue) => boolWithWidgetNotifier.value = newValue, ), ); final textNotifier = ValueNotifier<Text>( const Text('Widget text'), ); final textWidget = ValueListenableBuilder<Text>( valueListenable: textNotifier, builder: (_, value, __) => Row( children: [ const Text('Icon'), const Spacer(), value, const Spacer(), ], ), ); -
Add notifiers: You can add either a
nameand anotifieror just awidget. If you just want to see the value of the notifier, it's better to usename+notifier. In other case, if you need to change notifier's value, for example via a switcher, it's better to add awidget.CRLoggerInitializer.instance.addValueNotifier( widget: boolWidget, ); CRLoggerInitializer.instance.addValueNotifier( name: 'Bool', notifier: boolNotifier, ); CRLoggerInitializer.instance.addValueNotifier( widget: textWidget, ); -
Remove notifiers by specified id:
CRLoggerInitializer.instance.removeNotifiersById('some identifier'); -
Clear all notifiers:
CRLoggerInitializer.instance.notifierListClear(); -
Initialize the following callbacks (optional): 5.1.
ShareLogsFileCallback- when needed to share logs file on the app's sideCRLoggerInitializer.instance.onShareLogsFile = (path) async { await Share.shareFiles([path]); };
App settings
Opens application settings
Setup #
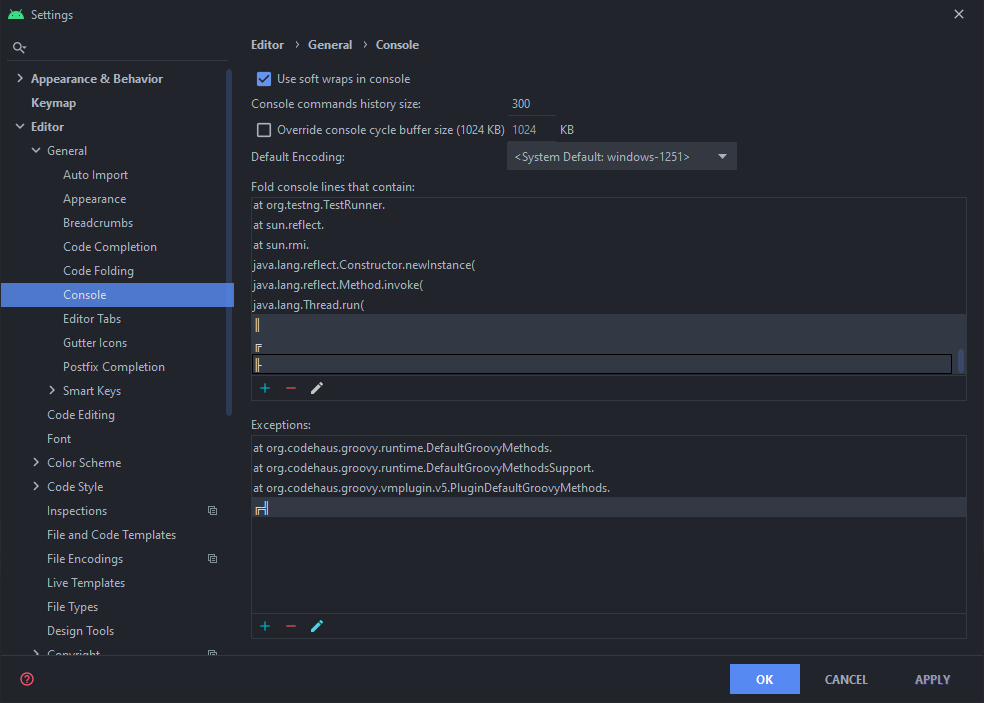
In IntelliJ/Studio you can collapse the request/response body:
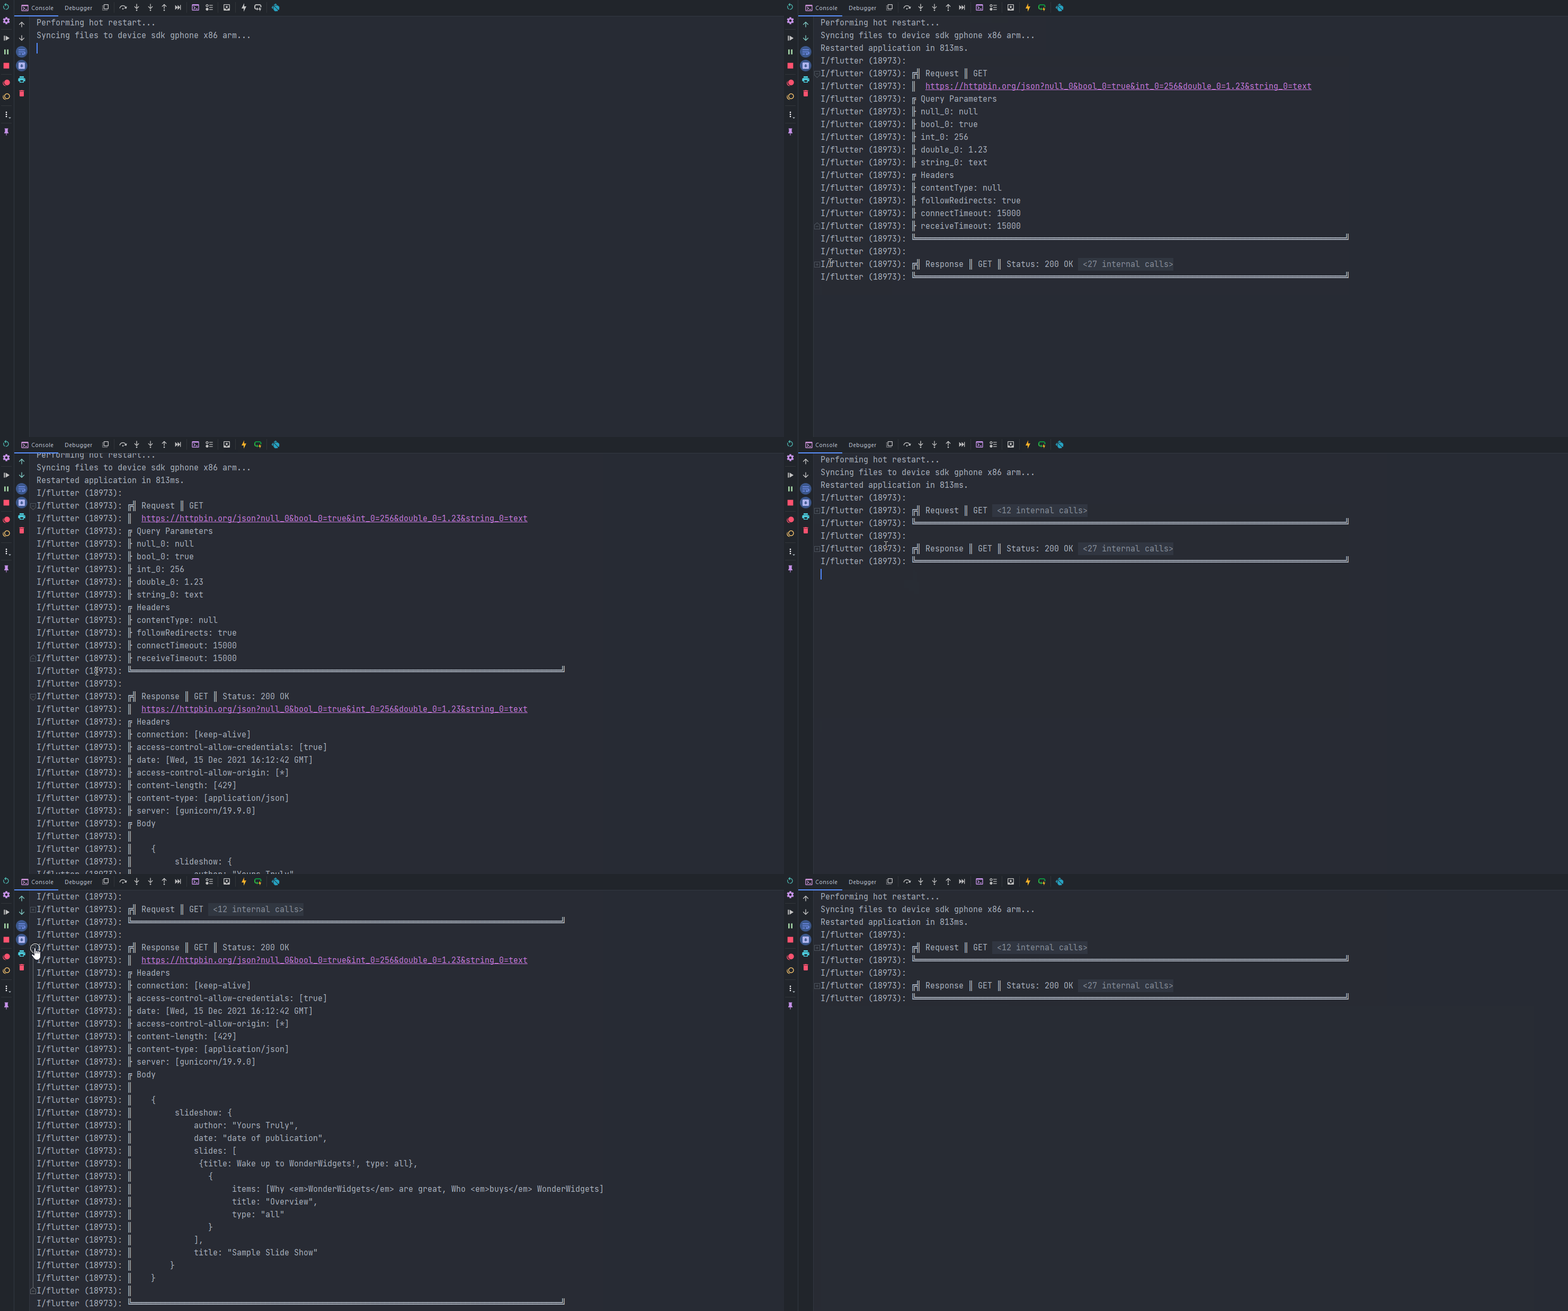
Set up this is by going to Preferences -> Editor -> General -> Console
and under Fold console lines that contain add these 2 rules: ║, ╟
and under Exceptions add 1 rule: ╔╣
