voice_command_manager 0.0.4  voice_command_manager: ^0.0.4 copied to clipboard
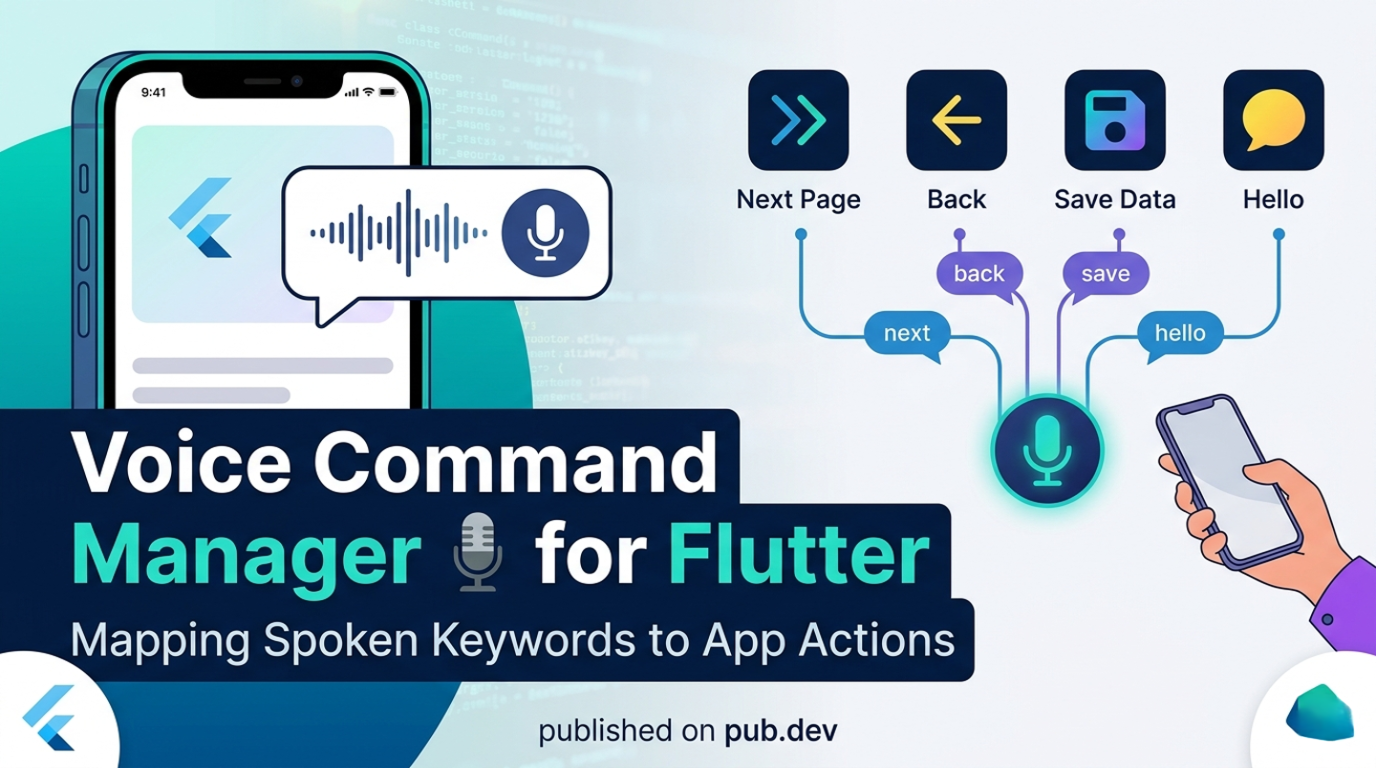
A lightweight and powerful Flutter package to easily map spoken keywords to app actions. Perfect for adding hands-free navigation and voice-controlled features.
Voice Command Manager 🎙️ #

![]()
A lightweight, powerful, and easy-to-use Flutter package that lets you map spoken keywords to application actions.
Add hands-free navigation, voice-controlled features, and accessibility tools to your Flutter apps in minutes!
🌟 Why use Voice Command Manager? #
Adding voice commands to an app usually requires complex setup, managing speech recognition sessions, parsing results, and maintaining state.
Voice Command Manager abstracts all of this away. You simply wrap your app (or a specific screen) in a widget, provide a map of words to functions, and the package handles the rest!
✨ Features #
- 🔋 Continuous Listening: Automatically handles background listening and auto-restarts.
- 🎯 Simple Word Mapping: Define commands with a simple
Map<String, VoidCallback>. - 🛠 Highly Customizable: Inject your own logic whenever a keyword is matched.
- 📱 Cross-Platform: Built on top of
speech_to_text, supporting Android, iOS, macOS, and Web.
🚀 Getting Started #
1. Add Dependency #
Add this to your package's pubspec.yaml file:
dependencies:
  voice_command_manager: ^0.0.3
2. Configure Permissions #
Because this package uses the microphone and speech recognition, you must configure permissions for your target platforms.
Android
Add the following to your android/app/src/main/AndroidManifest.xml:
<uses-permission android:name="android.permission.RECORD_AUDIO" />
<uses-permission android:name="android.permission.INTERNET" />
iOS
Add the following to your ios/Runner/Info.plist:
<key>NSSpeechRecognitionUsageDescription</key>
<string>This app requires speech recognition to execute voice commands.</string>
<key>NSMicrophoneUsageDescription</key>
<string>This app needs access to the microphone to hear your commands.</string>
macOS
Ensure you grant network and microphone permissions in Xcode, and add the same keys as iOS into your macos/Runner/Info.plist.
💻 Usage #
Implementation is unbelievably simple. Just wrap your widget tree with VoiceCommandManager.
import 'package:flutter/material.dart';
import 'package:voice_command_manager/voice_command_manager.dart';

void main() {
  runApp(const MyApp());
}

class MyApp extends StatelessWidget {
  const MyApp({super.key});

  @override
  Widget build(BuildContext context) {
    return VoiceCommandManager(
      // 1. Define your commands here!
      commands: {
        "next": () => print("Going to next page!"),
        "back": () => print("Going back!"),
        "save": () => print("Data saved!"),
        "hello": () => print("Hi there!"),
      },
      // 2. (Optional) Listen for raw matched commands string
      onCommandMatched: (command) {
        debugPrint('System recognized the command: $command');
      },
      // 3. Wrap your application
      child: MaterialApp(
        title: 'Voice Command Demo',
        theme: ThemeData(primarySwatch: Colors.teal),
        home: Scaffold(
          appBar: AppBar(title: const Text("Voice Command Demo")),
          body: const Center(
            child: Text(
              "Say 'next', 'back', 'save', or 'hello'",
              style: TextStyle(fontSize: 18, fontWeight: FontWeight.bold),
            ),
          ),
        ),
      ),
    );
  }
}
📚 Example #
Check out the example directory for a fully functioning sample application demonstrating state management with voice commands.
🤝 Contributing #
Contributions are welcome! If you find a bug or want a feature, please open an issue or submit a pull request on GitHub.
- Fork the Project
- Create your Feature Branch (
git checkout -b feature/AmazingFeature) - Commit your Changes (
git commit -m 'Add some AmazingFeature') - Push to the Branch (
git push origin feature/AmazingFeature) - Open a Pull Request
📄 License #
Distributed under the MIT License. See LICENSE for more information.
Metadata
Documentation
Publisher
unverified uploader
Weekly Downloads
Metadata
A lightweight and powerful Flutter package to easily map spoken keywords to app actions. Perfect for adding hands-free navigation and voice-controlled features.
Repository (GitHub)
View/report issues
License
![]() MIT (license)
MIT (license)