honey 0.2.0  honey: ^0.2.0 copied to clipboard
The sweet side of testing. An end to end testing framework for Flutter.
Honey is an end-to-end test framework for Flutter apps. It is designed to be really easy to set up and use. The HoneyTalk test language feels natural to write and read. It is powerful enough to enable you to write complex tests with ease.
Let's start by looking at a simple test:
To test the app like a real user, Honey relies on the accessibility tree to find widgets on the screen. This allows test designers to write tests without having to worry about the implementation details of the app or even knowing Flutter.
Setup #
The setup of Honey is really easy. Just add the following to your pubspec.yaml:
dependencies:
  honey: ^0.1.0
Then run flutter pub get to install the package.
The only thing left to do is to initialize the HoneyWidgetsBinding in your main() function. We recommend using --dart-defines to only enable Honey for test builds:
const kIsHoney = bool.fromEnvironment('HONEY');

void main() {
  if (kIsHoney) {
    HoneyWidgetsBinding.ensureInitialized();
  }

  runApp(MyApp());
}
You can then add a launch config to your launch.json to run your app with Honey enabled:
{
  "name": "Honey Mode",
  "request": "launch",
  "type": "dart",
  "program": "lib/main.dart",
  "args": ["--dart-define", "HONEY=true"]
}
Always run your app through VSCode if you want to use the VSCode extension.
Writing Tests #
HoneyTalk is a full programming language and very powerful. It is asynchronous by default so you never have to use delay or wait to wait for animations to finish. Let's look at a more advanced example:
Honey also understands references and context which makes it easy to find widgets in complex apps. Here are a few examples:
And of course, Honey allows you to use conditions in your tests (although we recommend keeping tests as simple as possible)
Accessibility Overlay #

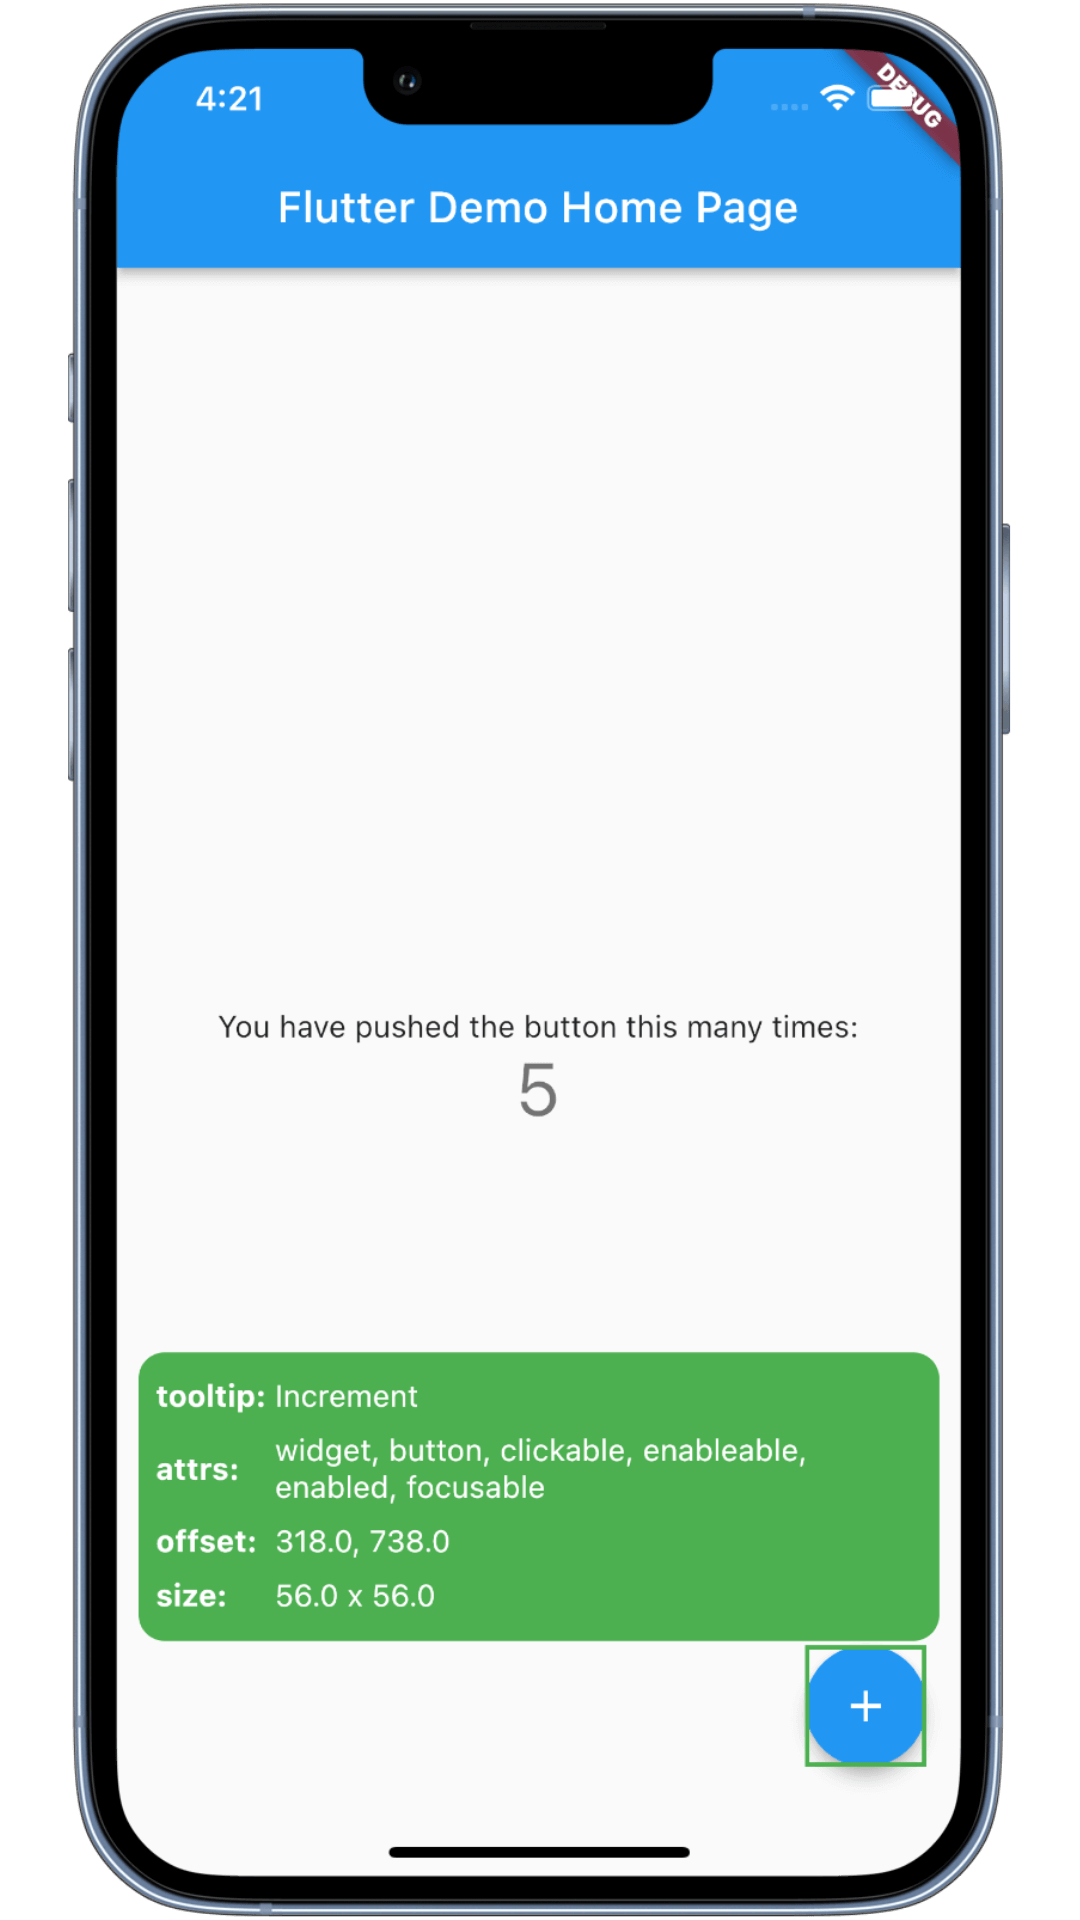
Honey relies on the accessibility tree to find widgets on the screen. To make testing reliable and fun you should make sure that your app is accessible. Honey comes with the "Honey Overlay" to help you with that. You don't need to configure anything, just run your app with Honey enabled and you will see the overlay on top of your app. It allows you to inspect widgets and see their accessibility information.
Honey VSCode Extension #
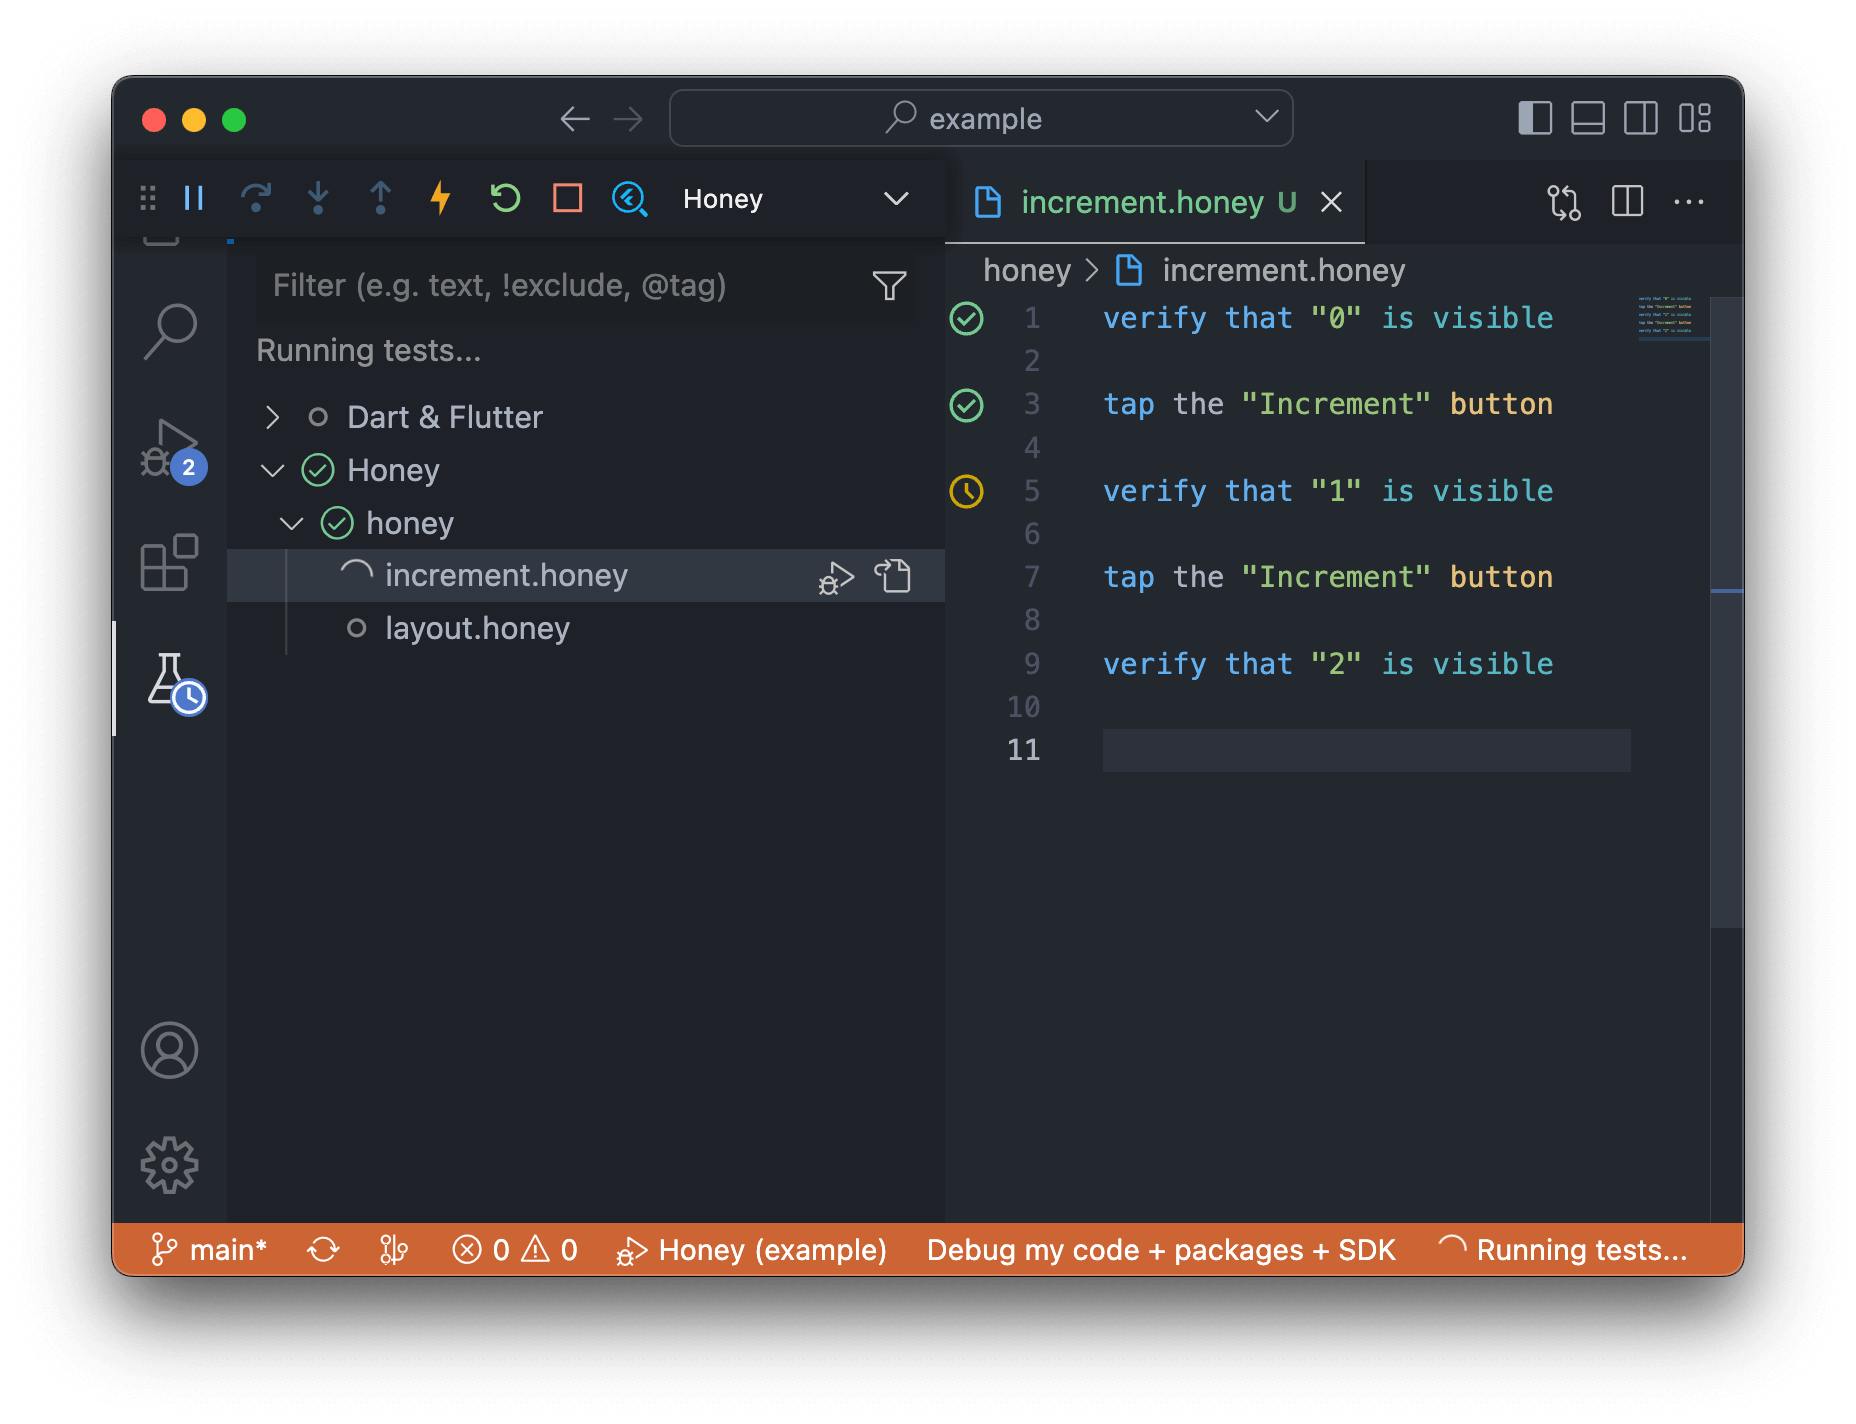
Honey comes with a VSCode extension that allows you to run tests directly from the editor. It also provides syntax highlighting.
After installing the VSCode extension, just create a your_test.honey file and run your Flutter app in test mode. You can either run your test from the "Run and Debug" panel or the "Testing" tree in VSCode.
Extending HoneyTalk #
At some point, you might want to call Dart functions from your HoneyTalk tests for example to inject a login token or verify an API response. HoneyTalk is completely modular and allows you to override or extend every function in the language. Here is an example that defines a custom login function:
import 'package:honey/honey.dart';

Future<EvaluatedExpr> honeyLogin(HoneyContext ctx, Map<String, Expr> params) {
  final email = await ctx.eval(params['email']);
  final password = await ctx.eval(params['password']);

  // do some login logic here

  return val(true);
}
From HoneyTalk you can then call the function:
login with email "simon@clickup.com" and password "notMyPassword"
You can also overwrite built-in Honey functions. You could override the F.add function to modify how addition works.
Open Sourced by ClickUp 💙 #
Saving people time by making the world more productive.
We're looking for experienced developers.
Be Part of Something Great and Join Us!
License #
Copyright 2022 ClickUp

Licensed under the Apache License, Version 2.0 (the "License");
you may not use this file except in compliance with the License.
You may obtain a copy of the License at

    http://www.apache.org/licenses/LICENSE-2.0

Unless required by applicable law or agreed to in writing, software
distributed under the License is distributed on an "AS IS" BASIS,
WITHOUT WARRANTIES OR CONDITIONS OF ANY KIND, either express or implied.
See the License for the specific language governing permissions and
limitations under the License.


