cunning_document_scanner 1.4.0  cunning_document_scanner: ^1.4.0 copied to clipboard
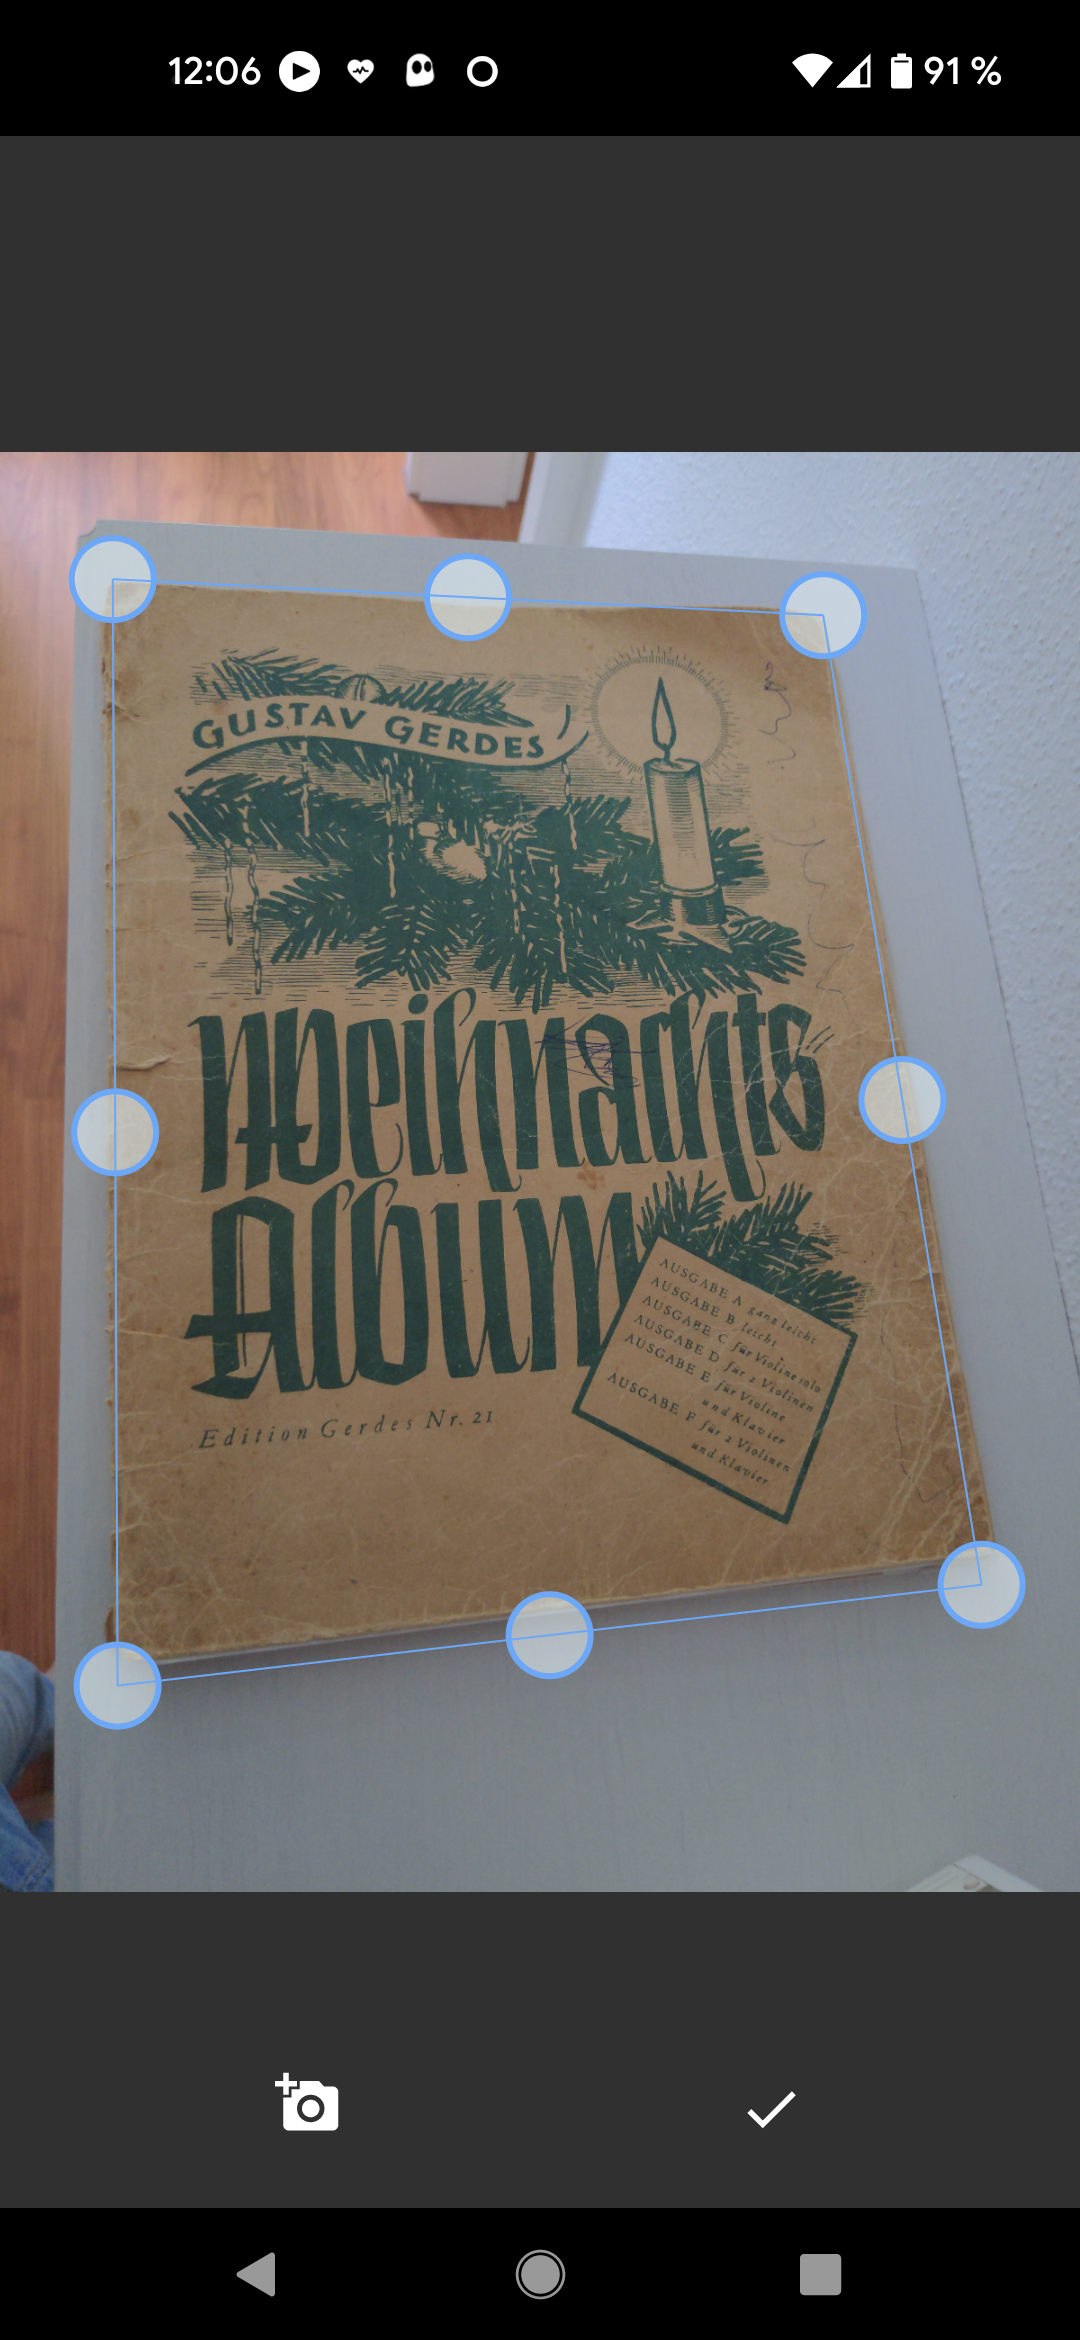
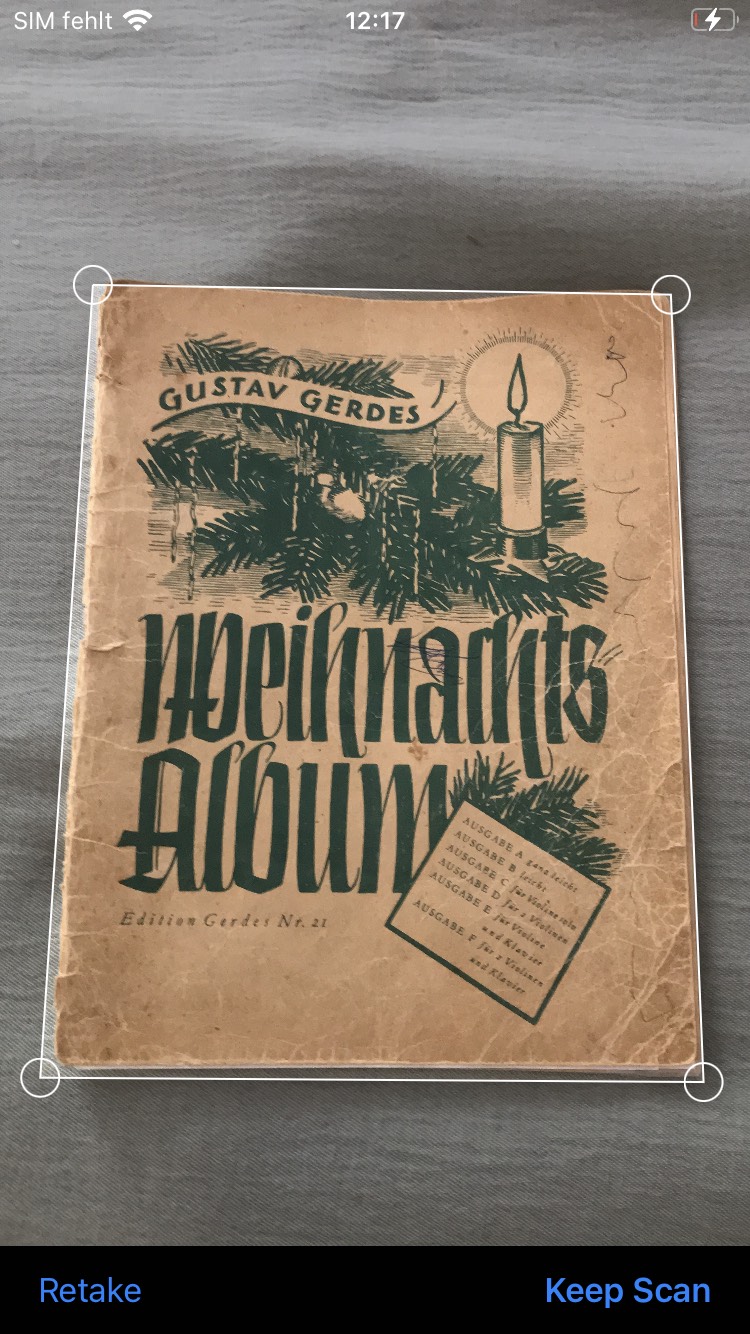
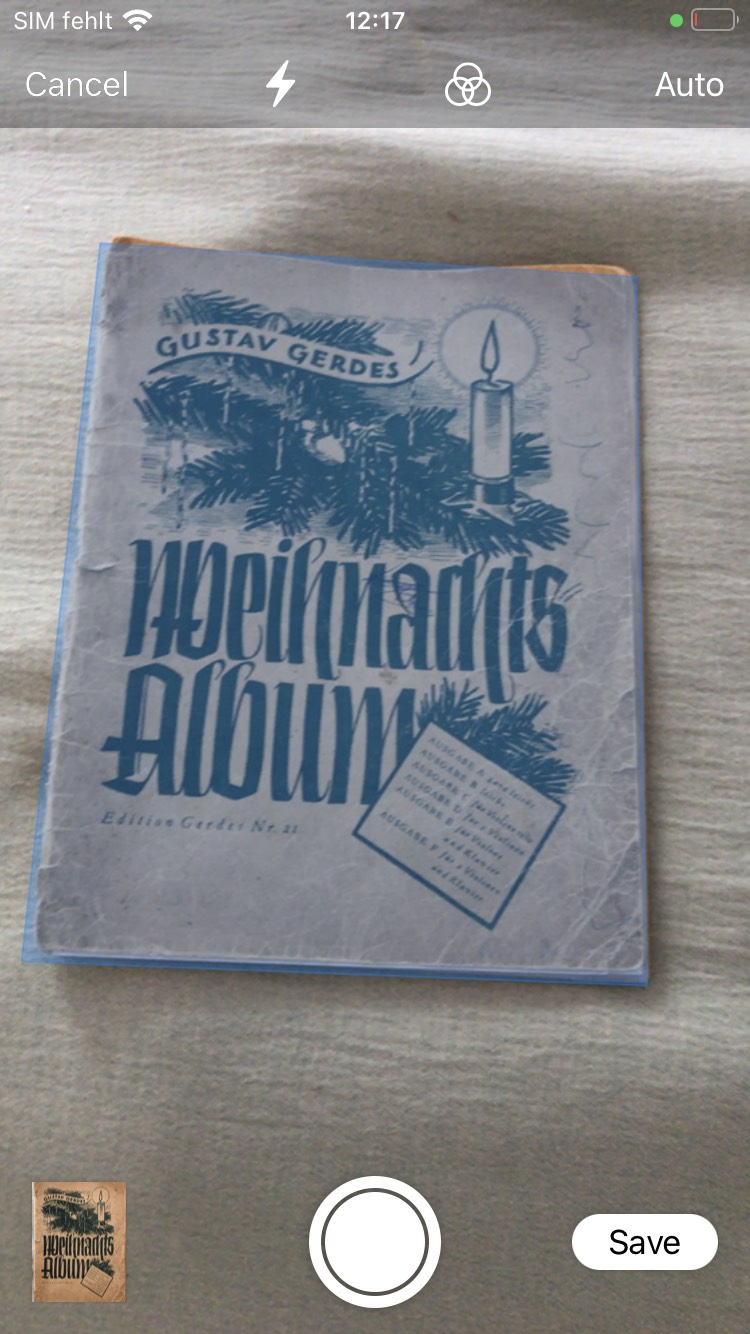
A document scanner plugin for flutter. Scan and crop automatically on iOS and Android.
Cunning Document Scanner #
Cunning Document Scanner is a Flutter-based document scanner application that enables you to capture images of paper documents and convert them into digital files effortlessly. This application is designed to run on Android and iOS devices with minimum API levels of 21 and 13, respectively.
Key Features #
- Fast and easy document scanning.
- Conversion of document images into digital files.
- Support for both Android and iOS platforms.
- Minimum requirements: API 21 on Android, iOS 13 on iOS.
- Limit the number of scannable files on Android.
- Allows selection of images from the gallery on Android.
A state of the art document scanner with automatic cropping function.


Project Setup #
Follow the steps below to set up your Flutter project on Android and iOS.
Android #
Minimum Version Configuration
Ensure you meet the minimum version requirements to run the application on Android devices.
In the android/app/build.gradle file, verify that minSdkVersion is at least 21:
android {
    ...
    defaultConfig {
        ...
        minSdkVersion 21
        ...
    }
    ...
}
IOS #
Minimum Version Configuration
Ensure you meet the minimum version requirements to run the application on iOS devices.
In the ios/Podfile file, make sure the iOS platform version is at least 13.0:
platform :ios, '13.0'
Permission Configuration
-
Add a String property to the app's Info.plist file with the key NSCameraUsageDescription and the value as the description for why your app needs camera access.
-
The permission_handler dependency used by cunning_document_scanner use macros to control whether a permission is enabled. Add the following to your
Podfilefile:post_install do |installer| installer.pods_project.targets.each do |target| ... # Here are some configurations automatically generated by flutter # Start of the permission_handler configuration target.build_configurations.each do |config| # You can enable the permissions needed here. For example to enable camera # permission, just remove the `#` character in front so it looks like this: # # ## dart: PermissionGroup.camera # 'PERMISSION_CAMERA=1' # # Preprocessor definitions can be found at: https://github.com/Baseflow/flutter-permission-handler/blob/master/permission_handler_apple/ios/Classes/PermissionHandlerEnums.h config.build_settings['GCC_PREPROCESSOR_DEFINITIONS'] ||= [ '$(inherited)', ## dart: PermissionGroup.camera 'PERMISSION_CAMERA=1', ] end # End of the permission_handler configuration end end
How to use ? #
The easiest way to get a list of images is:
final imagesPath = await CunningDocumentScanner.getPictures();
Android Specific #
There are some features in Android that allow you to adjust the scanner that will be ignored in iOS:
   final imagesPath = await CunningDocumentScanner.getPictures(
      noOfPages: 1, // Limit the number of pages to 1
      isGalleryImportAllowed, // Allow the user to also pick an image from his gallery
   );
iOS Specific #
On iOS it is possible to configure which image format should be used to save of the document scans. Available options are PNG (default) or JPEG. In certain situations the JPEG format could drastically reduce the file size of the final scan. If you choose to use JPEG you can also specify a compression quality, where 0.0 is highest compression (lowest quality) and 1.0 (default) is the lowest compression (highest quality). Example usage is:
   // Returns images in JPEG format with a compression quality of 50%.
   final imagesPath = await CunningDocumentScanner.getPictures(
      iosScannerOptions: IosScannerOptions(
         imageFormat: IosImageFormat.jpg,
         jpgCompressionQuality: 0.5,
      ),
   );
Installation #
Before you begin, make sure you have Flutter and Dart installed on your system. You can follow the Flutter installation guide for more information.
-
Clone this repository:
git clone https://github.com/jachzen/cunning_document_scanner.git -
Navigate to the project directory:
cd cunning_document_scanner -
Install dependencies:
flutter pub get -
Run the application:
flutter run
Contributions #
Contributions are welcome. If you want to contribute to the development of Cunning Document Scanner, follow these steps:
- Fork the repository.
- Create a branch for your contribution:
git checkout -b your_feature - Make your changes and commit:
git commit -m 'Add a new feature' - Push the branch:
git push origin your_feature - Open a pull request on GitHub.
Issues and Support #
If you encounter any issues or have questions, please open an issue. We're here to help.
License #
This project is licensed under the MIT License. See the LICENSE file for more details.