cometchat_sdk 4.0.5  cometchat_sdk: ^4.0.5 copied to clipboard
CometChat enables you to add voice, video & text chat for your website & app. This guide demonstrates how to add chat to an Flutter application using CometChat.
CometChat Flutter Chat SDK #
CometChat enables you to add voice, video & text chat for your website & app. This guide demonstrates how to add chat to an Flutter application using CometChat.
Prerequisites ⭐ #
Before you begin, ensure you have met the following requirements:
✅ You have Android Studio or Xcode installed in your machine.
✅ You have a Android Device or Emulator with Android Version 5.0 or above.
✅ You have a IOS Device or Emulator with IOS 11.0 or above.
✅ You have read CometChat Key Concepts.
Installing CometChat Flutter SDK #
Setup 🔧 #
To setup Fluter SDK, you need to first register on CometChat Dashboard. Click here to sign up.
i. Get your Application Keys 🔑 #
Signup for CometChat and then:
- Create a new app: Click Add App option available → Enter App Name & other information → Create App
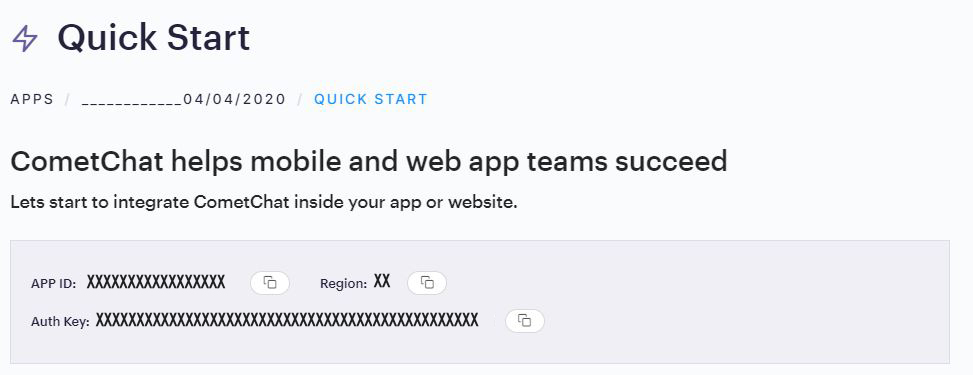
- At the Top in QuickStart section you will find Auth Key & App ID or else you can head over to the API & Auth Keys section and note the Auth Key and App ID

ii. Add the CometChat Dependency #
-
1. To use this plugin, add cometchat as a dependency in your pubspec.yaml file.
2. add the following code to podfile inside IOS section of your app
post_install do |installer|
installer.pods_project.targets.each do |target|
flutter_additional_ios_build_settings(target)
- For IOS change ios deployment target to 11 or higher
- For Ios navigate to your IOS folder in terminal or CMD and do
pod install. For apple chip system use rositta terminal. - To import use
import 'package:cometchat_sdk/cometchat_sdk.dart';
Configure CometChat SDK #
i. Initialize CometChat 🌟 #
The init() method initializes the settings required for CometChat. We suggest calling the init() method on app startup, preferably in the init() method of the Home class.
import 'package:cometchat_sdk/cometchat_sdk.dart';


String appID = "APP_ID"; // Replace with your App ID
String region = "REGION"; // Replace with your App Region ("eu" or "us")

 AppSettings appSettings = (AppSettingsBuilder()
        ..subscriptionType = CometChatSubscriptionType.allUsers
        ..region= region
        ..autoEstablishSocketConnection =  true
    ).build();

    CometChat.init(appID, appSettings, onSuccess: (String successMessage) {
      debugPrint("Initialization completed successfully  $successMessage");
    }, onError: (CometChatException e) {
      debugPrint("Initialization failed with exception: ${e.message}");
    });
ℹ️ Note - Make sure to replace region and appID with your credentials. |
|---|
ii. Create User 👤 #
Once initialisation is successful, you will need to create a user. You need to user createUser() method to create user on the fly.
import 'package:cometchat_sdk/cometchat_sdk.dart';


String authKey = "AUTH_KEY"; // Replace with your App Auth Key
User user = User(uid: "usr1" , name: "Kevin"  );

CometChat.createUser(user,  authKey, onSuccess: (User user){
   debugPrint("Create User succesfull ${user}");

}, onError: (CometChatException e){
    debugPrint("Create User Failed with exception ${e.message}");
});
| ℹ️ Note - Make sure that UID and name are specified as these are mandatory fields to create a user. |
|---|
iii. Login User 👤 #
Once you have created the user successfully, you will need to log the user into CometChat using the login() method.
String UID = "user_id"; // Replace with the UID of the user to login
String authKey = "AUTH_KEY"; // Replace with your App Auth Key

final user = await CometChat.getLoggedInUser();
if (user == null) {
  await CometChat.login(UID, authKey,
                        onSuccess: (User user) {
                          debugPrint("Login Successful : $user" );
                        }, onError: (CometChatException e) {
                          debugPrint("Login failed with exception:  ${e.message}");
                        });
}else{
//Already logged in
}
| ℹ️ Note - The login() method needs to be called only once. Also replace AUTH_KEY with your App Auth Key. |
|---|
📝 Please refer to our Developer Documentation for more information on how to configure the CometChat Pro SDK and implement various features using the same.
License #
This project uses the following license: LICENSE.