upi_india 2.1.2  upi_india: ^2.1.2 copied to clipboard
A flutter plugin to do UPI transaction through different apps in Android.
UPI India (for Android only) #
This plugin is used to integrate UPI Options in your Android app.
If you can help me to extend this for ios too, feel free to do a Pull Request. Thanks in advance!
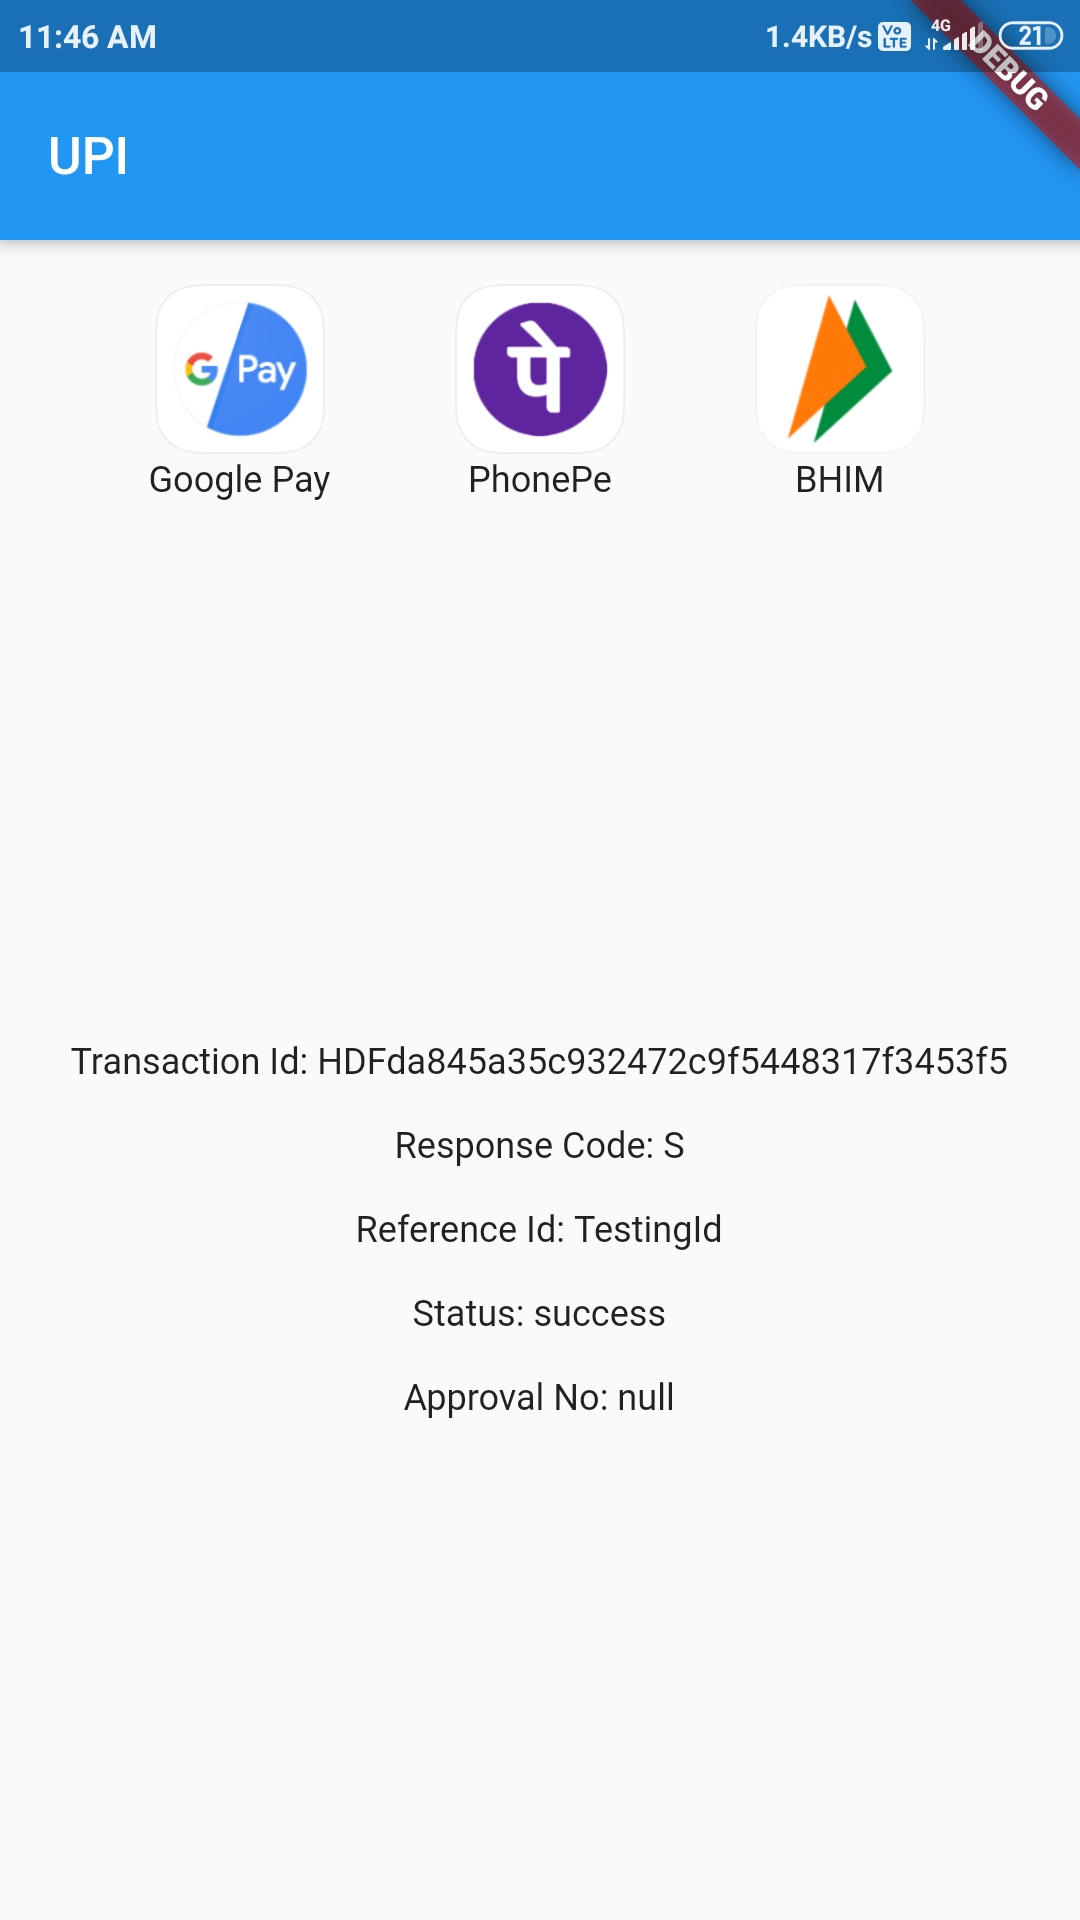
For a complete example of how to use this plugin, look at the Example tab or in the Github repositiry.


Classes to know #
-
UpiIndia - It is the main class containing two methods: getAllUpiApps(), startTransaction()
-
UpiApp - It contains package name of some popular UPI apps. It is also the model class for the apps returned by getAllUpiApps() and now stores app icons too.
-
UpiResponse - You will use this to get response from the requested app.
-
UpiPaymentStatus - Use this to see if transaction was a success or not.
-
UpiError - This class contains some common errors which you may encounter.
How to start transaction? #
Step 1: #
Import the Package:
import 'package:upi_india/upi_india.dart';
Step 2: #
Create UpiIndia object.
UpiIndia _upiIndia = UpiIndia();
Step 3: #
Get list of all apps in the device which can handle UPI Intent, as shown.
List<UpiIndiaApp> apps;

@override
void initState() {
  _upiIndia.getAllUpiApps().then((value) {
    setState(() {
      apps = value;
    });
  });
  super.initState();
}
OR
You can use some of the predefined apps directly, like:
String app = UpiApp.GooglePay;
and assign it to the app parameter in Step 4
Step 4: #
Create a method which will start the transaction on being called, as shown.
Future<UpiResponse> initiateTransaction(String app) async {
  return _upiIndia.startTransaction(
    app: apps[0].app, //  I took only the first app from List<UpiIndiaApp> app.
    receiverUpiId: 'tester@test', // Make Sure to change this UPI Id
    receiverName: 'Tester',
    transactionRefId: 'TestingId',
    transactionNote: 'Not actual. Just an example.',
    amount: 1.00,
  );
}
Step 5: #
Call this method on any button click or through FutureBuilder and then you will get the Response!
How to handle Response? #
Step 1: #
After getting UpiResponse, check if its error property is null or not. If it is not null, handle it as shown:
if (_upiResponse.error != null) {
switch (_upiResponse.error) {
  case UpiError.APP_NOT_INSTALLED:
    print("Requested app not installed on device");
    break;
  case UpiError.INVALID_PARAMETERS:
    print("Requested app cannot handle the transaction");
    break;
  case UpiError.NULL_RESPONSE:
    print("requested app didn't returned any response");
    break;
  case UpiError.USER_CANCELLED:
    print("You cancelled the transaction");
    break;
  }
}
Step 2: #
If _upiResponse.error is null, you can then get these parameters from it:
- Transaction ID
- Response Code
- Approval Reference Number
- Transaction Reference ID
- Status
Step 3: #
Check the Status property. It has following values:
- UpiPaymentStatus.SUCCESS
- UpiPaymentStatus.SUBMITTED
- UpiPaymentStatus.FAILURE
If Status is SUCCESS, Congratulations! You have successfully used this plugin.
Predefined apps in this plugin are:
- PayTM
- Google Pay
- BHIM
- PhonePe
- Amazon Pay
- Truecaller
- My Airtel
- Mobikwik
- FreeCharge
- SBIPay
- IMobileICICI
For a complete example of how to use this plugin, look at the Example tab or in the Github repositiry.
Don't forget to give Like and Stars!