


sign_in_with_apple 2.0.0+4  sign_in_with_apple: ^2.0.0+4 copied to clipboard
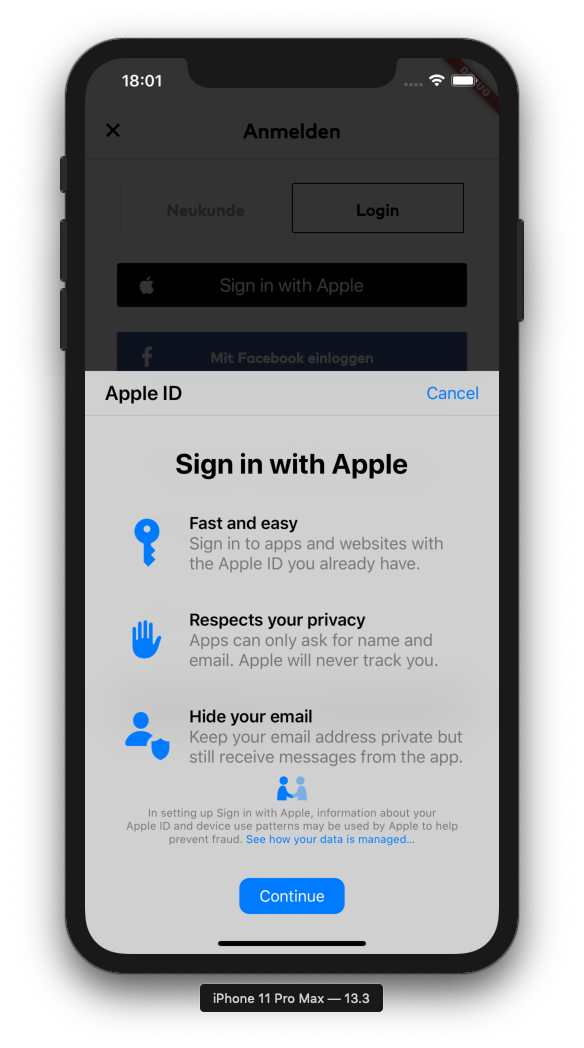
Flutter bridge to initiate Sign in with Apple (on iOS, macOS, and Android). Includes support for keychain entries as well as signing in with an Apple ID.
Sign in With Apple #
Flutter bridge to Sign in with Apple.
Supports login via an Apple ID, as well as retrieving credentials saved in the user's keychain.
Supported platforms #
- iOS
- macOS
- Android
Example Usage #
SignInWithAppleButton(
  onPressed: () async {
    final credential = await SignInWithApple.getAppleIDCredential(
      scopes: [
        AppleIDAuthorizationScopes.email,
        AppleIDAuthorizationScopes.fullName,
      ],
    );

    print(credential);

    // Now send the credential (especially `credential.authorizationCode`) to your server to create a session
    // after they have been validated with Apple
  },
);
Flow #

Integration #
Integrating Sign in with Apple goes beyond just adding this plugin to your pubspec.yaml and using the credential-receiving functions exposed by it.
Once you receive the credentials, they need to the verified with Apple's servers (to ensure that they are valid and really concern the mentioned user) and then a new session should be derived from them in your system.
Your server should then daily verify the session with Apple (via a refresh token it obtained on the initial validation), and revoke the session in your system if the authorization has been withdrawn on Apple's side.
Prerequisites #
Before you can start integrating (or even testing) Sign in with Apple you need a paid membership to the Apple Developer Program. Sign in with Apple is one of the restricted services which is not available for free with just an Apple ID (source).
Setup #
Register an App ID
If you don't have one yet, create a new one at https://developer.apple.com/account/resources/identifiers/list/bundleId following these steps:
- Click "Register an App ID"
- In the wizard select "App IDs", click "Continue"
- Set the
DescriptionandBundle ID, and select theSign In with Applecapability- Usually the default setting of "Enable as a primary App ID" should suffice here. If you ship multiple apps that should all share the same Apple ID credentials for your users, please consult the Apple documentation on how to best set these up.
- Click "Continue", and then click "Register" to finish the creation of the App ID
In case you already have an existing App ID that you want to use with Sign in with Apple:
- Open that App ID from the list
- Check the "Sign in with Apple" capability
- Click "Save"
If you have change your app's capabilities, you need to fetch the updated provisioning profiles (for example via Xcode) to use the new capabilities.
Create a Service ID
Next go to https://developer.apple.com/account/resources/identifiers/list/serviceId and follow these steps:
- Click "Register an Services ID"
- Select "Services IDs", click "Continue"
- Set your "Description" and "Identifier"
- The "Identifier" will later be referred to as your
clientID
- The "Identifier" will later be referred to as your
- Click "Continue" and then "Register"
Now that the service is created, we have to enable it to be used for Sign in with Apple:
- Select the service from the list of services
- Check the box next to "Sign in with Apple", then click "Configure"
- In the
Domains and Subdomainsadd the domains of the websites on which you want to use Sign in with Apple, e.g.example.com. You have to enter at least one domain here, even if you don't intend to use Sign in with Apple on any website. - In the
Return URLsbox add the full return URL you want to use, e.g. https://example.com/callbacks/sign_in_with_apple - Click "Next" and then "Done" to close the settings dialog
- Click "Continue" and then "Save" to update the service
In order to communicate with Apple's servers to verify the incoming authorization codes from your app clients, you need to create a key at https://developer.apple.com/account/resources/authkeys/list:
- Click "Create a key"
- Set the "Key Name" (E.g. "Sign in with Apple key")
- Check the box next to "Sign in with Apple", then click "Configure" on the same row
- Under "Primary App ID" select the App ID of the app you want to use (either the newly created one or an existing one)
- Click "Save" to leave the detail view
- Click "Continue" and then click "Register"
- Now you'll see a one-time-only screen where you must download the key by clicking the "Download" button
- Also note the "Key ID" which will be used later when configuring the server
Now everything is set up on Apple's Developer portal and we can start setting up the server.
Server #
The server part is usually integrated into your existing backends, and there are existing packages for most existing programming languages and web frameworks out there.
In order to show how to build a complete example, we set up a example project on Glitch which offers simple and free hosting of a HTTPS-enabled web API, which is exactly what's needed here.
To get started with the Glitch-based example go to the project's page at https://glitch.com/~flutter-sign-in-with-apple-example and click "Remix this". Now you have your own copy of the sample server!
First select the .env file in the file browser on the left and put in your credentials (these will not be public, but only shared with invited collaborators).
Then click on the "Share" button next to your avatar in the upper left, select "Live App" and copy the entry page URL (e.g. https://some-random-identifier.glitch.me).
Now update the services you created earlier at https://developer.apple.com/account/resources/identifiers/list/serviceId to include the following URL under Return URLs: https://[YOUR-PROJECT-NAME].glitch.me/callbacks/sign_in_with_apple (replacing the name inside the []).
After this is done, you can now proceed to integrate Sign in with Apple into the code of your Flutter app.
Android #
Adding Sign in with Apple to a Flutter app is shown from 2 sides here. First we look into making the example app work with our server-side setup, and then we go over the additional steps required to set up your app from scratch.
Example App
- Open the
examplefolder inside this package in an editor of your choice - Run
flutter packages get - Open
lib/main.dartand look at theSignInWithAppleButton.onPressedcallback- Set the
scopesparameter to your required scopes, for testing we can keep requesting a name and email - Update the values passed to the
WebAuthenticationOptionsconstructor to match the values in the Apple Developer Portal - Likewise update the
signInWithAppleEndpointvariable to point to your
- Set the
- Once you have updated the code,
flutter runthe example on an Android device or emulator
Your App
In your AndroidManifest.xml inside <application> add
<!-- Set up the Sign in with Apple activity, such that it's callable from the browser-redirect -->
<activity
    android:name="com.aboutyou.dart_packages.sign_in_with_apple.SignInWithAppleCallback"
    android:exported="true"
>
    <intent-filter>
        <action android:name="android.intent.action.VIEW" />
        <category android:name="android.intent.category.DEFAULT" />
        <category android:name="android.intent.category.BROWSABLE" />

        <data android:scheme="signinwithapple" />
        <data android:path="callback" />
    </intent-filter>
</activity>
On the Sign in with Apple callback on your sever (specified in WebAuthenticationOptions.redirectUri), redirect safely back to your Android app using the following URL:
intent://callback?${PARAMETERS FROM CALLBACK BODY}#Intent;package=YOUR.PACKAGE.IDENTIFIER;scheme=signinwithapple;end
The PARAMETERS FROM CALLBACK BODY should be filled with the urlencoded body you receive on the endpoint from Apple's server, and the package parameter should be changed to match your app's package identifier (as published on the Google Play Store). Leave the callback path and signinwithapple scheme untouched.
Furthermore, when handling the incoming credentials on the client, make sure to only overwrite the current (guest) session of the user once your own server have validated the incoming code parameter, such that your app is not susceptible to malicious incoming links (e.g. logging out the current user).
iOS #
Metadata
Publisher
Weekly Downloads
Metadata
Flutter bridge to initiate Sign in with Apple (on iOS, macOS, and Android). Includes support for keychain entries as well as signing in with an Apple ID.
Homepage
Repository (GitHub)
View/report issues
License
![]() unknown (license)
unknown (license)