mesh 0.5.0  mesh: ^0.5.0 copied to clipboard
Fast and highly customizable animated Mesh Gradients for Flutter applications. Using Shaders and vertices.
O'Mesh Flutter 🎨 #
⚡ Fast and highly customizable animated Mesh Gradients for Flutter applications.

It is not a JPEG 🌭
This is a Flutter Package containing widgets and other utility classes to render Free-Form mesh gradients.
What? 🤨 #
A free-form mesh gradient means that the gradient is not limited to a linear or radial shape but can be defined by a custom mesh of points. Each point in the mesh can have its own color and position. This gives developers the flexibility to create unique and complex visual effects in their Flutter applications. They can be used to enhance the visual appeal of UI elements and backgrounds.
This package brings this capability to Flutter apps.
Are you using O'Mesh? Let me know. #
If there is a chance of you using O'Mesh, do it 😉. If you do, I would love to see it in action. Let me know where and how you are using it via my socials: Twitter and LinkedIn.
Design your mesh gradient #
Designing with code is fun, but with a design tool everything gets easier.
Try the O'Mesh Flutter playground and generate flutter code from designs.
Documentation and resources 📚 #
The best resources to get the most out of O'Mesh:
- API Docs on pub.dev;
- My Twitter where I post some examples;
- Live example app;
- More to come.
Getting Started 🚀 #
On your Flutter App project, install the package via the following command:
flutter pub add mesh
Most user-facing APIs are found under the following import:
import 'package:mesh/mesh.dart';
Usage examples 📖 #
You can see all the examples below live in the example app).
1. Basic example #
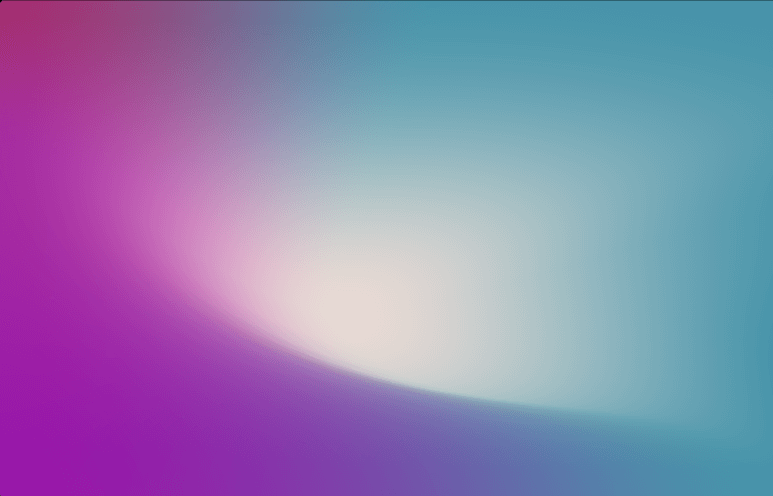
A simple usage of a 3x3 mesh with colors in each vertex
Result:
Code:
OMeshGradient(
    mesh: OMeshRect(
        width: 3,
        height: 3,
        vertices: [
            // Positions are in a normalized space
            // where top-left is 0,0 and bottom right is 1,1


            // use // to mark the end of rows
            // so the dart auto formatter will respect your spacing


            (-0.06, -0.08).v, (0.58, -0.05).v,  (1.36, 0.04).v, // Row 1

            (-0.02, 0.31).v, (0.44, 0.63).v, (1.11, 0.4).v, // Row 2

            (-0.01, 1.01).v,  (1.01, 1.0).v,  (1.02, 0.73).v, // Row 3
        ],
        colors: const [
            Color(0xffa52b68), Color(0xff4693a9), Color(0xff4693a9), // Row 1

            Color(0xffa52ba0), Color(0xffe8dad4), Color(0xff4693a9), // Row 2

            Color(0xff9715a9), Color(0xff4693a9), Color(0xff4693a9), // Row 3
        ],
    ),
);
2. Not so basic example #
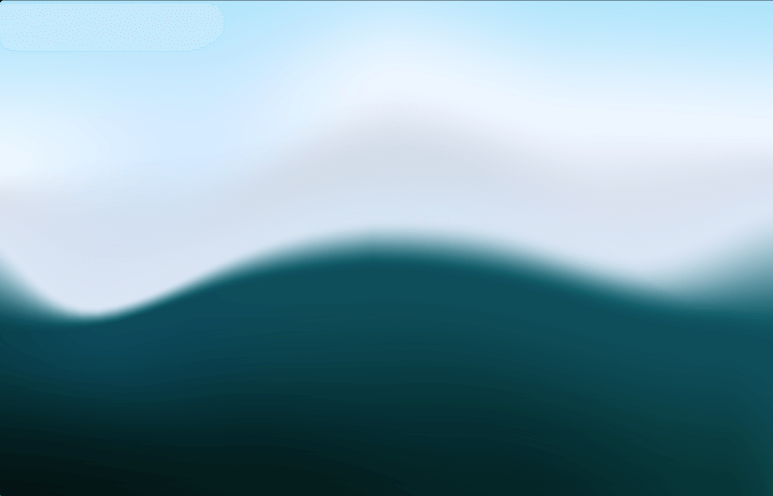
More advanced example with different colors in each vertex, bezier vertices and color inference
Result:
Code:
OMeshGradient(
    mesh: OMeshRect(
        width: 5,
        height: 5,
        fallbackColor: const Color(0xffade3fa),
        backgroundColor: const Color(0xffcae3ec),
        vertices: [
            (-0.06, -0.01).v,  (0.24, -0.07).v, (0.51, -0.11).v,  (0.74, -0.05).v, (1.03, -0.02).v, // Row 1

            (-0.04, 0.34).v, (0.25, 0.29).v,  (0.51, 0.17).v,  (0.75, 0.25).v,  (1.03, 0.27).v, // Row 2

            // Notice that some of the vertices below have custom bezier
            // control points. These modify the curved distortion
            // of the mesh

            (-0.05, 0.44).v,
            (0.15, 0.61).v.bezier(
                east: (0.25, 0.57).v,
                west: (0.05, 0.65).v,
            ),
            (0.48, 0.44).v.bezier(
                east: (0.66, 0.43).v,
                west: (0.3, 0.47).v,
            ),
            (0.81, 0.51).v.bezier(
                east: (0.89, 0.51).v,
                west: (0.68, 0.48).v,
            ),
            (1.03, 0.4).v, // Row 3

            (-0.06, 0.67).v,
            (0.15, 0.65).v.bezier(
                east: (0.25, 0.61).v,
                west: (0.07, 0.68).v,
            ),
            (0.48, 0.54).v.bezier(
                east: (0.69, 0.55).v,
                west: (0.28, 0.56).v,
            ),
            (0.92, 0.67).v.bezier(
                north: (0.92, 0.6).v,
            ),
            (1.03, 0.7).v, // Row 4

            (-0.03, 1.04).v, (0.35, 1.02).v, (0.65, 1.06).v, (0.93, 1.02).v, (1.07, 1.03).v, // Row 5
        ],
        colors: const [
            // Null colors will fallback to 'fallbackColor'
            null, null,null, null, null, // Row 1

            Color(0xffeef8ff),
            Color(0xffd5ebff),
            Color(0xffedf5ff),
            Color(0xffedf5ff),
            Color(0xffedf5ff), // Row 2

            // Colors with opacity will blend with the 'backgroundColor'
            Color(0x73efe8ff),
            Color(0x73efe8ff),
            Color(0x54efe8ff),
            Color(0x73efe8ff),
            Color(0x73efe8ff), // Row 3

            Color(0xff003e48),
            Color(0xff00495b),
            Color(0xff004e5b),
            Color(0xff004e5b),
            Color(0xff004e5b), // Row 4

            Color(0xf7010c0c),
            Color(0xf7011515),
            Color(0xf7011e1e),
            Color(0xf7013131),
            Color(0xff025352), // Row 5
        ],
    ),
);
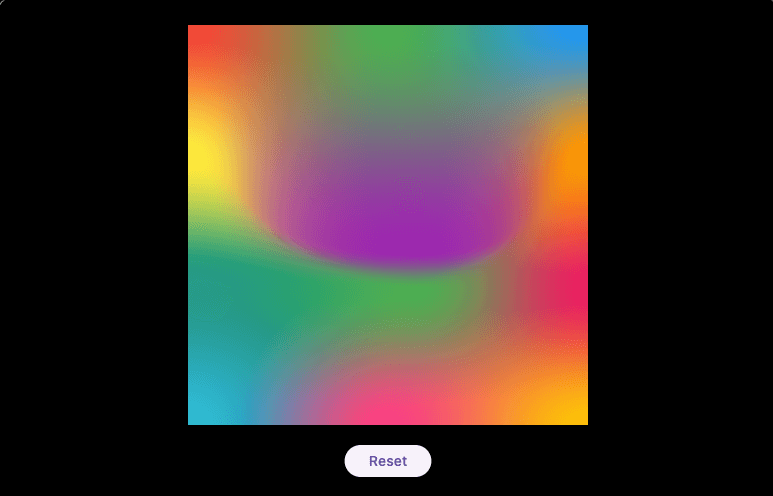
3. Intrinsic animation example #
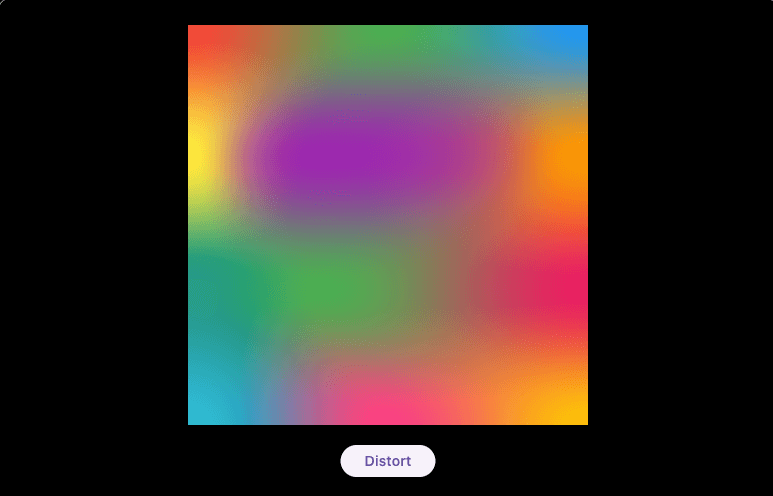
An example to illustrate animation on state change.
In this example the mesh will distort after a button click.
Result:
Code:
class MyWidget extends StatefulWidget {
...
}
....
class _MyWidgetState extends State<MyWidget> {
  bool distorted = false;

  @override
  Widget build(BuildContext context) {
    final middle = distorted ? 0.57 : 0.33;

    return Center(
      child: Column(
        mainAxisSize: MainAxisSize.min,
        children: [
          AnimatedOMeshGradient(
            size: const Size(400, 400),
            curve: Curves.easeInOut,
            tessellation: 14, // custom tessellation factor, use this with care
            duration: const Duration(seconds: 1),
            mesh: OMeshRect(
              width: 3,
              height: 4,
              colorSpace: OMeshColorSpace.linear,
              vertices: [
                (0.0, 0.0).v, (0.5, 0.0).v, (1.0, 0.0).v, //

                (0.0, 0.33).v,
                (middle, middle).v.bezier(
                      east: (middle + (0.9 - middle), middle).v,
                      west: (middle - (middle - 0.1), middle).v,
                    ),
                (1.0, 0.33).v, //

                (0.0, 0.66).v,
                (middle, 0.66).v.bezier(),
                (1.0, 0.66).v, //

                (0.0, 1.0).v, (0.5, 1.0).v, (1.0, 1.0).v, //
              ],
              colors: const [
                Colors.red, Colors.green, Colors.blue, //
                Colors.yellow, Colors.purple, Colors.orange, //
                Colors.teal, Colors.green, Colors.pink, //
                Colors.cyan, Colors.pinkAccent, Colors.amber, //
              ],
            ),
          ),
          ElevatedButton(
            onPressed: () {
              setState(() {
                distorted = !distorted;
              });
            },
            child: Text(distorted ? 'Reset' : 'Distort'),
          ),
        ],
      ),
    );
  }
}
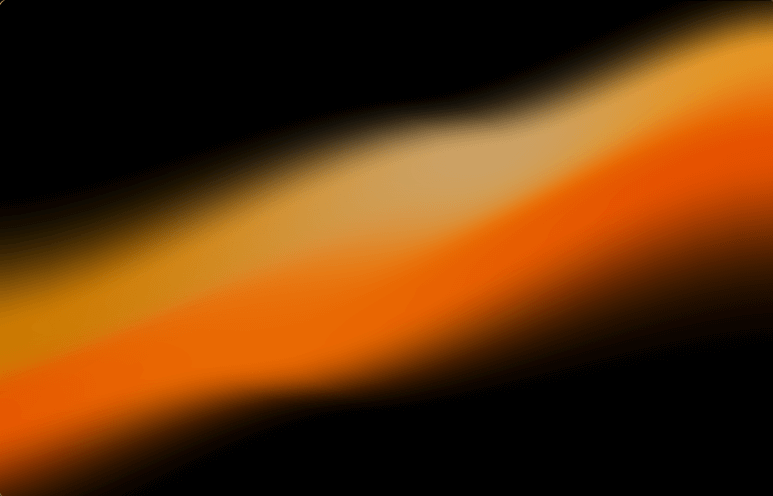
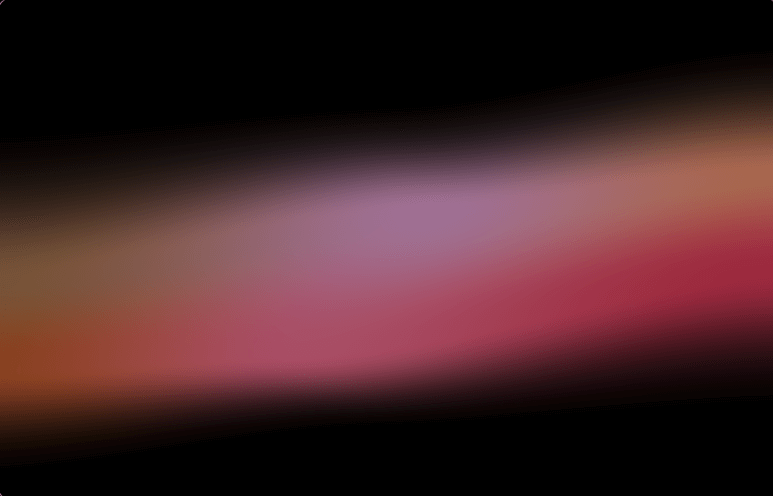
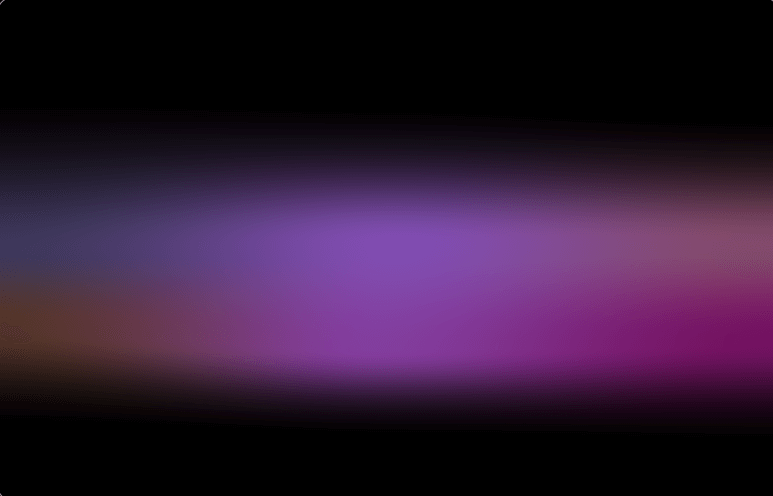
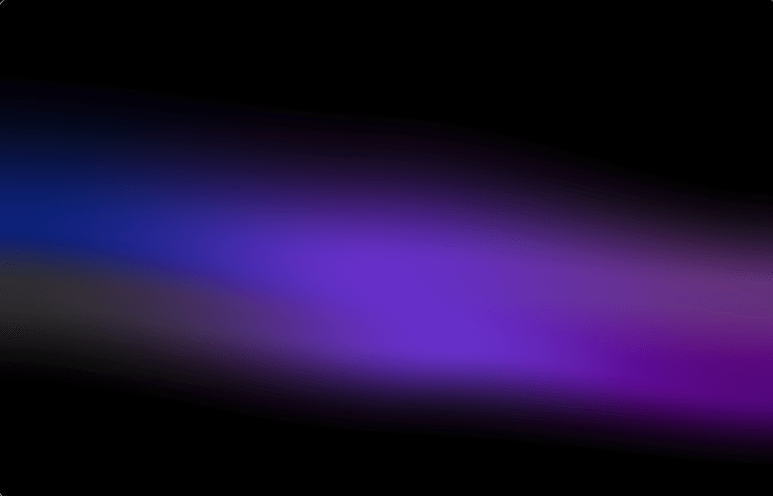
4. Custom animation example #
An example to illustrate animation from an animation controller.
Result (animation frames):
Code:
// Some syntax-sugarring

extension on OVertex {
  OVertex to(OVertex b, double t) => OVertex.lerp(this, b, t);
}

extension on Color? {
  Color? to(Color? b, double t) => Color.lerp(this, b, t);
}

typedef C = Colors;

// Now the actual example


class MyWidget extends StatefulWidget {
...
}
....
class _MyWidgetState extends State<MyWidget> with SingleTickerProviderStateMixin {
  late final AnimationController controller = AnimationController(vsync: this)
    ..duration = const Duration(seconds: 5)
    ..forward()
    ..addListener(() {
      if (controller.value == 1.0) {
        controller.animateTo(0, curve: Curves.easeInOutQuint);
      }
      if (controller.value == 0.0) {
        controller.animateTo(1, curve: Curves.easeInOutCubic);
      }
    });

  @override
  Widget build(BuildContext context) {
    return SizedBox(
      height: 500,
      child: AnimatedBuilder(
        animation: controller,
        builder: (context, _) {
          final dt = controller.value;
          return OMeshGradient(
            tessellation: 12,
            size: Size.infinite,
            mesh: OMeshRect(
              width: 3,
              height: 4,
              // We have some different color spaces available
              colorSpace: OMeshColorSpace.lab,
              fallbackColor: C.transparent,
              vertices: [
                (0.0, 0.3).v.to((0.0, 0.0).v, dt),
                (0.5, 0.15).v.to((0.5, 0.1).v, dt * dt),
                (1.0, -0.1).v.to((1.0, 0.3).v, dt * dt), //

                (-0.05, 0.68).v.to((0.0, 0.45).v, dt),
                (0.63, 0.3).v.to((0.48, 0.54).v, dt),
                (1.0, 0.1).v.to((1.0, 0.6).v, dt), //

                (-0.2, 0.92).v.to((0.0, 0.58).v, dt),
                (0.32, 0.72).v.to((0.58, 0.69).v, dt * dt),
                (1.0, 0.3).v.to((1.0, 0.8).v, dt), //

                (0.0, 1.2).v.to((0.0, 0.86).v, dt),
                (0.5, 0.88).v.to((0.5, 0.95).v, dt),
                (1.0, 0.82).v.to((1.0, 1.0).v, dt), //
              ],
              colors: [
                null, null, null, //

                C.orange[500]
                    ?.withAlpha((255 * 0.8).floor())
                    .to(const Color.fromARGB(255, 10, 33, 122), dt),
                C.orange[200]
                    ?.withAlpha((255 * 0.8).floor())
                    .to(const Color.fromARGB(252, 103, 48, 205), dt),
                C.orange[400]
                    ?.withAlpha((255 * 0.9).floor())
                    .to(const Color.fromARGB(252, 103, 53, 128), dt), //

                C.orange[900].to(const Color.fromARGB(224, 53, 53, 54), dt),
                C.orange[800]
                    ?.withAlpha((255 * 0.98).floor())
                    .to(const Color.fromARGB(255, 103, 48, 205), dt),
                C.orange[900].to(const Color.fromARGB(255, 83, 0, 124), dt), //

                null, null, null, //
              ],
            ),
          );
        },
      ),
    );
  }
}
About impeller #
O'Mesh has had issues when running on the Impeller Rendering Engine in previous versions. These issues were caused by some instability on Impeller, specifically in the Vertices API, which O'Mesh uses in a unique way.
Since Flutter 3.24.3, these issues are fixed 🎉
Troubleshooting #
Known situations where O'Mesh doesn't seem to behave the way it is supposed to.
Panic! I am having Impeller issues #
O'Mesh had some issues when running on the Impeller Rendering Engine in previous versions. These issues were supposed to be fixed in the latest version of O'Mesh. If you are facing a problem that can only be observed when the impeller is ON, report it in the Issues tab on Github.
Learn about O'Mesh support on impeller here.
Holy smokes, my mesh animation is slow #
This may be caused by too many triangles in your mesh
The number of triangles in a mesh can be described by (width-1) * (height-1) * (tessellationFactor ^ 2) * 2.
The default tessellation factor is 12, consider lowering that value for small-sized containers or meshes with too many vertices. See below the visual impacts of a change in the tessellation factor.
I see some artifacts when the mesh is distorted #
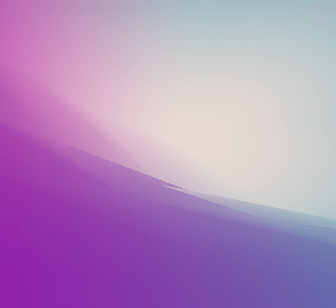
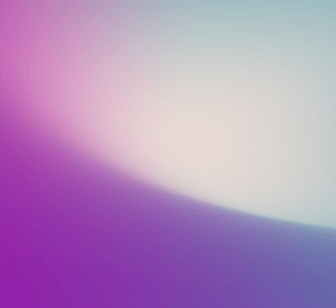
Visible triangles may be caused by not enough tessellation in the mesh. A high tessellation factor gives more accurate curves, with a performance cost. The default tessellation factor is around 12, which should be enough for most mesh designs. This, of course, may not be true for all mesh gradient designs and screen sizes. If you need more accurate curves, consider raising the tessellation factor, if the target devices can take the extra performance toll when animation.
See below the differences between different tessellation factors (3 and 30):
Issues with color space xyY #
When using the xyY colorspace you may face issues when setting at least one of the vertices to complete black. Like in the second image below:
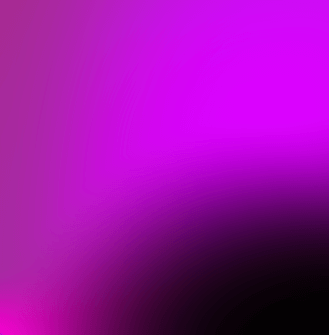
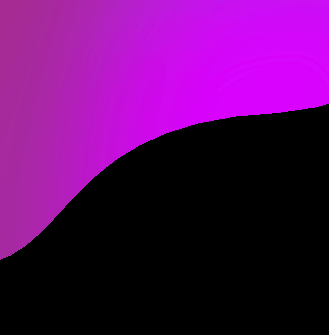
This is expected behavior, as the xyY color space relies on illumination to interpolate colors, black cannot be interpolated.
As a workaround, try to set a minimal value to at least one of the color channels (R, G, or B).
In other words:
#000000 -> #010101
If you still have issues, feel free to report them in the Issues tab on Github.
Thanks #
This work wouldn't be possible without some special people:
- Luke Pighetti for nerd-sniping me about this a year ago
- Lots of mathematicians behind the theories that sustain this package
- The Dart and Flutter folks at Google
- My mom, who gave birth to me


