hyper_pay_payment 1.0.20  hyper_pay_payment: ^1.0.20 copied to clipboard
HYPER PAY FLUTTER PLUGIN , Payment method : VISA, MASTER, MADA, APPLE PAY
Documenation #
GET START Hyper Pay Payment #
Android Config #
- Add JitPack to your build.gradle (Project-level) line :
maven { url 'https://jitpack.io' } // important line
- gradle
allprojects {
    repositories {
        google()
        mavenCentral()
        maven { url 'https://jitpack.io' } // important line
    }
}
in newer Gradle versions (settings.gradle or settings.gradle.kts), make sure JitPack is added like this: gradle
dependencyResolutionManagement {
    repositories {
        google()
        mavenCentral()
        maven { url 'https://jitpack.io' } // important line
    }
}
- AndroidManifest
-
How to generate "SchemaUrl" : replace <<com.example.app>> with your package id then append with <<.payment>>
-
Set schema URL in AndroidManifest file
<activity
            android:name=".MainActivity" >

            <intent-filter>
                <action android:name="android.intent.action.VIEW" />
                <action android:name="android.intent.action.MAIN" />

                <category android:name="android.intent.category.BROWSABLE" />
                <category android:name="android.intent.category.DEFAULT" />

                <category android:name="android.intent.category.LAUNCHER" />
                <data android:scheme="com.yourpackagename.payment" />
            </intent-filter>
- use this value "com.example.myapp.payment" to be set in
    var channelRequest = HyperpayChannelRequest ( );
    channelRequest.shopperResultUrl =   "com.yourpacangename.payment";
IOS Configuration #
VISA/MADA/MASTER #
1- update cocoapods
sudo gem install cocoapods
2- cd flutter project/
- delete derived data of xcode , by command :
rm -rf ~/Library/Developer/Xcode/DerivedData/*
- clean and get
flutter clean
flutter pub get
3- cd projectPathFolder/ios/
rm -rf Podfile.lock Pods
pod install
pod install --repo-update
or
rm -rf Podfile.lock Pods
pod install --repo-update
4- edit podfile :
- set the source of pods is CocoaPods trunks, by write this in first lines in podfile
source 'https://github.com/CocoaPods/Specs.git'
- set platform sdk ios, to be written in first line of podfile
platform :ios, '15.0'
- set at last line of file podfile, the ios device min to run to be:
post_install do |installer|
  installer.pods_project.targets.each do |target|
    flutter_additional_ios_build_settings(target)
    target.build_configurations.each do |config|
     config.build_settings['IPHONEOS_DEPLOYMENT_TARGET'] = '13.0'
    end
  end
end
- uninstall app and reinstall again from xcode or flutter run
5- set schema url , by editing file info.plist :
- replace <<com.example.app>> with your bundle id then append with <<.payment>>
	<key>CFBundleURLTypes</key>
	<array>
		<dict>
			<key>CFBundleTypeRole</key>
			<string>Editor</string>
			<key>CFBundleURLSchemes</key>
			<array>
				<string>com.example.myapp.payment</string>
			</array>
		</dict>
	</array>
- use this value "com.example.myapp.payment" to be set in
    var channelRequest = HyperpayChannelRequest ( );
    channelRequest.shopperResultUrl =   "com.example.myapp.payment";
- after adding schema you also need flutter clean second time
- cd flutter project/
flutter clean
flutter pub get
- after set schema, make install pod again
- cd projectPathFolder/ios/
pod install
6- remove app by uninstall from your device
APPLEPAY Config: #
- enable apple pay Capabilities and follow certificate
1. create idenifier :
https://developer.apple.com/account/resources/identifiers/list

2. connect the identifier merchent id with certificate id :
https://developer.apple.com/account/resources/certificates/list

3. download certificate file to share with support hyperpay
- create apple merchant id from apple console , then set at
                var channelRequest = HyperpayChannelRequest ( );
                channelRequest.merchantId =  "merchant.com.example.myapp";
Create Payment Type : VISA/MASTER/MADA #
Step 1 : Generate Checkout ID #
- First generate the checkout id from your server side, using your own ceradential you getted from Hyperpay support team
Step 2 : Open UI Checkout Using Flutter Plugin #
- Payment Method : VISA/MASTER/MADA
Choose Brand Type #
Safe Area for your Scaffold widget
- example fixing UI issue on pixel 9 API 36 android device:
Scaffold(
   appBar: AppBar(
          title: const Text('Plugin example app'),
        ),
        body:  SafeArea(
            child: Center(
              child:  YourButtonPaymentExample(),
            )
        ),
),
Case : Auto Detect Brand Type:
                /// init request channel
                var channelRequest = HyperpayChannelRequest ( );
                channelRequest.shopperResultUrl =   "com.yourpackagename.payment";  //set schema url added in config ios/android see get start here at readme
                channelRequest.merchantId =  "merchant.com.example.myapp";  //contact hyperpay support to get merchantId
                channelRequest.checkoutId = "**************"; //get from your server side will change in every new transaction
                channelRequest.amount =  1;
                channelRequest.isTest = false ; //false means it's live

                await HyperPayPayment.newPayment(channelRequest : channelRequest, onComplete: (bool isSuccess) {

                  setState(() {
                    isPaymentSuccess = isSuccess;
                  });

                } );
Case : Choose Single Brand Type:
- set the of "brandName" to one of documentation types.
- Example validate to enter Visa number
                /// init request channel
                var channelRequest = HyperpayChannelRequest ( );
                channelRequest.shopperResultUrl =   "com.example.myapp.payment";  //contact hyperpay support to get merchantId
                channelRequest.merchantId =  "merchant.com.example.myapp";  //contact hyperpay support to get merchantId
                channelRequest.brandName = "VISA";  // follow documentation to get brand name, example : VISA/MASTER/MADA
                channelRequest.checkoutId = "**************"; //get from your server side
                channelRequest.amount =  1;
                channelRequest.isTest = false ; //false means it's live

                await HyperPayPayment.newPayment(channelRequest : channelRequest, onComplete: (bool isSuccess) {

                  setState(() {
                    isPaymentSuccess = isSuccess;
                  });

                } );
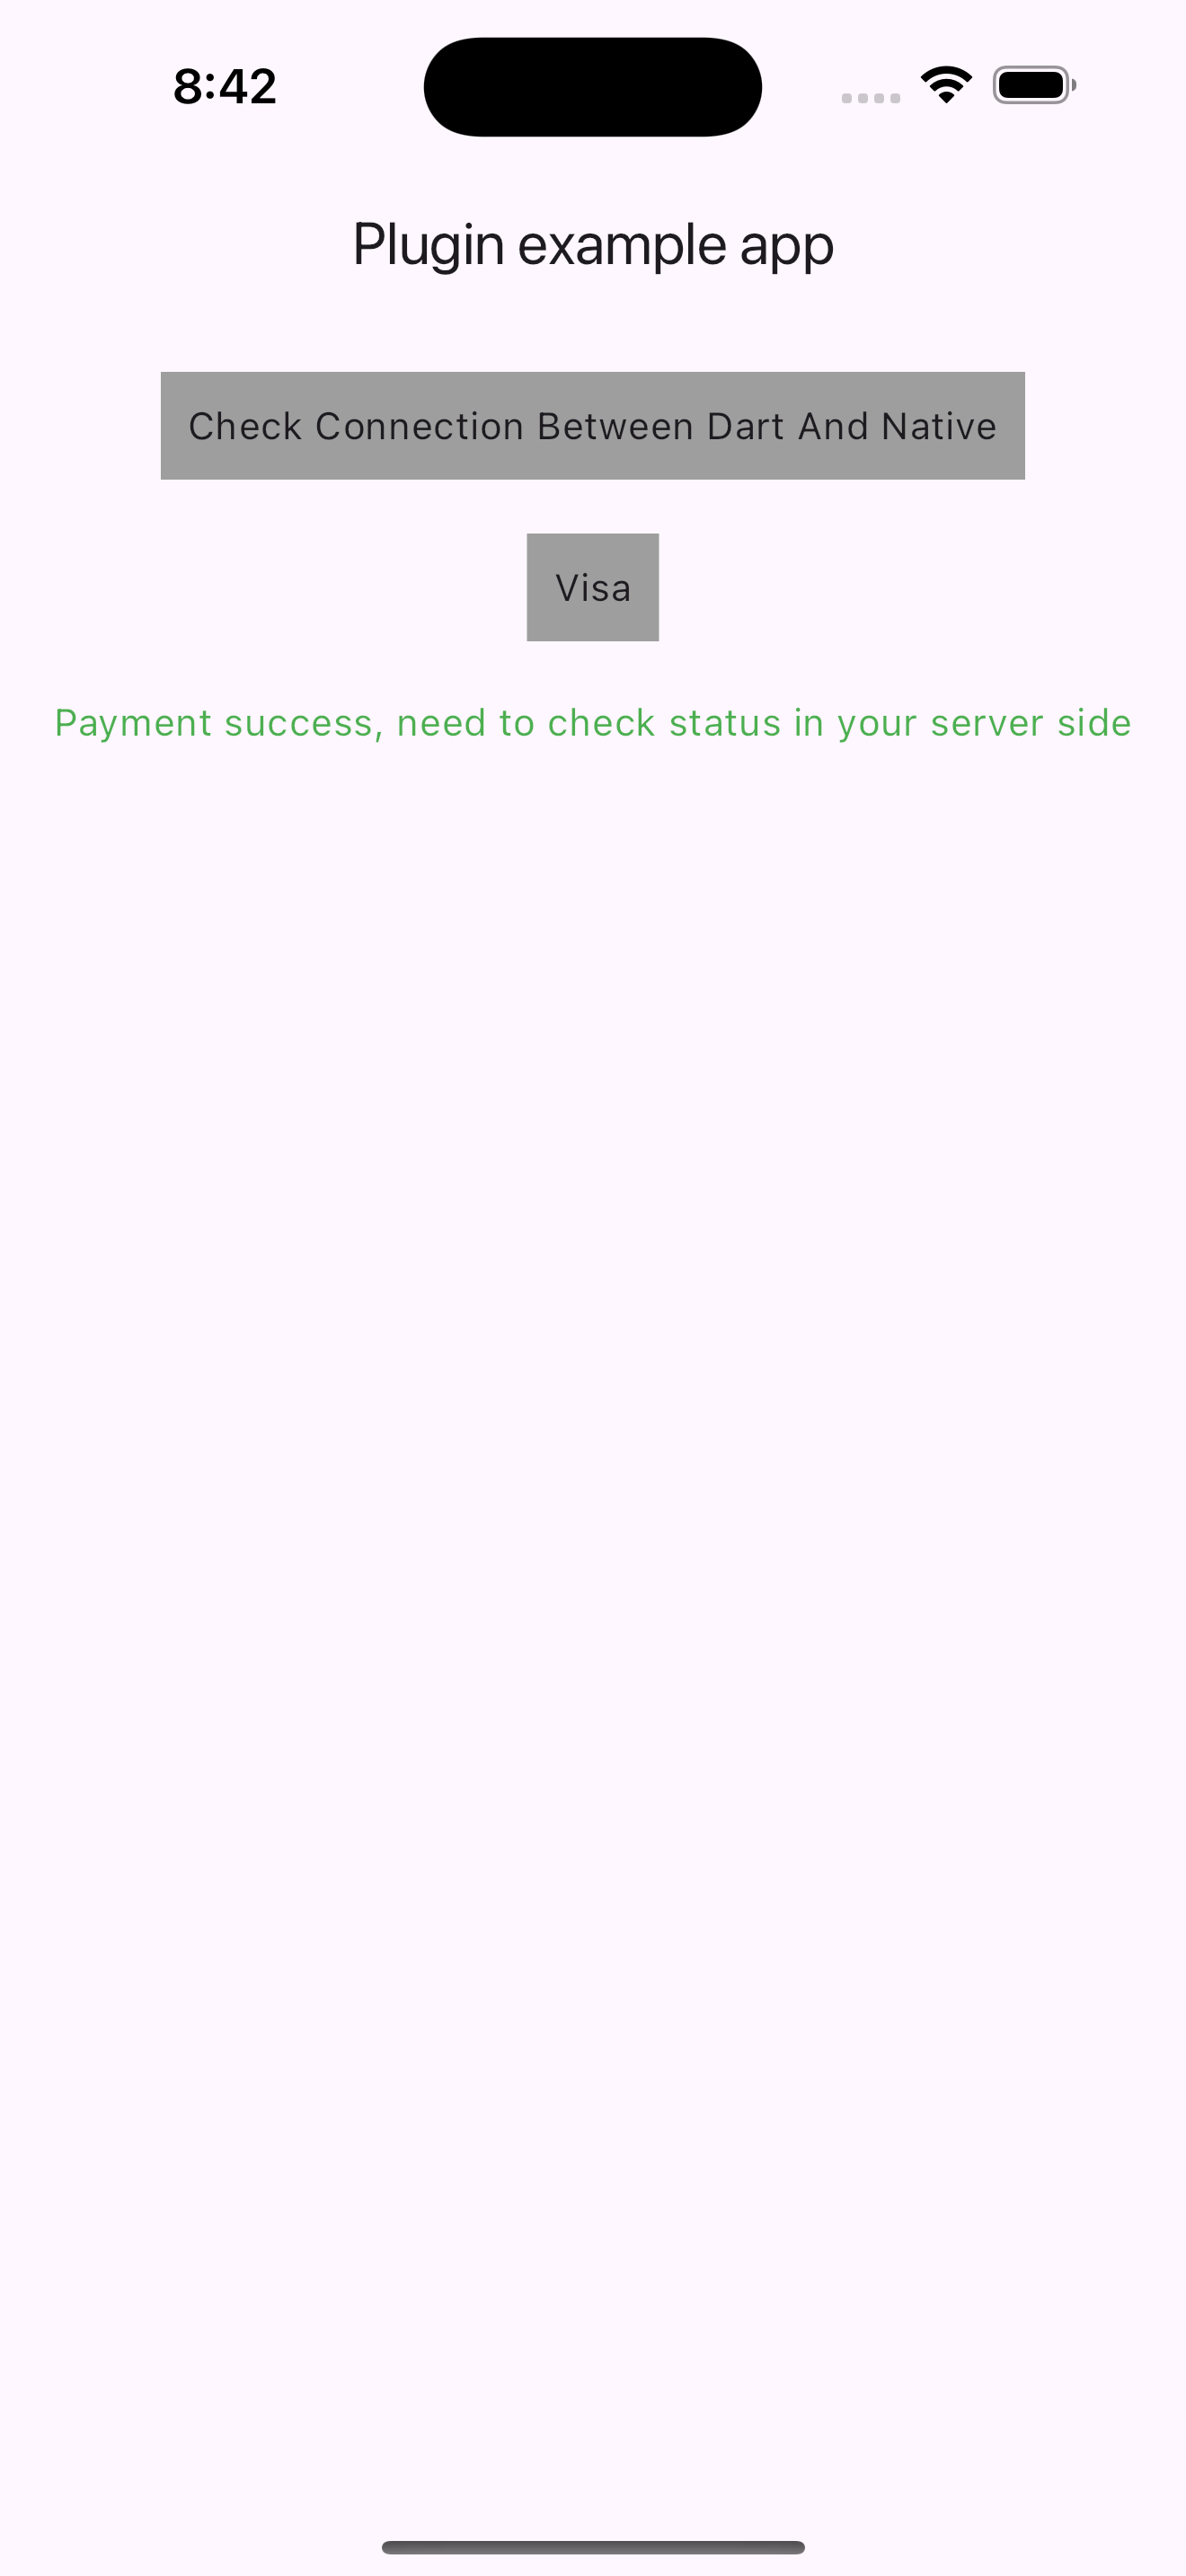
- Note: the above code will return the result in boolean type "isSuccess", when success that's means the payment completed without any failure, But Notice you must call your server side to check status of this checkoutID if the money payed or not.
Step 3 : Check Status Of Payment #
- Checker By Your Server: Call your server side to check after completed payment in previous step, if this checkout id is completed and success charge money or not.
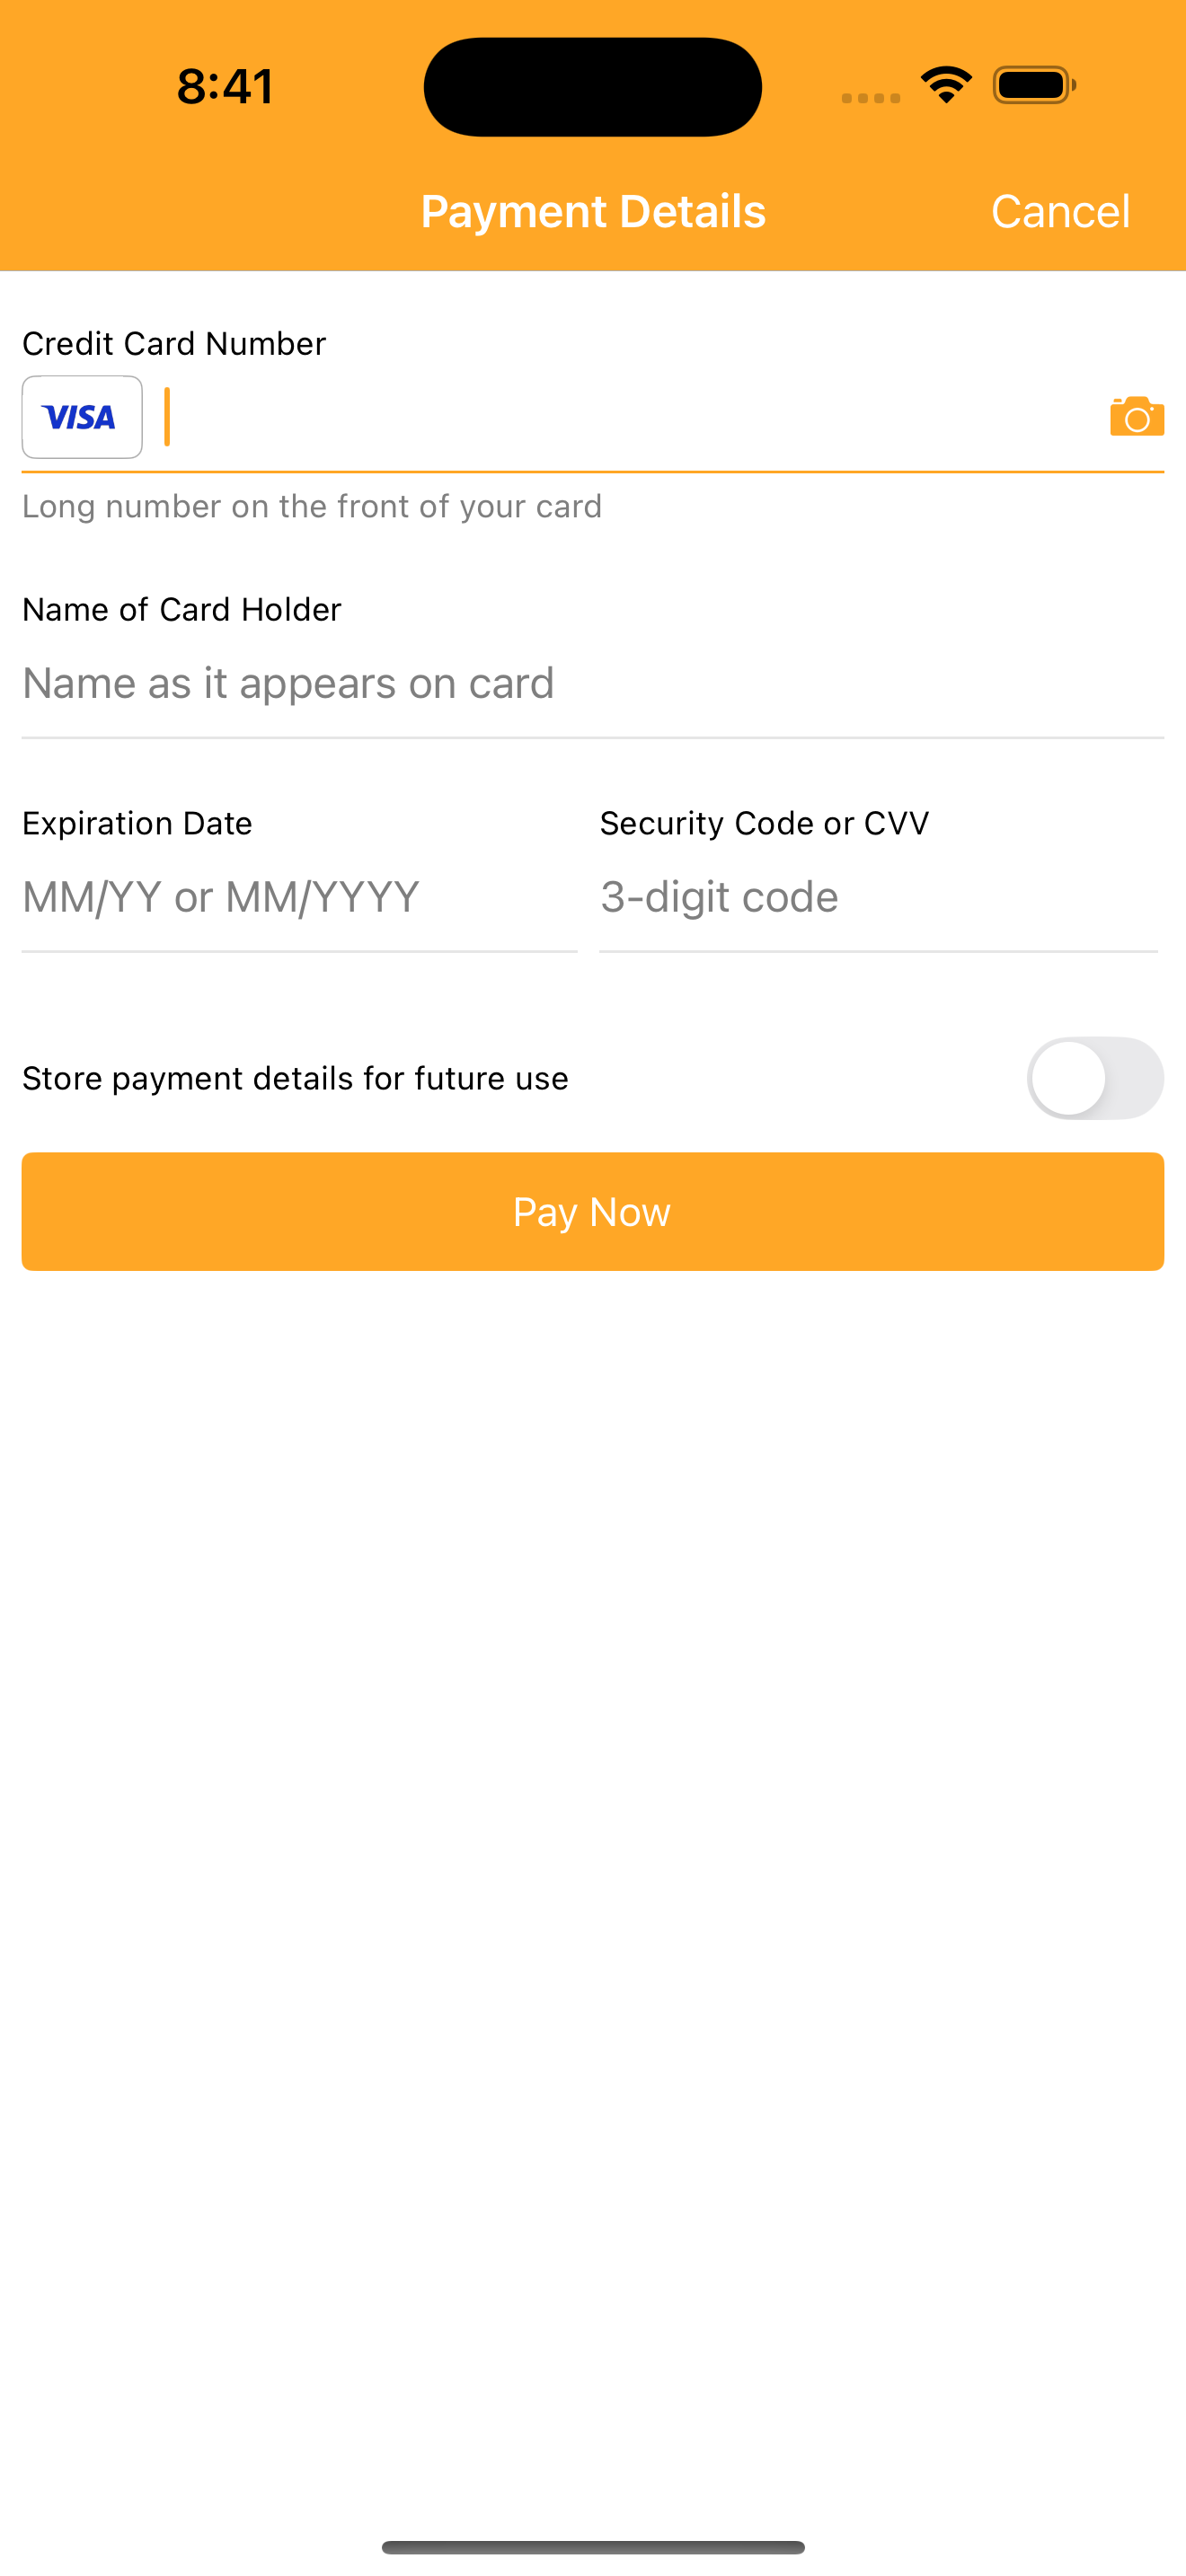
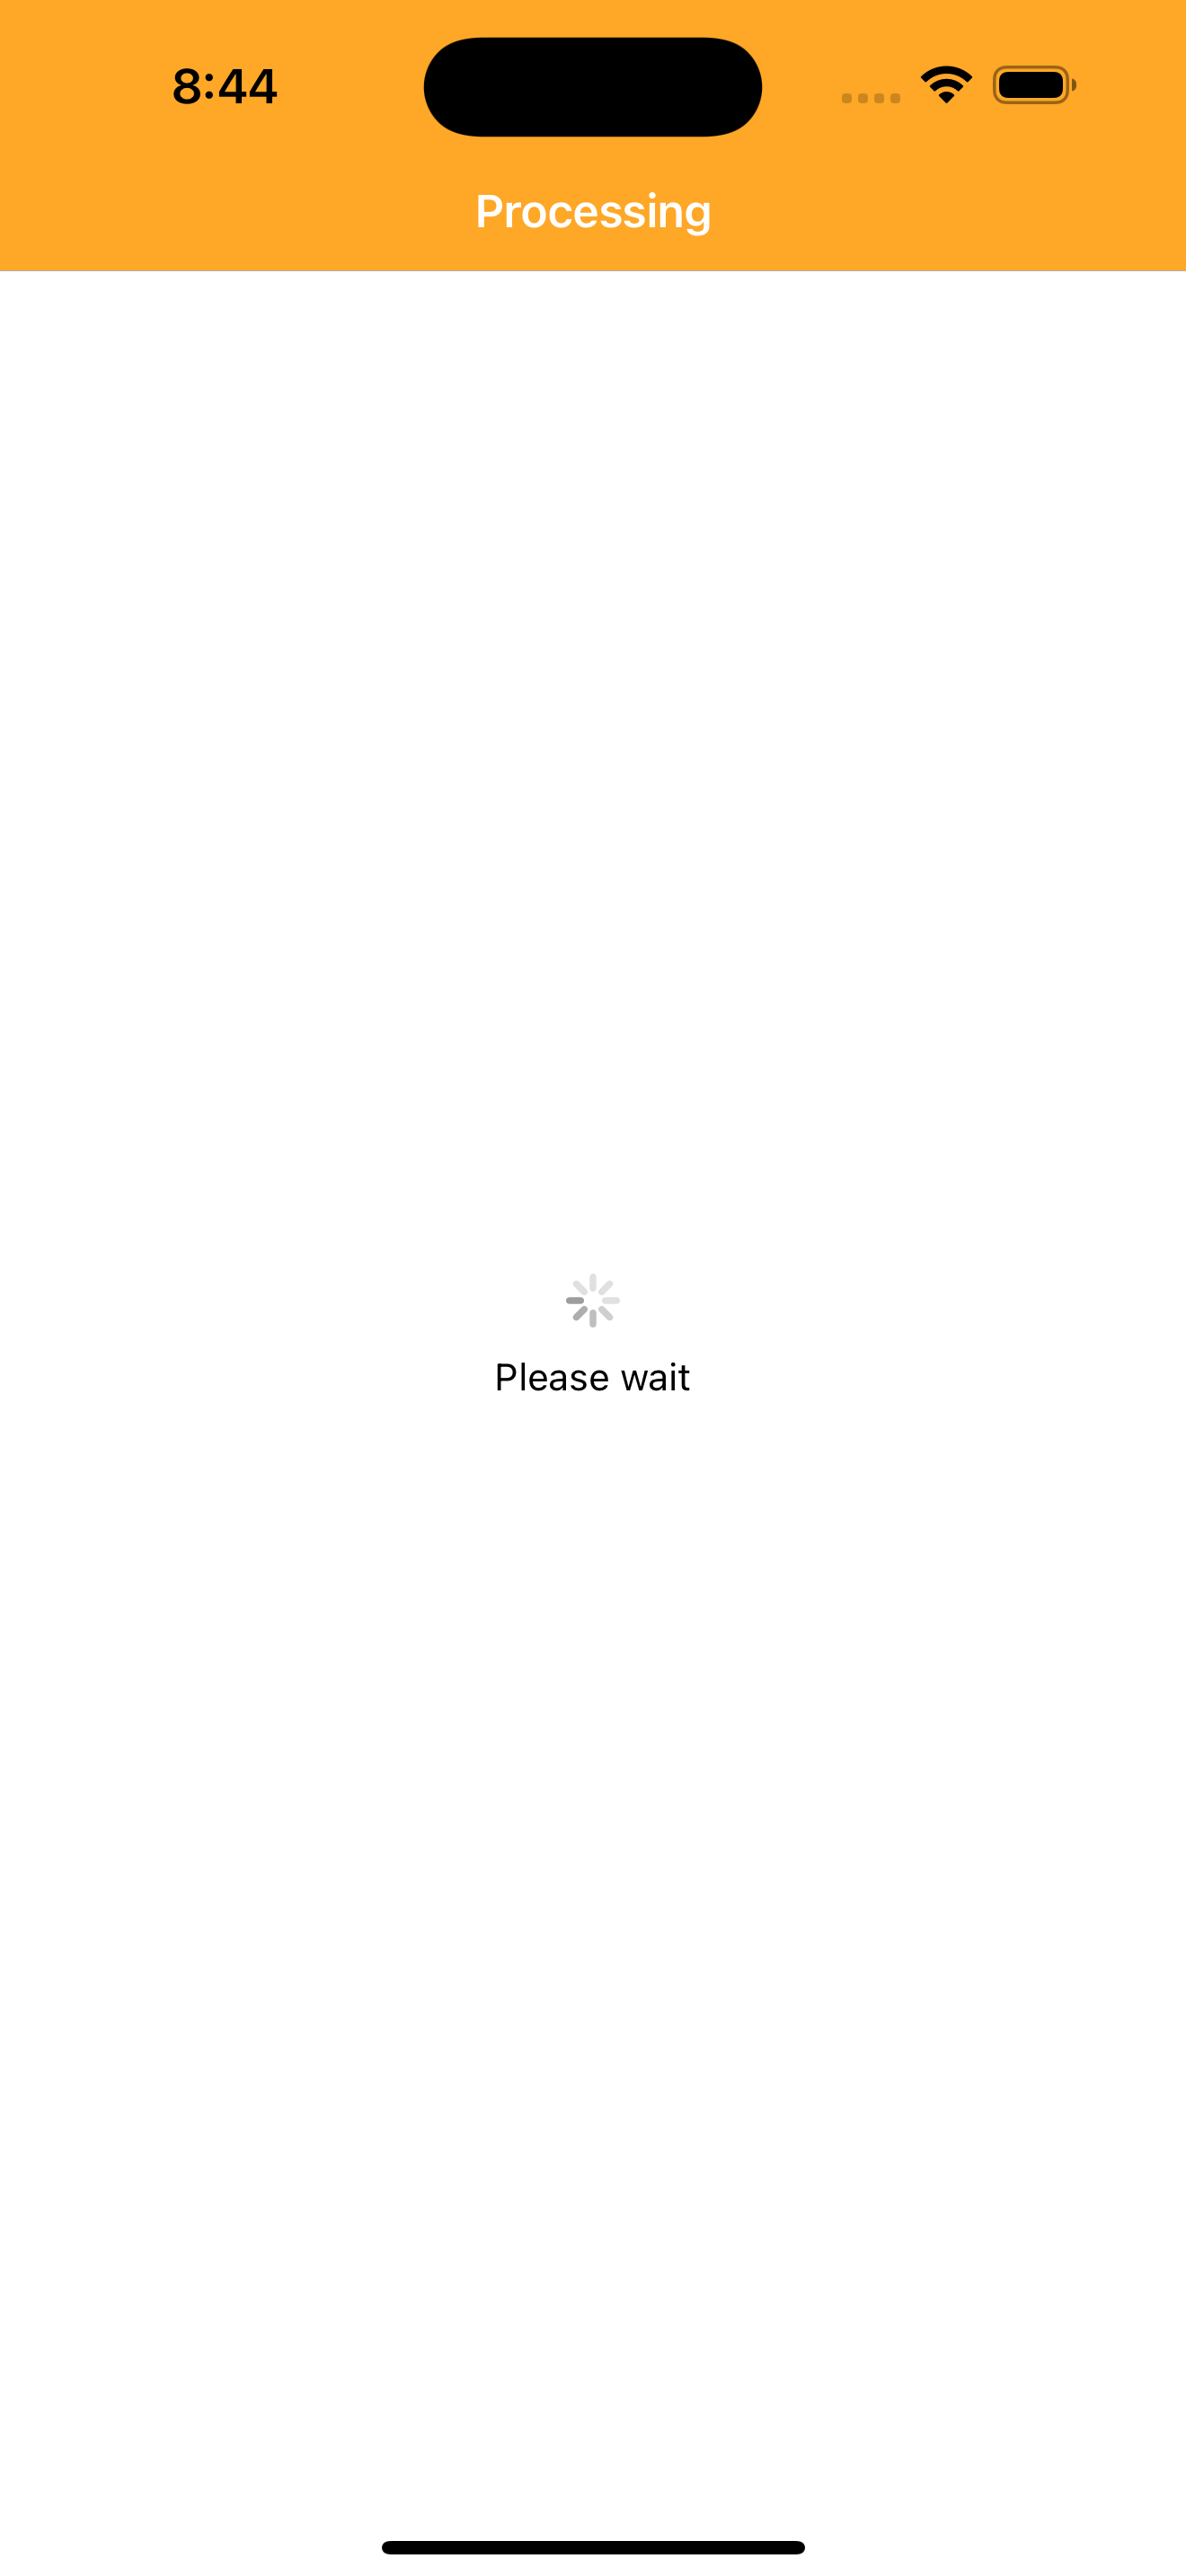
Screenshot Visa Payment #
- Android Visa Screens :
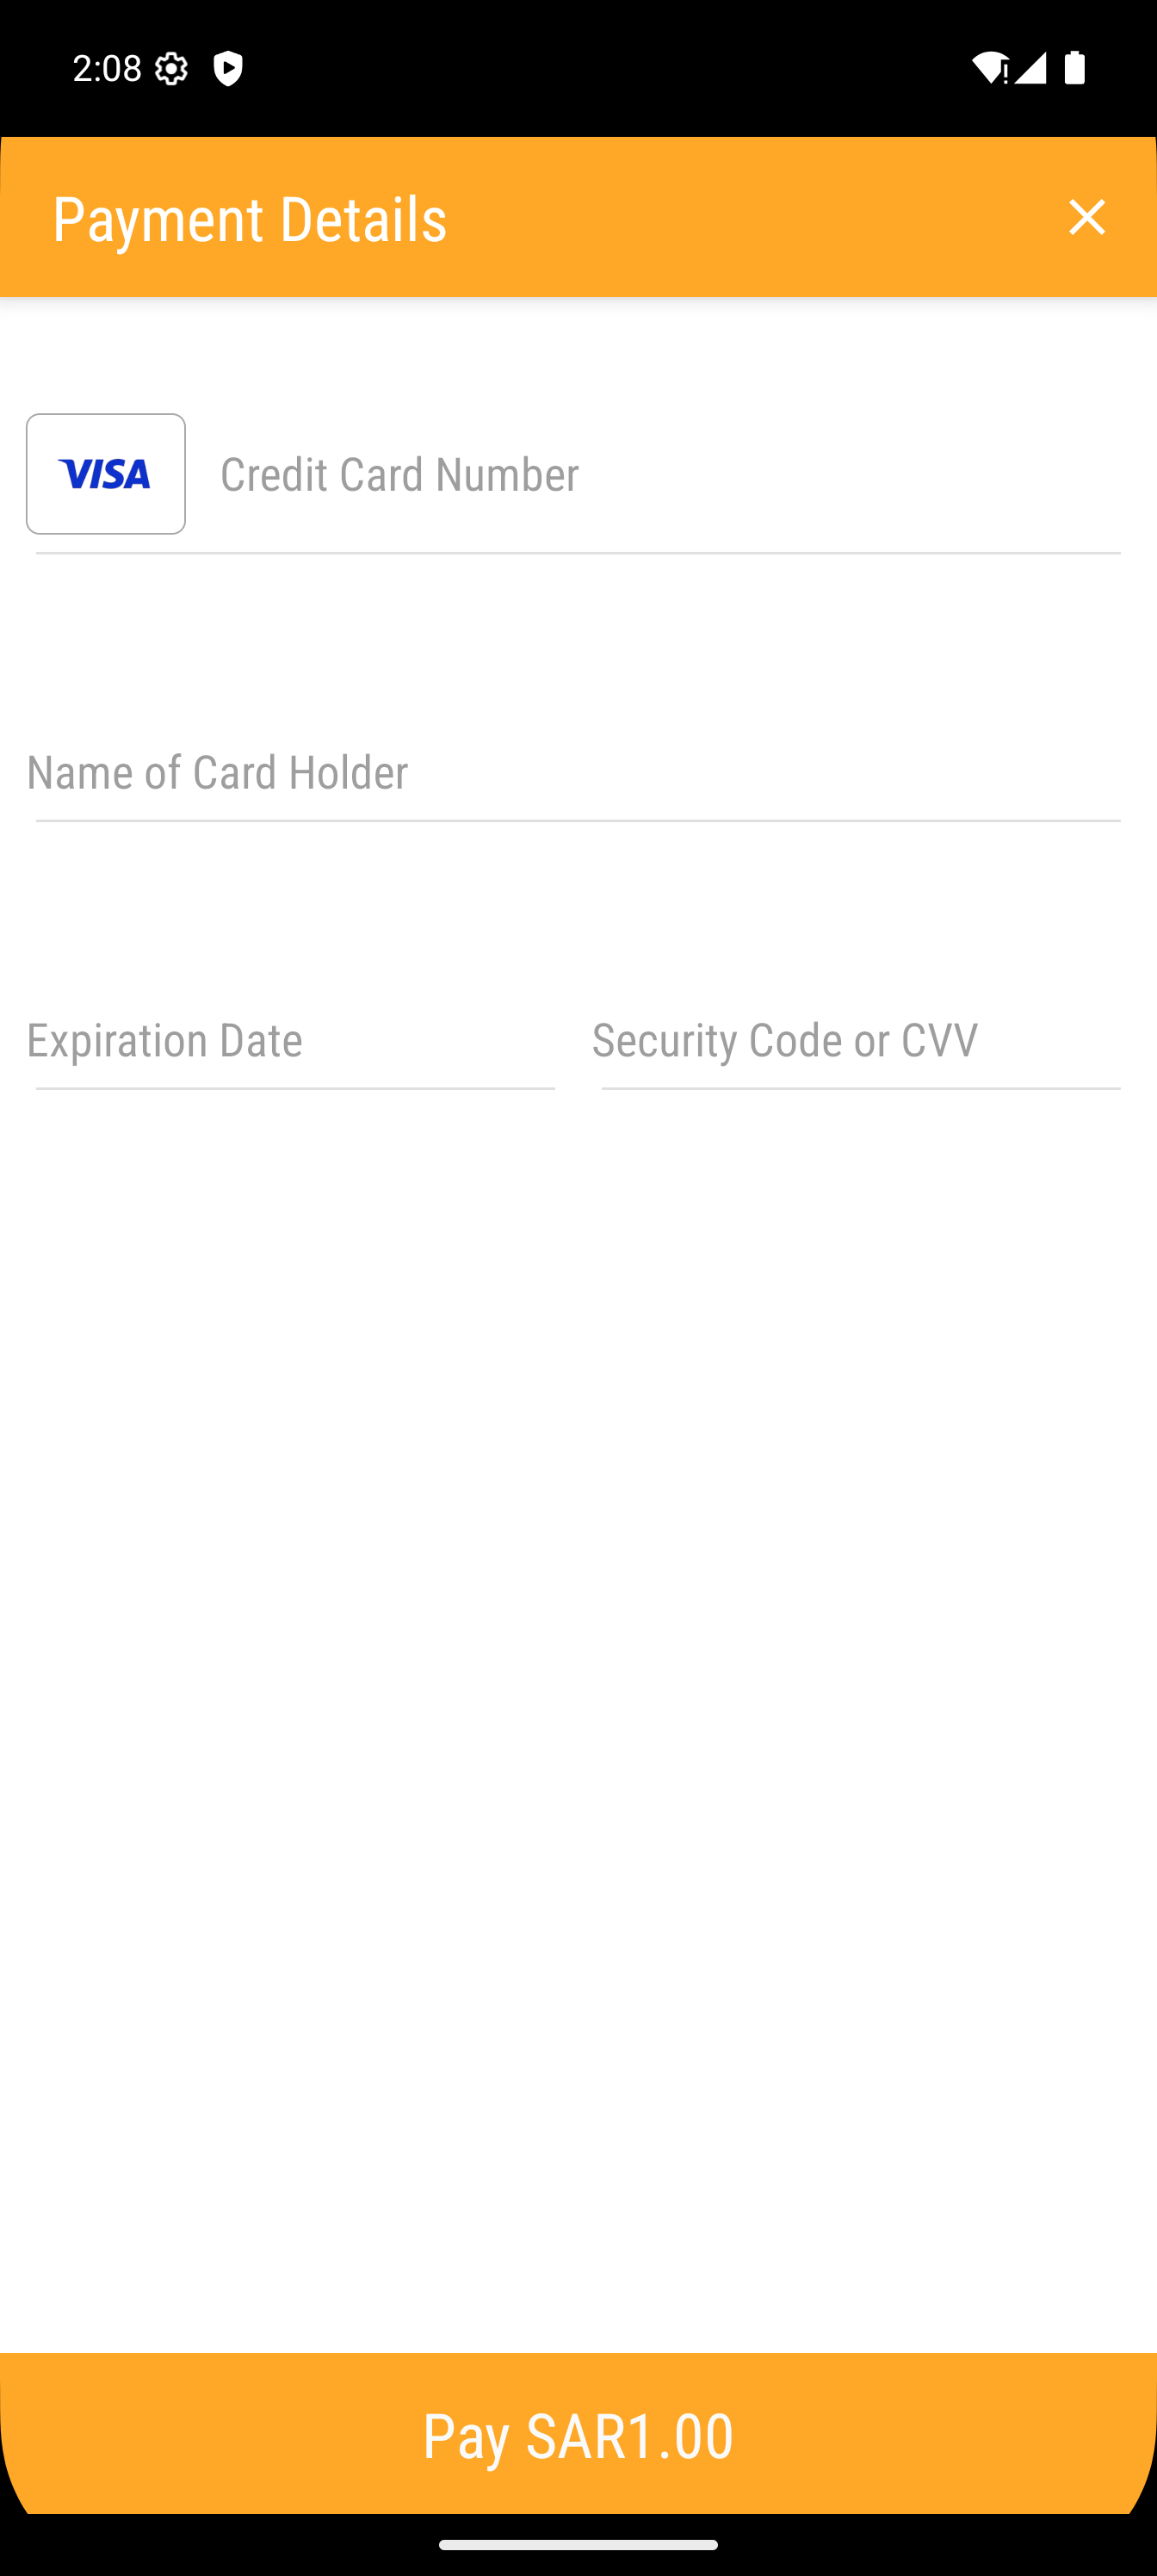
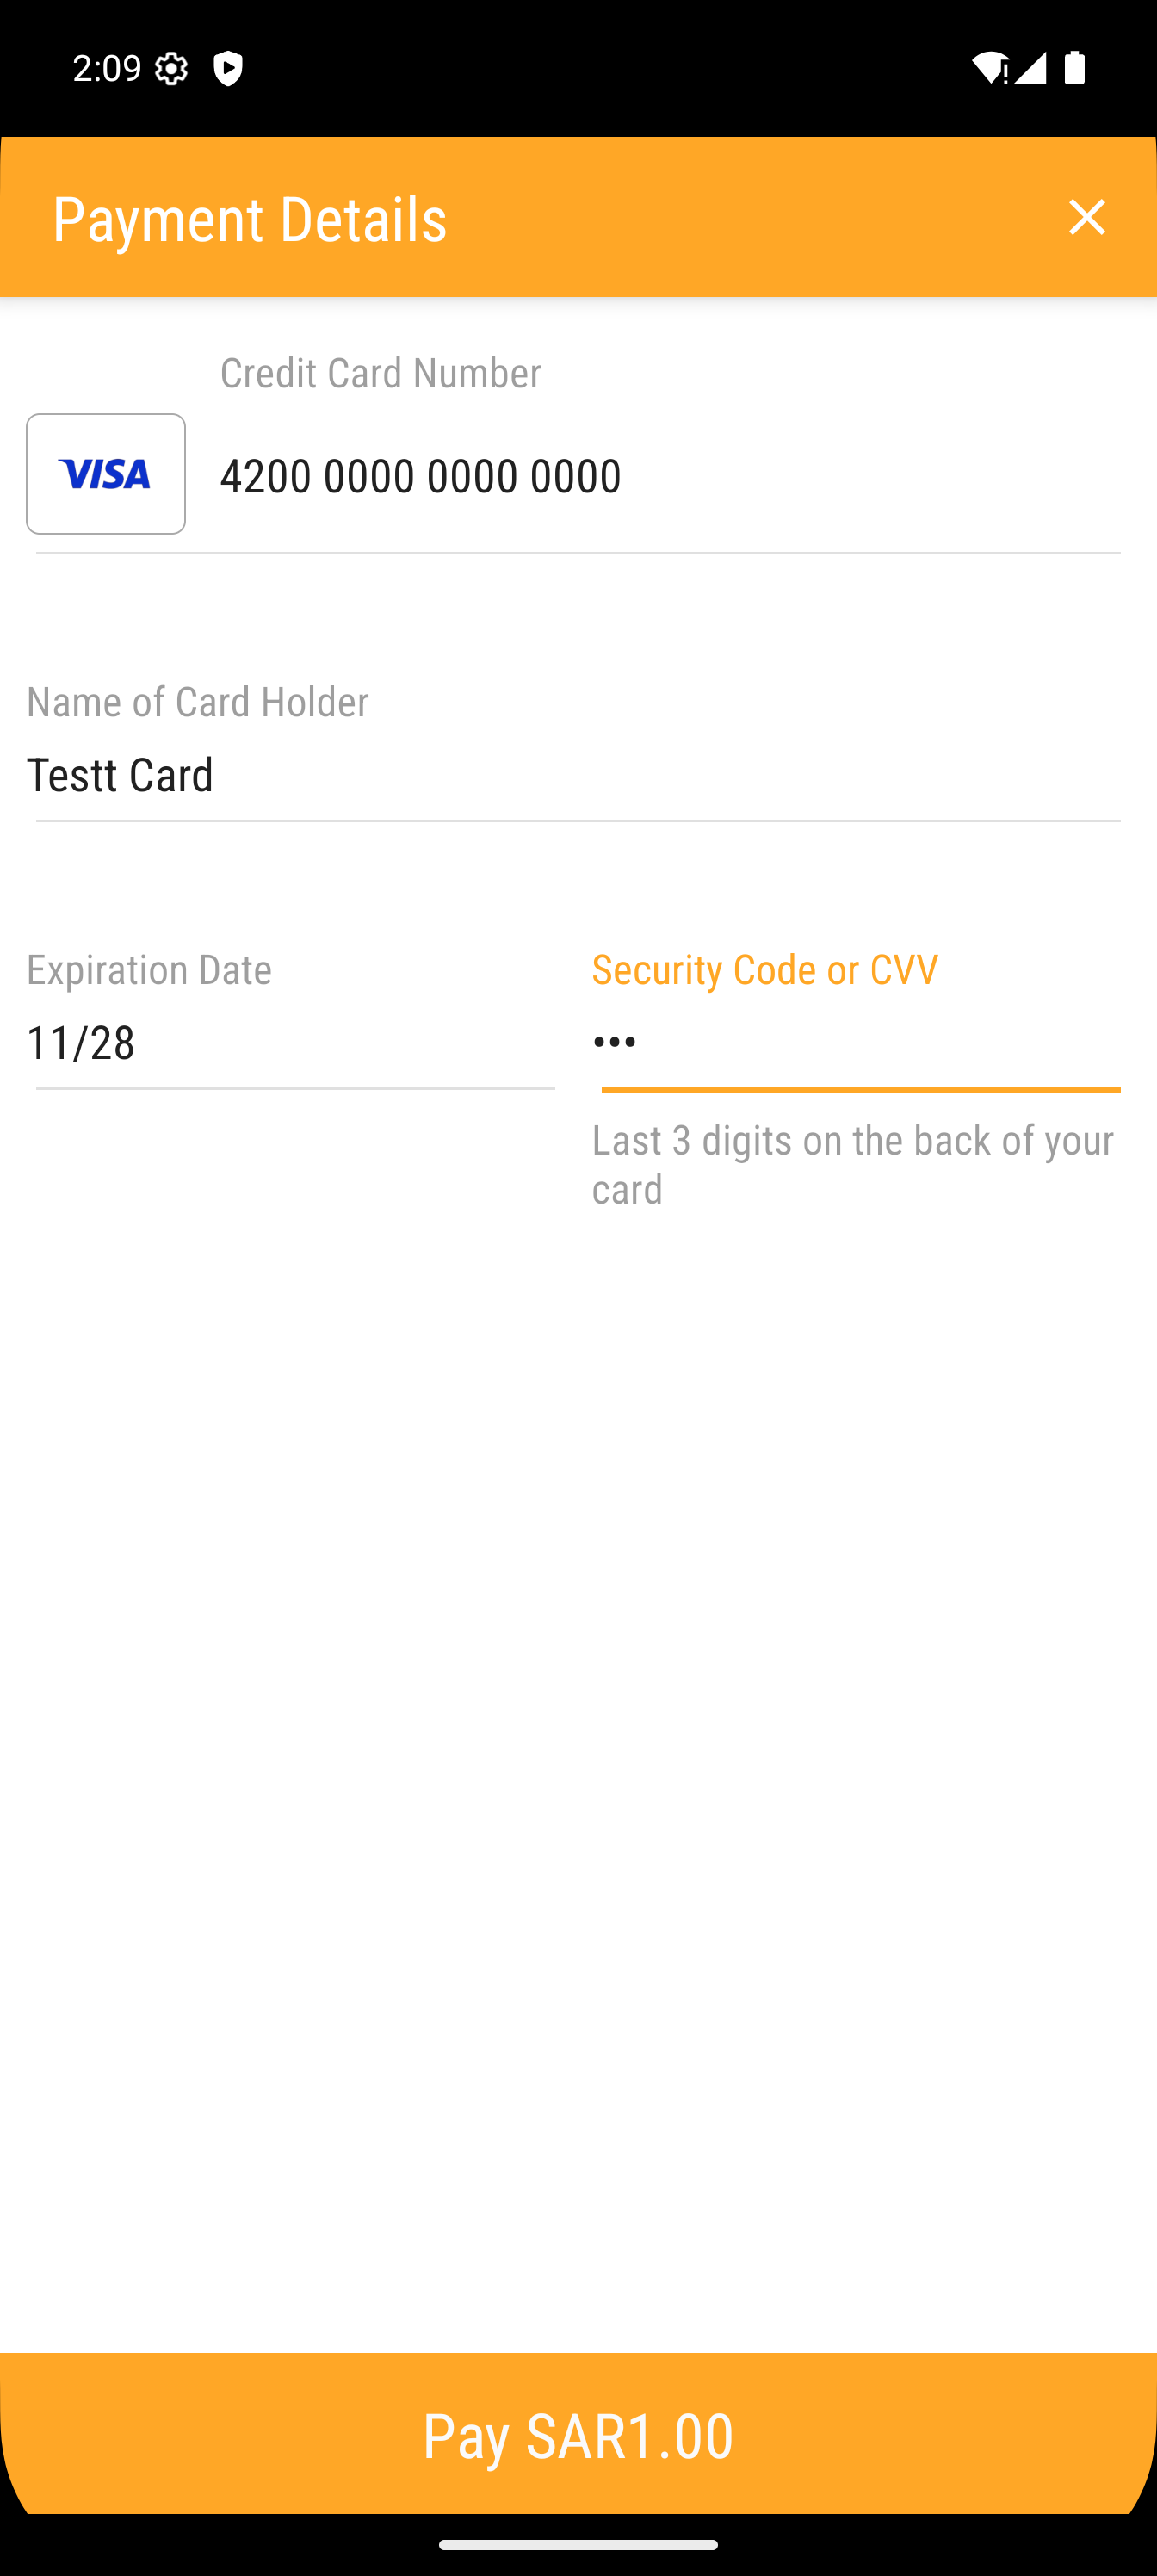
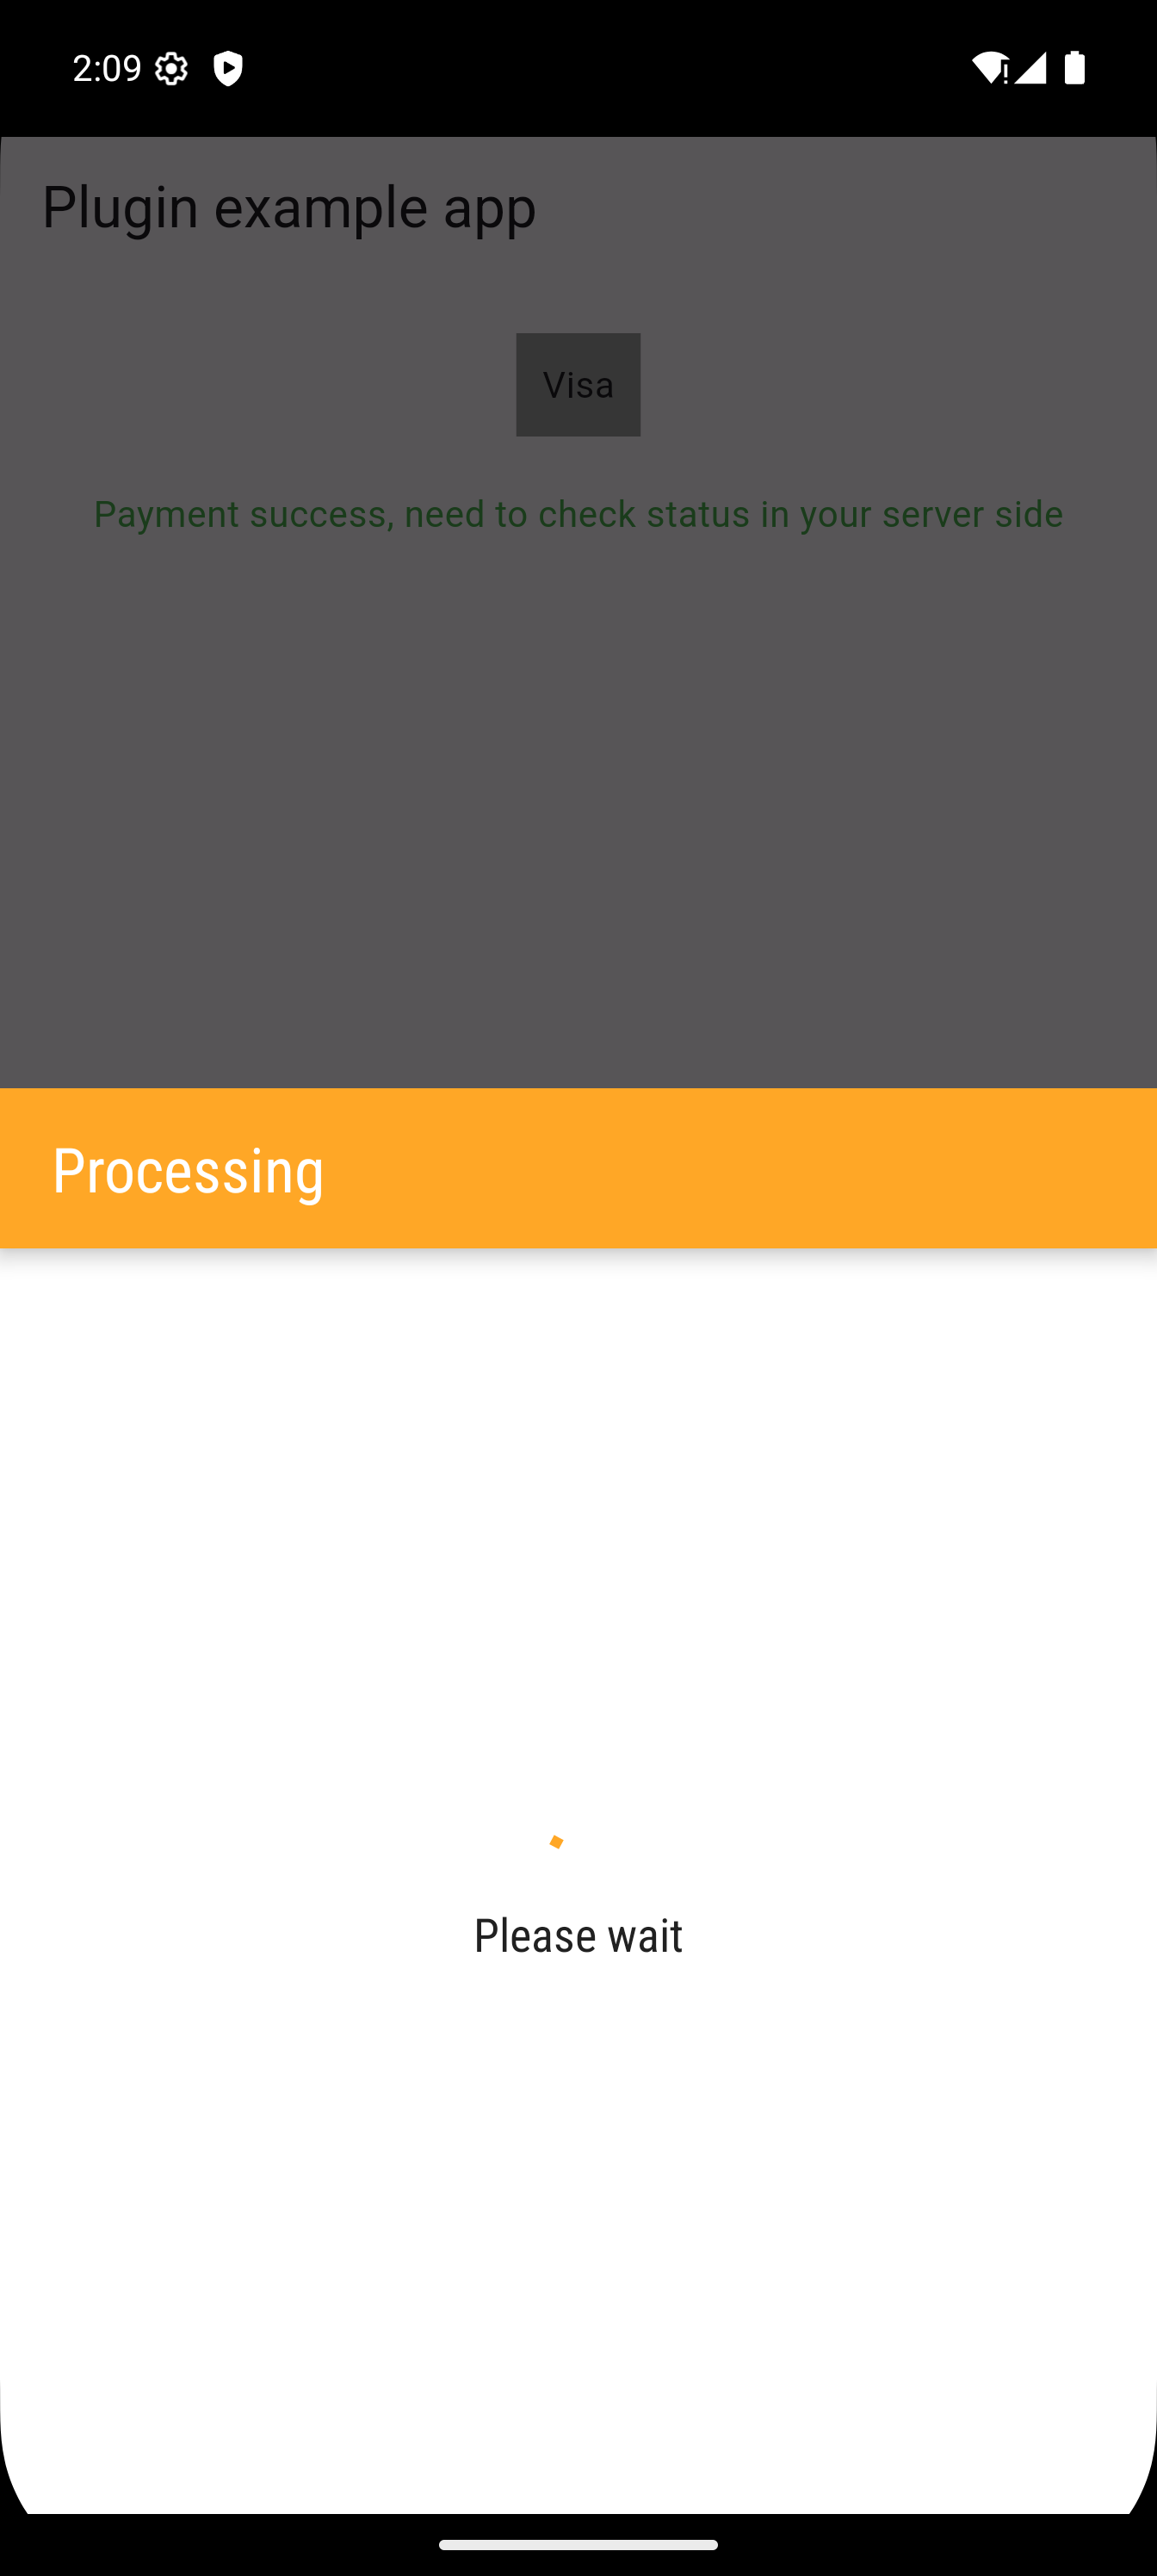
- IPhone Visa Screens :
Apple Pay / Hyperpay : #
First Config Apple Pay: #
- first generate the checkout id from your server side, using your own ceradential you getted from Hyperpay support team
- create capilities of xcode "apple pay"
- create merchant id in apple store connect
- Contact hyperpay support to get the "merchant.cer" and "processing.cer" to be replaced into your apple store account
Second Code Open UI Apple Pay Dialog : #
- code dart
                /// init request channel
                var channelRequest = HyperpayChannelRequest ( );
                channelRequest.shopperResultUrl =   "com.example.myapp.payment";  //contact hyperpay support to get merchantId
                channelRequest.merchantId =  "merchant.com.example.myapp";  //contact hyperpay support to get merchantId
                channelRequest.brandName = "APPLEPAY";
                channelRequest.checkoutId = "**************"; //get from your server side
                channelRequest.amount =  1;
                channelRequest.isTest = false ; //false means it's live
                chanelRequest.itemName = "SUMMARY_ITEM_NAME"; //can also write your application name // required this value by ApplePAY

                await HyperPayPayment.newPayment(channelRequest : channelRequest, onComplete: (bool isSuccess) {

                  setState(() {
                    isPaymentSuccess = isSuccess;
                  });

                } );
- description about transaction written by :
chanelRequest.itemName = "SUMMARY_ITEM_NAME"; //can also write your application name // required this value by ApplePAY
Step Three : Check Status Of Payment #
- call your server side to check after completed payment, if this checkout id is completed and success charge money or not.
Video #

the above video is live transactions
Developed By Company MASARAT #
Company #


|
MASARAT
|
Team Member #

|
Teach Lead
|

|
Created by
|
|
|
Backend by
|
|
|
Tested by
|

|
Flutter Developer Integration
|
MASARAT Proprietary Software License #
MASARAT Proprietary Software License

Copyright © 2025 MASARAT Company. All rights reserved.

This software is licensed, not sold. By downloading or using this software, you agree to the following terms:

1. Permitted Use
   You are granted a non-exclusive, non-transferable, revocable license to download and use this software only in its original form for personal or internal business purposes.

2. Restrictions
   You may not, under any circumstance:
   - Copy or reproduce any part of the software or its source code.
   - Modify, adapt, translate, reverse-engineer, decompile, or disassemble the software.

3. Ownership
   All rights, title, and interest in and to the software remain the exclusive property of MASARAT.

4. Termination
   This license is effective until terminated. It will terminate automatically without notice if you breach any of its terms. Upon termination, you must cease all use and delete all copies.

5. No Warranty
   This software is provided "as is", without warranty of any kind. MASARAT shall not be liable for any damages resulting from its use.