chips_input_autocomplete 1.0.1+2  chips_input_autocomplete: ^1.0.1+2 copied to clipboard
Flutter package to create a chips input with autocomplete.
Chips Input Autocomplete #
📚 Table of Contents #
🚀 Features #
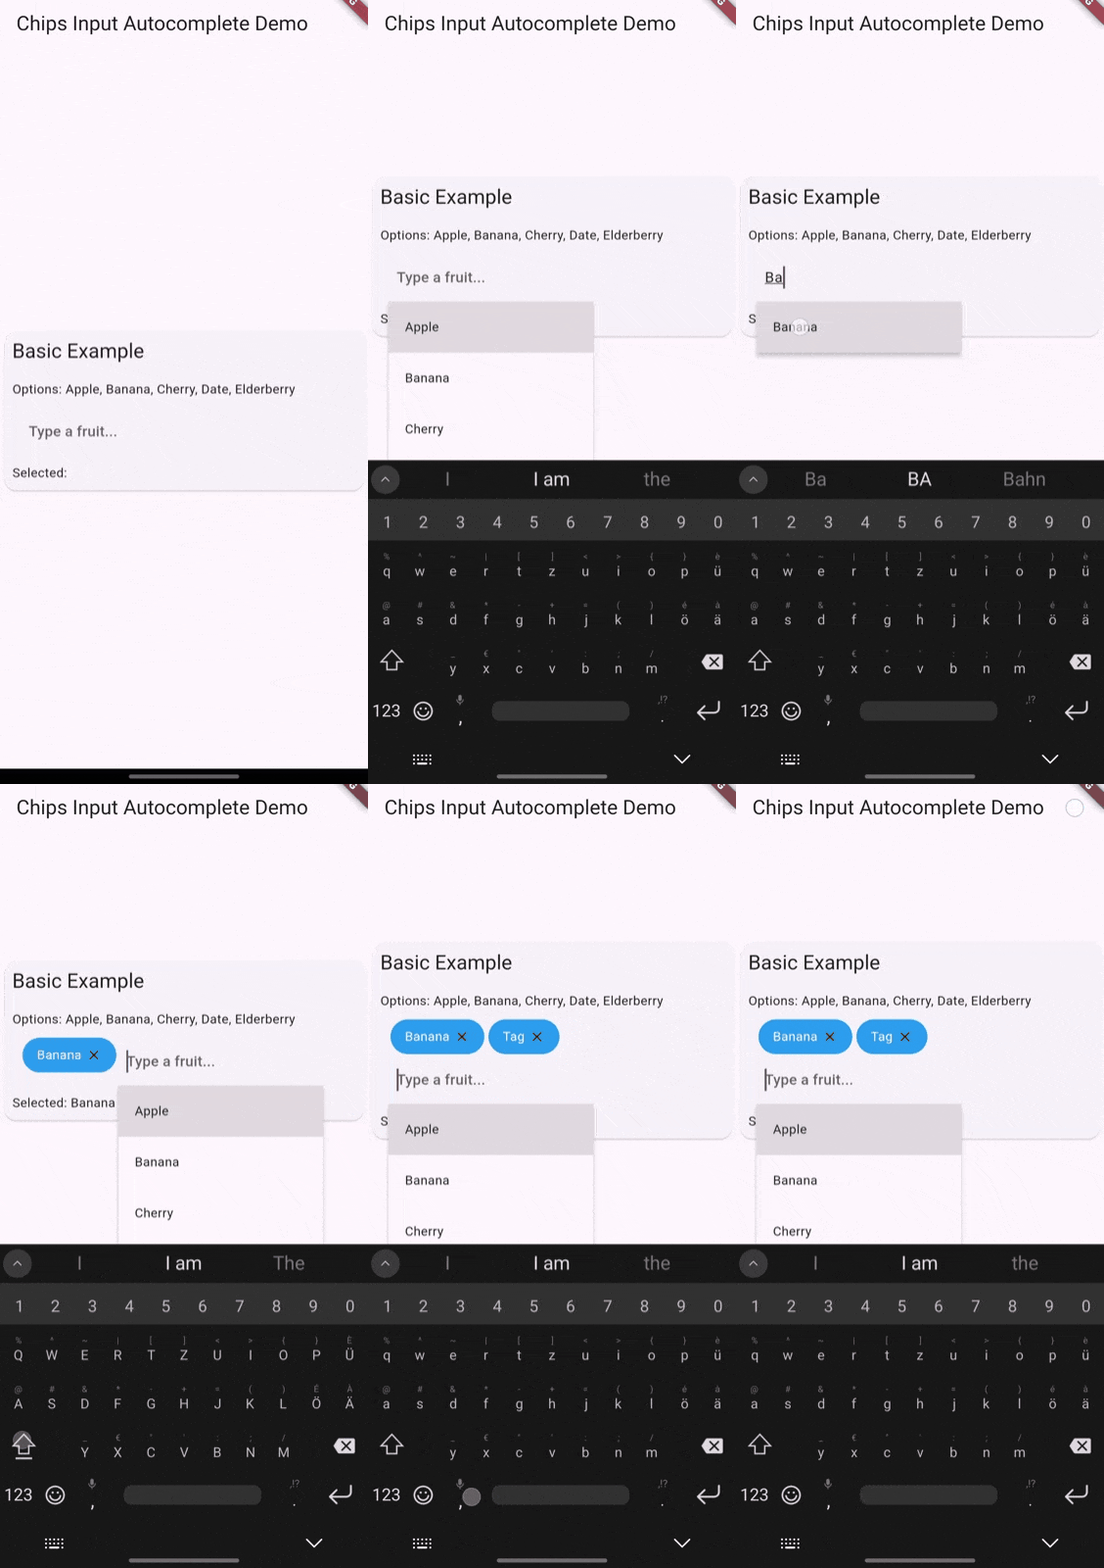
- Dynamic Chip Creation: Users can type to create chips dynamically. Ideal for tags, contacts, or any categorization.
- Autocomplete Suggestions: Offers suggestions as the user types, based on predefined options.
- Customizable Appearance: Full control over the chip's appearance, including background, border, and text colors.
- Form Integration: Easily integrates with forms, allowing for validation and submission of chip data.
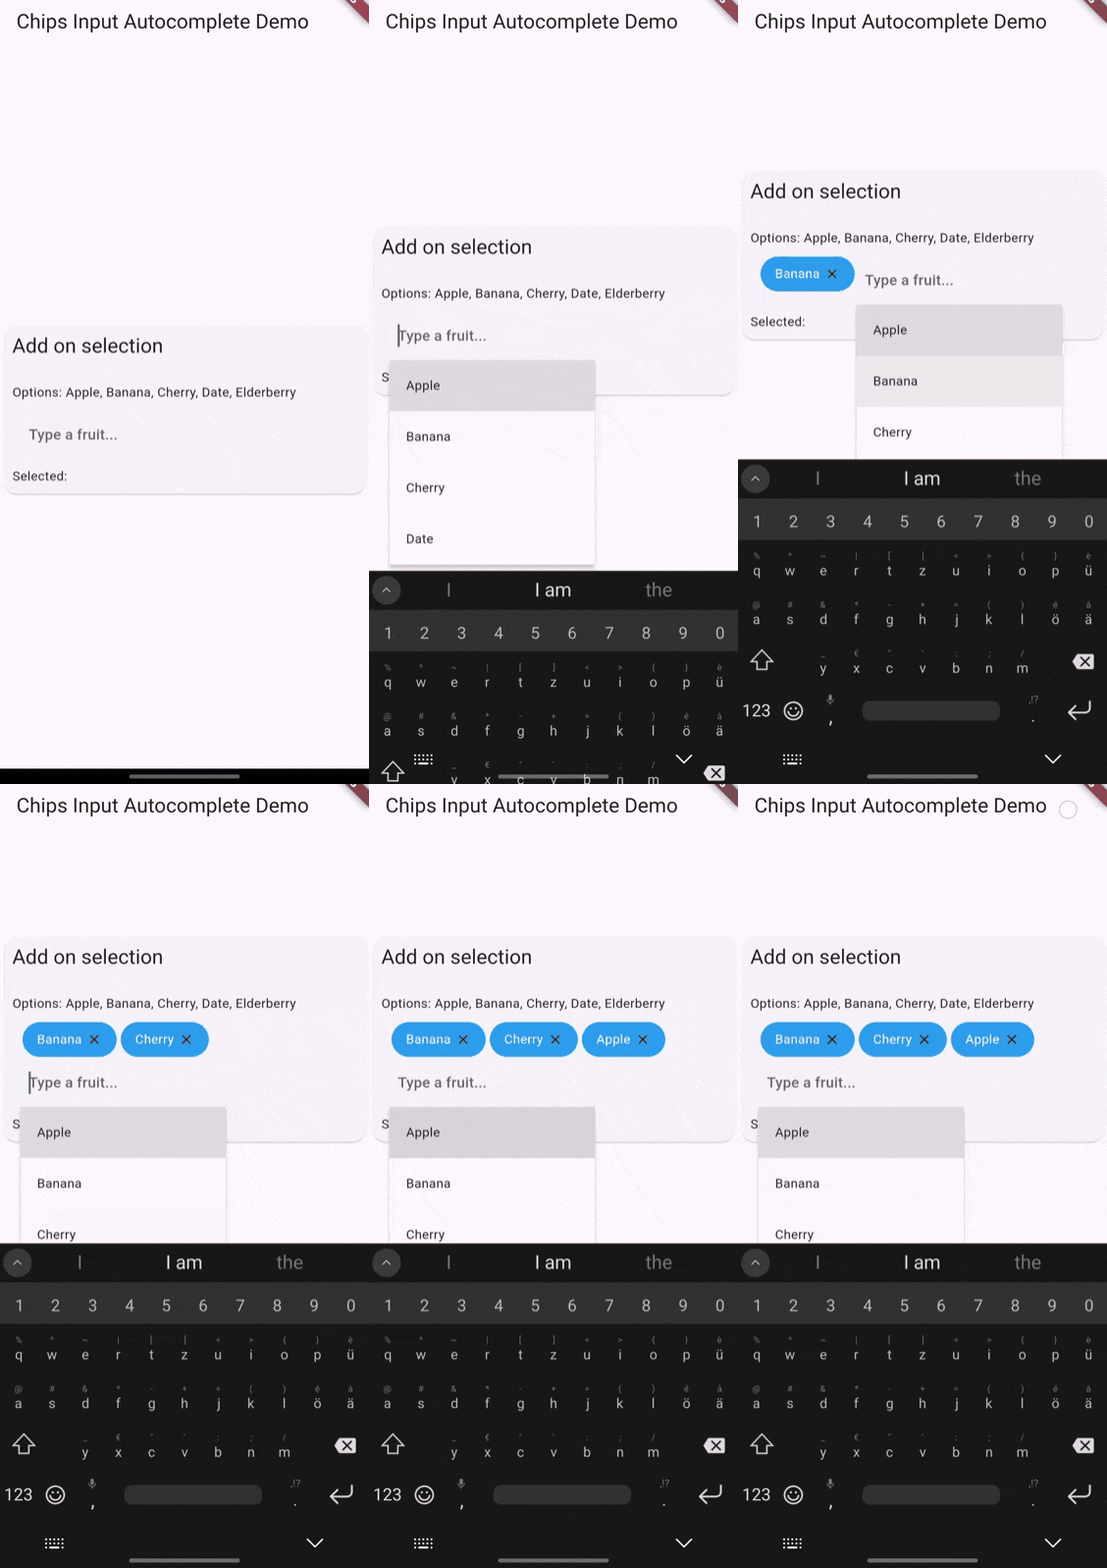
- Extensive Customization: Beyond styling, customize behavior like adding chips on selection, limiting selections, and more.
🏁 Getting Started #
To get started with chips_input_autocomplete, check out the API reference for detailed documentation and examples.
⬇️ Installation #
Add chips_input_autocomplete to your pubspec.yaml file:
dependencies:
  chips_input_autocomplete: ^<latest-version-here>
Then import it in your Dart code:
import 'package:chips_input_autocomplete/chips_input_autocomplete.dart';
🛠️ Usage #
To use chips_input_autocomplete in your Flutter project, follow these steps:
Basic Chip Input #
This example demonstrates how to create a basic chip input field where users can type to create chips dynamically.
const List<String> yourOptionsList = ['Option 1', 'Option 2', 'Option 3'];

ChipsInputAutocomplete(
  options: yourOptionsList,
)
Validate Input #
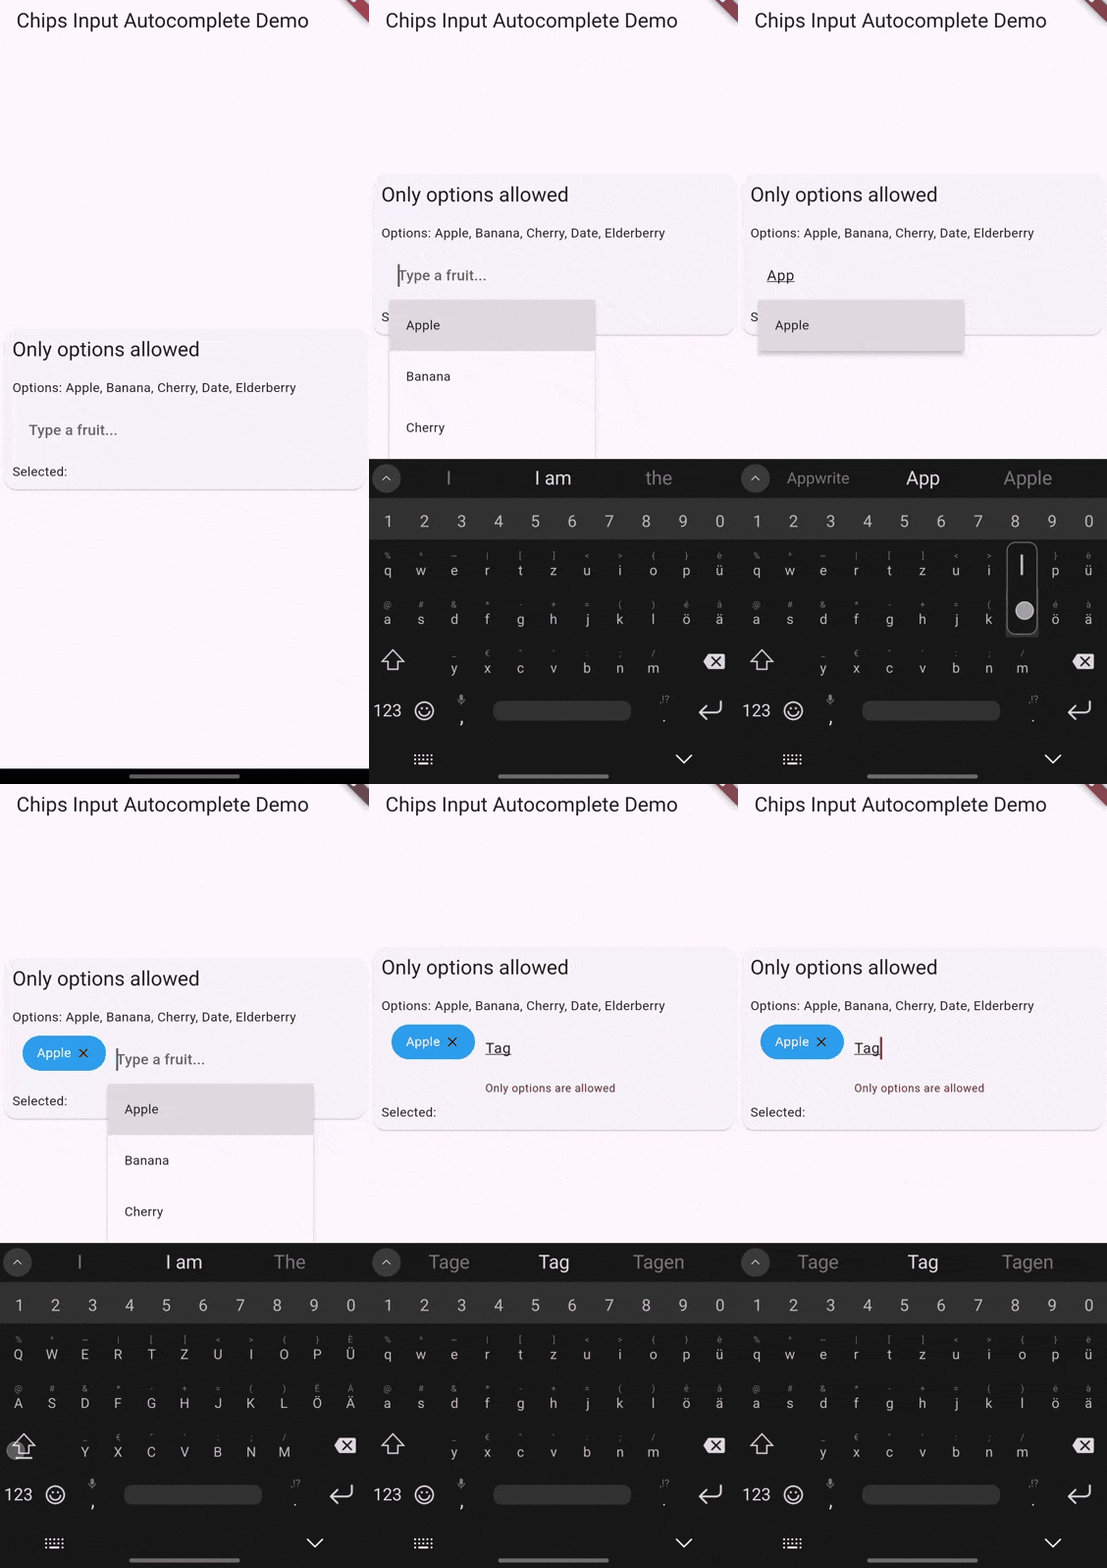
Only allow chips that match predefined options. This example uses a validation method to ensure only valid options are added as chips.
ChipsInputAutocomplete(
  options: yourOptionsList,
  validateInputMethod: (String? input) {
    if (yourOptionsList.contains(input)) {
      return null; // Input is valid
    } else {
      return 'Only predefined options are allowed'; // Input is invalid
    }
  },
)
Get chips data #
Use a controller to get the selected chips data.
final ChipsAutocompleteController controller = ChipsAutocompleteController();

ChipsInputAutocomplete(
  controller: controller,
)

// Get selected chips data
List<String> selectedChips = controller.chips; // selectedChips = ['Chiptext 1', 'Chiptext 2']
Async fetched options #
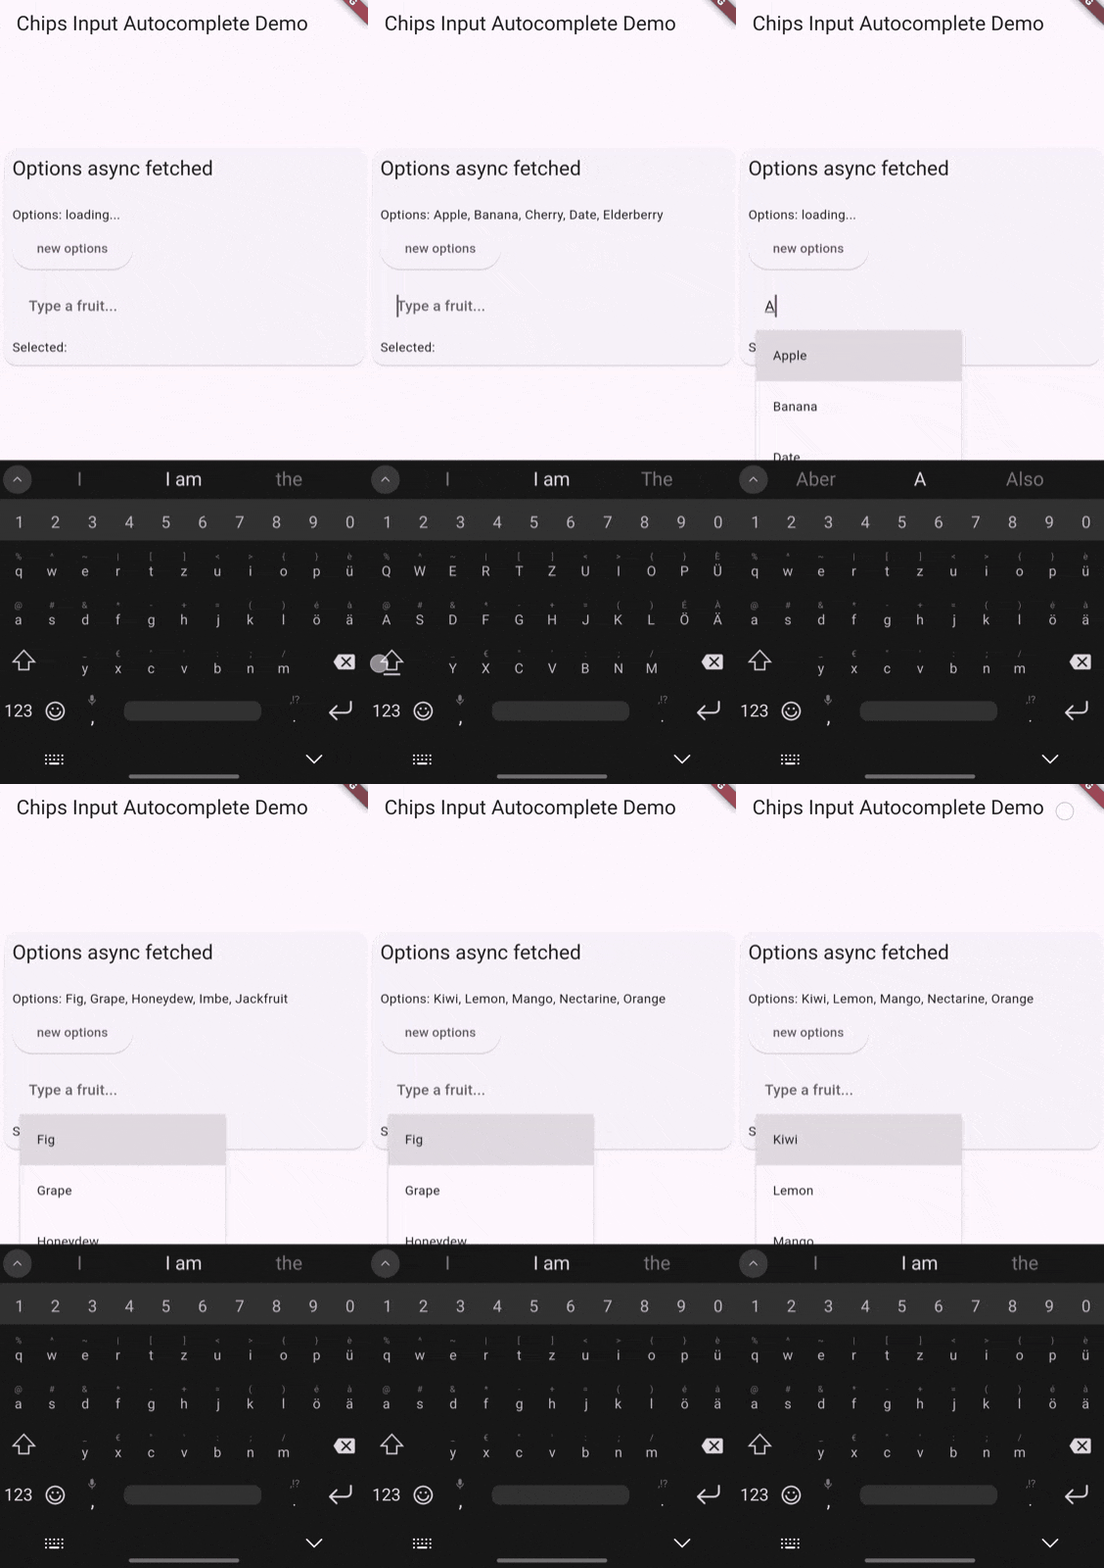
Use a controller to manage the options asynchronously. This example fetches options from an API and sets them in the controller.
final ChipsAutocompleteController controller = ChipsAutocompleteController();

@override
void initState() {
  getTagsOptions();
  super.initState();
}

Future<void> getTagsOptions() async {
  controller.options = await fetchTags();
}

ChipsInputAutocomplete(
  controller: controller,
)
For more detailed examples and usage, refer to the pub.dev example.
⚙️ Usage Examples #


