TutorialCoachMark
Create a beautiful and easy tutorial for your application.
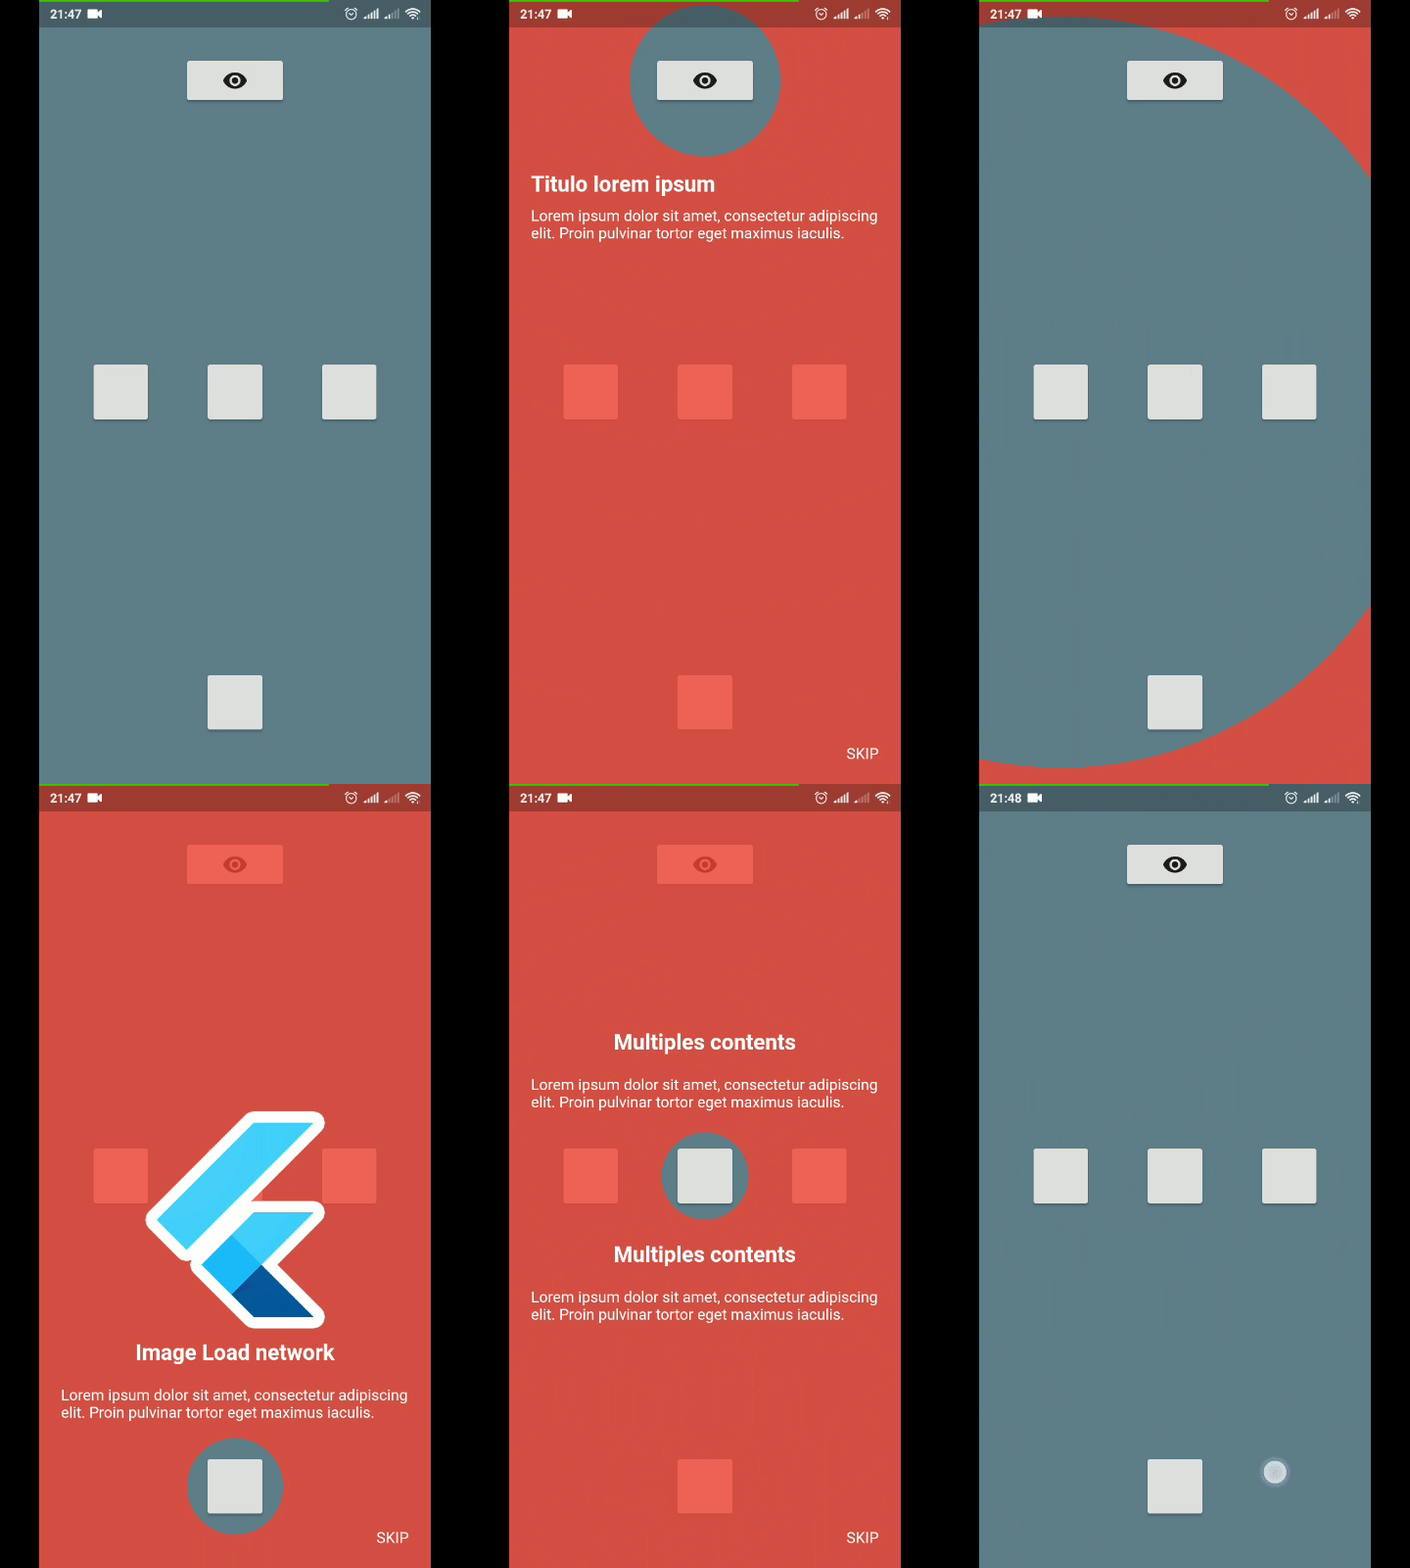
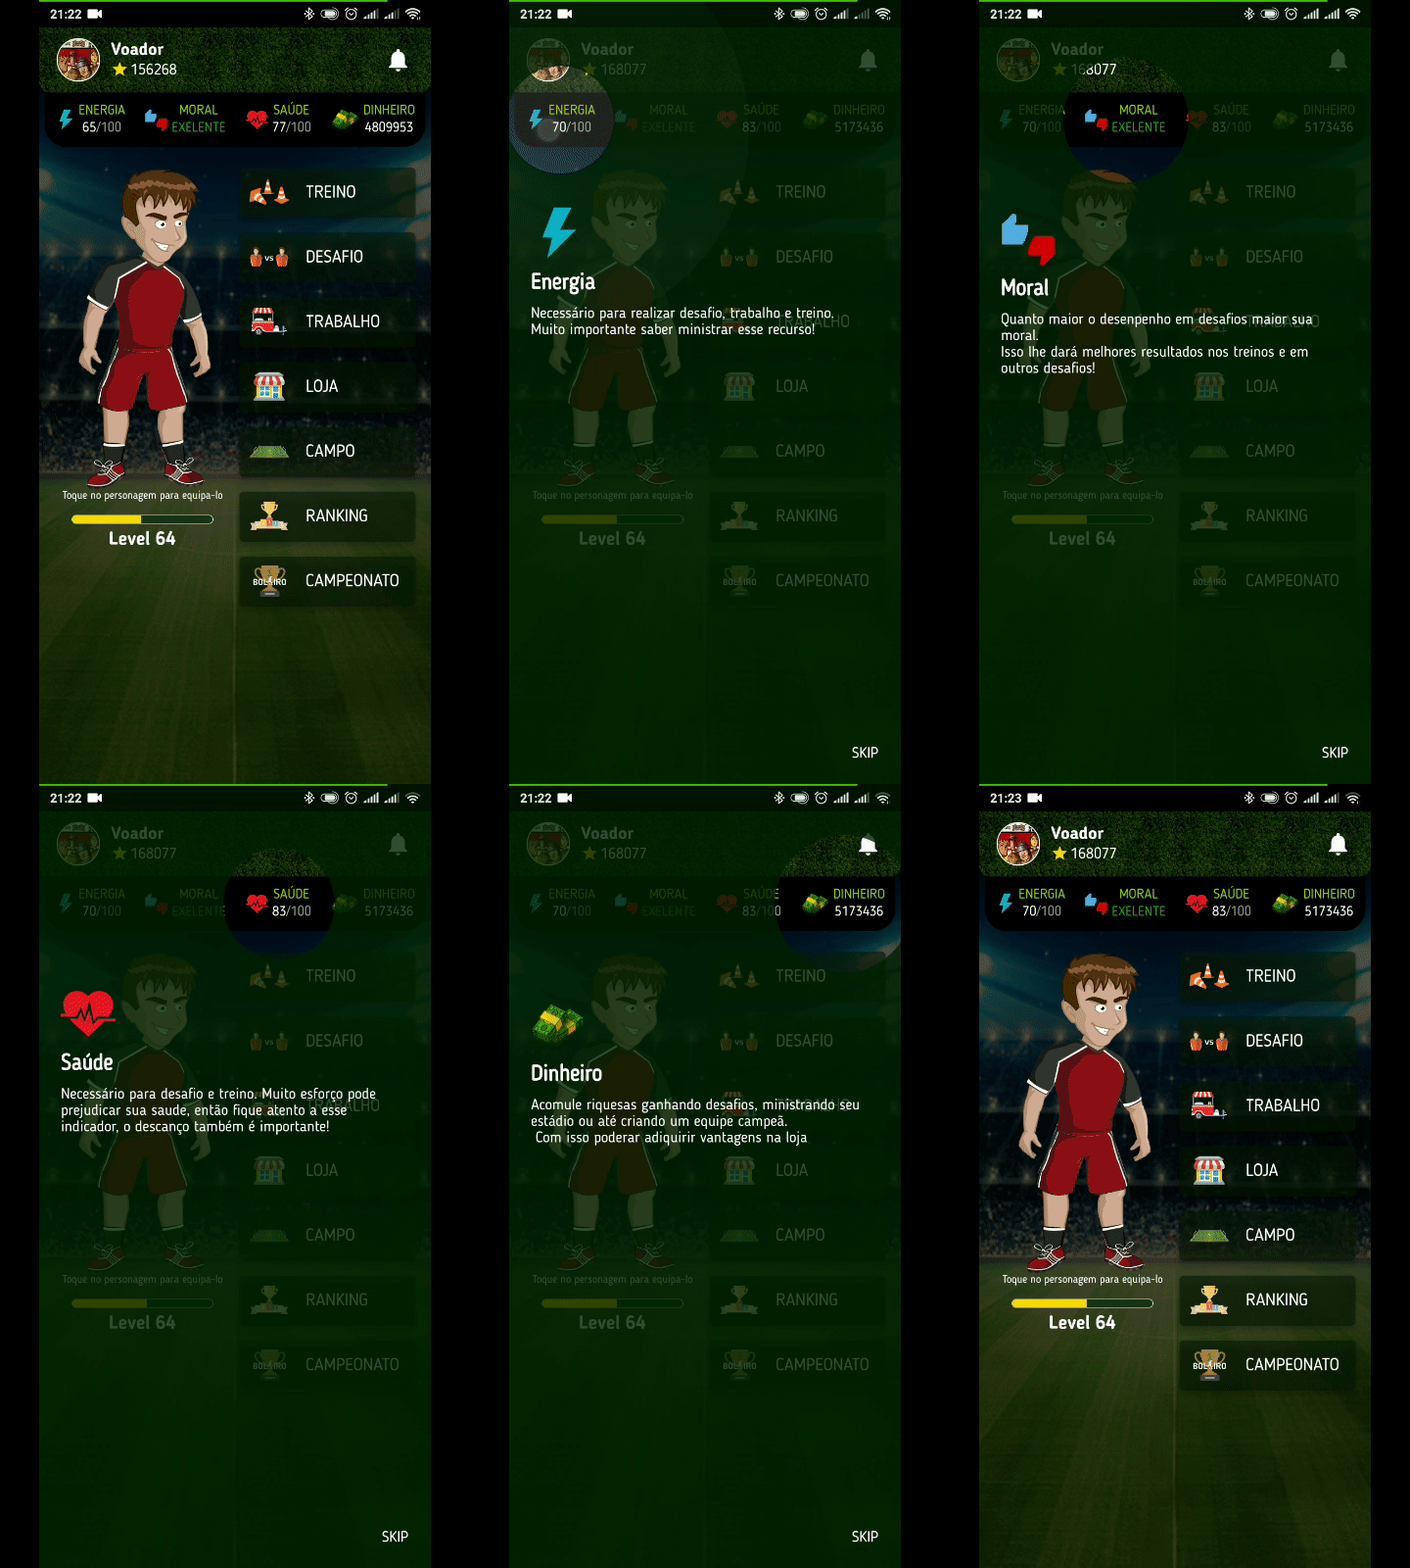
| Example 1 | Example 2 |
|---|---|
 |
 |
Usage
To use this plugin, add tutorial_coach_mark as a dependency in your pubspec.yaml file.
Example
import 'package:flutter/material.dart';
import 'package:tutorial_coach_mark/tutorial_coach_mark.dart';

void showTutorial() {
    TutorialCoachMark tutorial = TutorialCoachMark(
      targets: targets, // List<TargetFocus>
      colorShadow: Colors.red, // DEFAULT Colors.black
       // alignSkip: Alignment.bottomRight,
       // textSkip: "SKIP",
       // paddingFocus: 10,
       // focusAnimationDuration: Duration(milliseconds: 500),
       // unFocusAnimationDuration: Duration(milliseconds: 500),
       // pulseAnimationDuration: Duration(milliseconds: 500),
       // pulseVariation: Tween(begin: 1.0, end: 0.99),
       // showSkipInLastTarget: true,
       // imageFilter: ImageFilter.blur(sigmaX: 8, sigmaY: 8),
       // initialFocus: 0,
       // useSafeArea: true,
      onFinish: (){
        print("finish");
      },
      onClickTargetWithTapPosition: (target, tapDetails) {
        print("target: $target");
        print("clicked at position local: ${tapDetails.localPosition} - global: ${tapDetails.globalPosition}");
      },
      onClickTarget: (target){
        print(target);
      },
      onSkip: (){
        print("skip");
      }
    )..show(context:context);

    // tutorial.skip();
    // tutorial.finish();
    // tutorial.next(); // call next target programmatically
    // tutorial.previous(); // call previous target programmatically
    // tutorial.goTo(3); // call target programmatically by index
  }
Creating targets (TargetFocus)
TargetFocus is the class that represents the widget that will be focused and configure what will be displayed after you focus it.
Attributes:
| Attribute | Type | Description |
|---|---|---|
identify |
dynamic | free for identification use |
keyTarget |
GlobalKey | GlobalKey widget that wants to be focused |
targetPosition |
TargetPosition | If you do not want to use GlobalKey, you can create a TargetPosition to determine where to focus |
contents |
ContentTarget[] | Content list you want to display after focusing widget |
shape |
ShapeLightFocus | ShapeLightFocus.Circle or ShapeLightFocus.RRect |
radius |
double | Use when shape = ShapeLightFocus.RRect |
borderSide |
BorderSide | |
color |
Color | Custom color to target |
enableOverlayTab |
bool | enable click in all screen to call next step |
enableTargetTab |
bool | enable click in target to call next step |
alignSkip |
Alignment | use to align the skip in the target |
paddingFocus |
Alignment | settings padding of the focus in target |
focusAnimationDuration |
Duration | override the widget's global focus animation duration |
unFocusAnimationDuration |
Duration | override the widget's global unfocus animation duration |
pulseVariation |
Tween | override interval pulse animation |
Creating contents (ContentTarget)
ContentTarget is the class responsible for determining what should be displayed and how it will appear after focusing on the widget.
Attributes:
| Attribute | Type | Description |
|---|---|---|
align |
AlignContent | With this attribute you determine in which region to display the content in relation to the focused widget (top,bottom,left,right) |
padding |
EdgeInsets | Padding of the content |
child |
Widget | Content you want to be displayed |
builder |
Widget | Content you want to be displayed |
customPosition |
CustomTargetContentPosition | Add custom position when align is AlignContent.custom |
Example Complete
import 'package:flutter/material.dart';
import 'package:tutorial_coach_mark/tutorial_coach_mark.dart';

List<TargetFocus> targets = List();

 @override
 void initState() {
    targets.add(
        TargetFocus(
            identify: "Target 1",
            keyTarget: keyButton,
            contents: [
              TargetContent(
                  align: ContentAlign.bottom,
                  child: Container(
                    child:Column(
                      mainAxisSize: MainAxisSize.min,
                      crossAxisAlignment: CrossAxisAlignment.start,
                      children: <Widget>[
                        Text(
                          "Titulo lorem ipsum",
                          style: TextStyle(
                            fontWeight: FontWeight.bold,
                            color: Colors.white,
                            fontSize: 20.0
                          ),
                        ),
                        Padding(
                          padding: const EdgeInsets.only(top: 10.0),
                          child: Text("Lorem ipsum dolor sit amet, consectetur adipiscing elit. Proin pulvinar tortor eget maximus iaculis.",
                            style: TextStyle(
                                color: Colors.white
                            ),),
                        )
                      ],
                    ),
                  )
              )
            ]
        )
    );

    targets.add(
        TargetFocus(
            identify: "Target 2",
            keyTarget: keyButton4,
            contents: [
              TargetContent(
                  align: ContentAlign.left,
                  child: Container(
                    child: Column(
                      mainAxisSize: MainAxisSize.min,
                      crossAxisAlignment: CrossAxisAlignment.start,
                      children: <Widget>[
                        Text(
                          "Multiples content",
                          style: TextStyle(
                              fontWeight: FontWeight.bold,
                              color: Colors.white,
                              fontSize: 20.0
                          ),
                        ),
                        Padding(
                          padding: const EdgeInsets.only(top: 10.0),
                          child: Text("Lorem ipsum dolor sit amet, consectetur adipiscing elit. Proin pulvinar tortor eget maximus iaculis.",
                            style: TextStyle(
                                color: Colors.white
                            ),),
                        )
                      ],
                    ),
                  )
              ),
              TargetContent(
                  align: ContentAlign.top,
                  child: Container(
                    child: Column(
                      mainAxisSize: MainAxisSize.min,
                      crossAxisAlignment: CrossAxisAlignment.start,
                      children: <Widget>[
                        Text(
                          "Multiples content",
                          style: TextStyle(
                              fontWeight: FontWeight.bold,
                              color: Colors.white,
                              fontSize: 20.0
                          ),
                        ),
                        Padding(
                          padding: const EdgeInsets.only(top: 10.0),
                          child: Text("Lorem ipsum dolor sit amet, consectetur adipiscing elit. Proin pulvinar tortor eget maximus iaculis.",
                            style: TextStyle(
                                color: Colors.white
                            ),),
                        )
                      ],
                    ),
                  )
              )
            ]
        )
    );

    targets.add(
        TargetFocus(
            identify: "Target 3",
            keyTarget: keyButton5,
            contents: [
              TargetContent(
                  align: ContentAlign.right,
                  child: Container(
                    child: Column(
                      mainAxisSize: MainAxisSize.min,
                      crossAxisAlignment: CrossAxisAlignment.start,
                      children: <Widget>[
                        Text(
                          "Title lorem ipsum",
                          style: TextStyle(
                              fontWeight: FontWeight.bold,
                              color: Colors.white,
                              fontSize: 20.0
                          ),
                        ),
                        Padding(
                          padding: const EdgeInsets.only(top: 10.0),
                          child: Text("Lorem ipsum dolor sit amet, consectetur adipiscing elit. Proin pulvinar tortor eget maximus iaculis.",
                            style: TextStyle(
                                color: Colors.white
                            ),),
                        )
                      ],
                    ),
                  )
              )
            ]
        )
    );
}

void showTutorial() {
    TutorialCoachMark(
      targets: targets, // List<TargetFocus>
      colorShadow: Colors.red, // DEFAULT Colors.black
       // alignSkip: Alignment.bottomRight,
       // textSkip: "SKIP",
       // paddingFocus: 10,
       // opacityShadow: 0.8,
      onClickTarget: (target){
        print(target);
      },
      onClickTargetWithTapPosition: (target, tapDetails) {
        print("target: $target");
        print("clicked at position local: ${tapDetails.localPosition} - global: ${tapDetails.globalPosition}");
      },
      onClickOverlay: (target){
        print(target);
      },
      onSkip: (){
        print("skip");
      },
      onFinish: (){
        print("finish");
      },
    )..show(context:context);
  }
Contribution
If you find any errors or want to add improvements, you can open a issue or develop the fix and open a pull request. Thank you for your cooperation!

