textfield_tags
Textfield_tags is a widget that allows developers to create tags inside a textfield. The widget comes with 2 default controllers that allow you to store tags as regular strings or objects. Alternatively, you can create your own controller by extending the base controller class to have custom tag controllers.
Environment
sdk: ">=2.12.0 <4.0.0"
flutter: ">=1.17.0"
Installation
  dependencies:
      textfield_tags: ^3.0.1
$ flutter pub get
Getting Started
To get started using this widget, you will need to first import the package inside your project following the installation guide found on Flutter.dev.
Usage
To use this widget,
import 'package:textfield_tags/textfield_tags.dart';inside your dart file- Follow one of the examples bellow and call the widget
TextFieldTags(...). - The widget takes in 9 arguments:
List<String>? initialTags,ScrollController? scrollController,FocusNode? focusNode,TextEditingController? textEditingController,List<String>? textSeperators,LetterCase? letterCase,Validator? validator,InputFieldBuilder inputfieldBuilder,TextfieldTagsController? textfieldController.
Read the api documentation on these properties for more details or see the examples provided in the example folder.
Examples With Different Controllers
By default, the widget comes with 2 built-in controllers: one that allows you to manage string type tags and another one that allows you to use any type of tags including objects, ints, strings, etc. We will show examples of the two controllers in actions bellow.
Using String type tags (StringTagControlle)
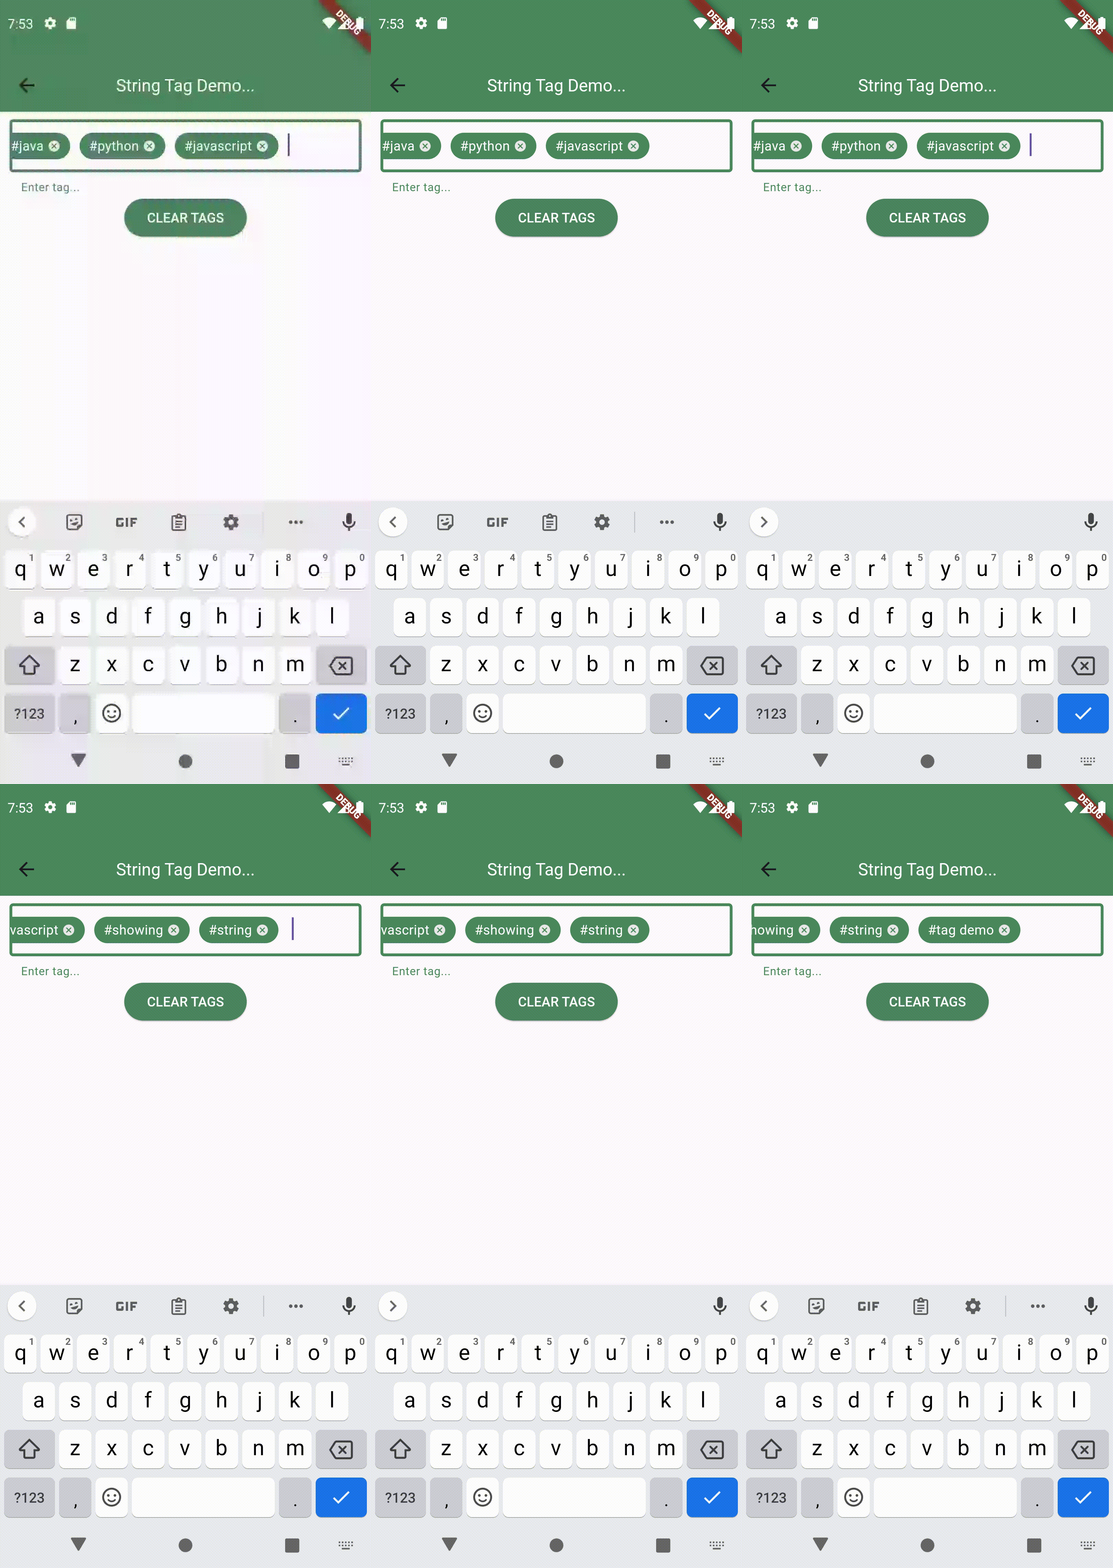
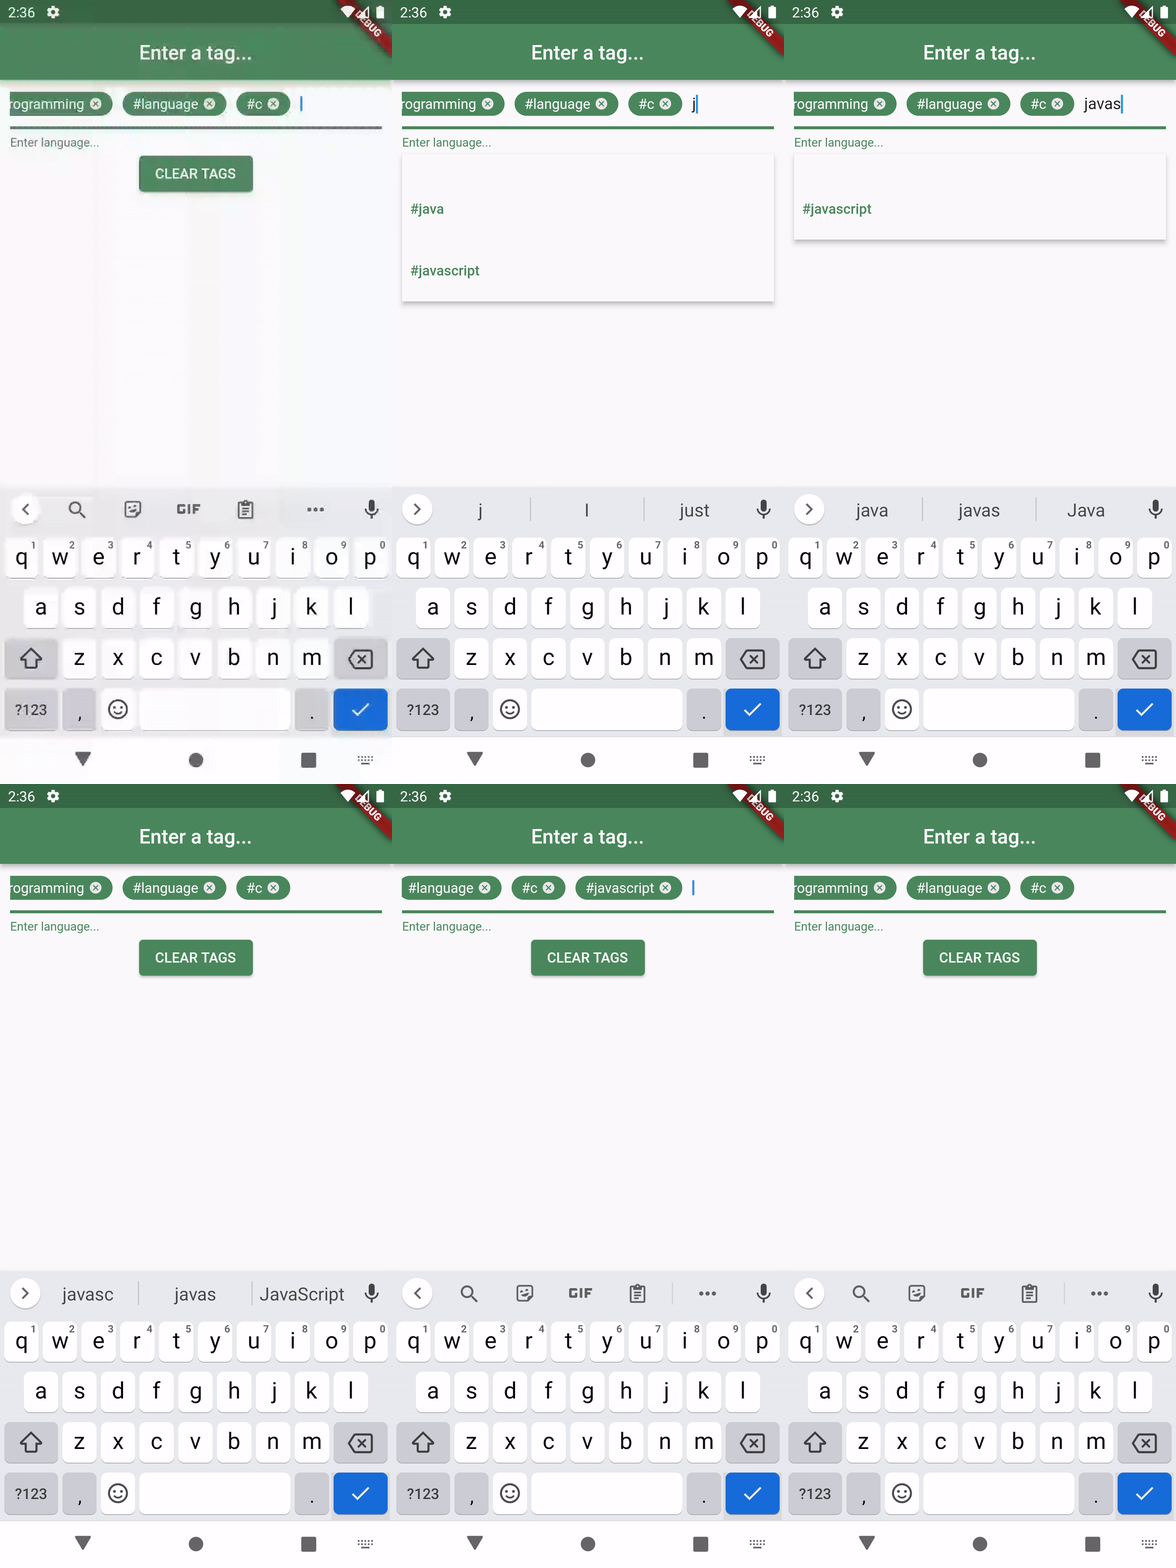
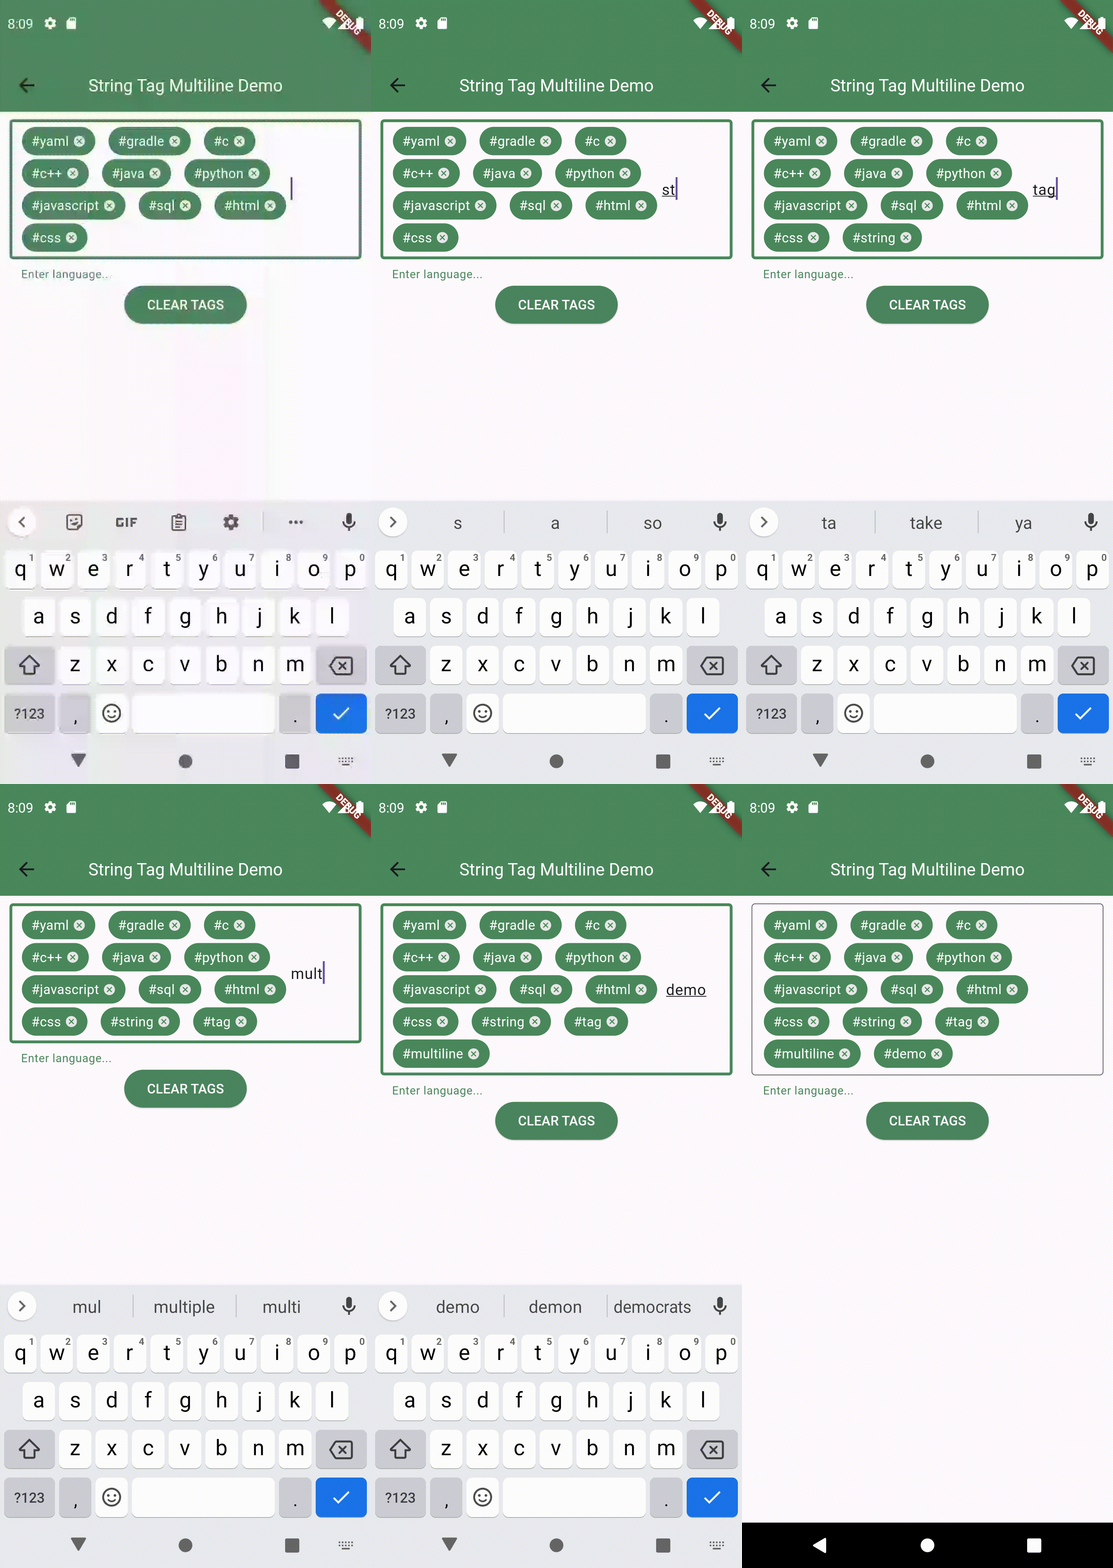
If you only want to use string based tags, then the StringTagController is ideal for you. The example bellow shows how you can utilize the StringTagController<String>() controller to manage string tags.
  class MyWidget extends StatelessWidget {
    const MyWidget({Key? key}) : super(key: key);

    final _stringTagController = StringTagController();

    @override
    Widget build(BuildContext context) {
      return TextFieldTags<String>(
        textfieldTagsController: _stringTagController,
        initialTags:['python','java'],
        textSeparators: const [' ', ','],
        validator: (String tag){
          if (tag == 'php'){
            return 'Php not allowed';
          }
          return null;
        },
        inputFieldBuilder: (context, inputFieldValues){
          return TextField(
            controller: inputFieldValues.textEditingController,
            focusNode: inputFieldValues.focusNode,
          );
        }
      );
    }
  }
Using dynamic tags (DynamicTagController)
If you want to store dynamic type of datas with each tags, then using DyanmicTagController will be ideal for you. This will offer you more flexibiliity and customization and will allow you to design the tags based on their own stored data.
//Sample data model
class ButtonData {
  final Color buttonColor;
  final String emoji;
  const ButtonData(this.buttonColor, this.emoji);
}

class MyWidget extends StatelessWidget {
    const MyWidget({Key? key}) : super(key: key);
    final _dynamicTagController = DynamicTagController<TagData<ButtonData>>()

    @override
    Widget build(BuildContext context) {
      return TextFieldTags<DynamicTagData<ButtonData>>(
        textfieldTagsController: _dynamicTagController,
        initialTags:[
          DynamicTagData<ButtonData>(
            'cat',
            const ButtonData(
              Color.fromARGB(255, 132, 204, 255),
              "😽",
            ),
          ),
          DynamicTagData<ButtonData>(
            'penguin',
            const ButtonData<ButtonData>(
              Color.fromARGB(255, 255, 131, 228),
              '🐧',
            ),
          ),
          DynamicTagData<ButtonData>(
            'tiger',
            const ButtonData(
              Color.fromARGB(255, 222, 255, 132),
              '🐯',
            ),
          ),
        ],
        textSeparators: const [' ', ','],
        validator: (DynamicTagData<ButtonData> tag){
          if (tag.tag == 'lion') {
            return 'Not envited per tiger request';
          } else if (_dynamicTagController.getTags!
              .any((element) => element.tag == tag.tag)) {
            return 'Already in the club';
          }
          return null;
        },
        inputFieldBuilder: (context, inputFieldValues){
          return TextField(
            controller: inputFieldValues.textEditingController,
            focusNode: inputFieldValues.focusNode,
          );
        }
      );
    }
  }
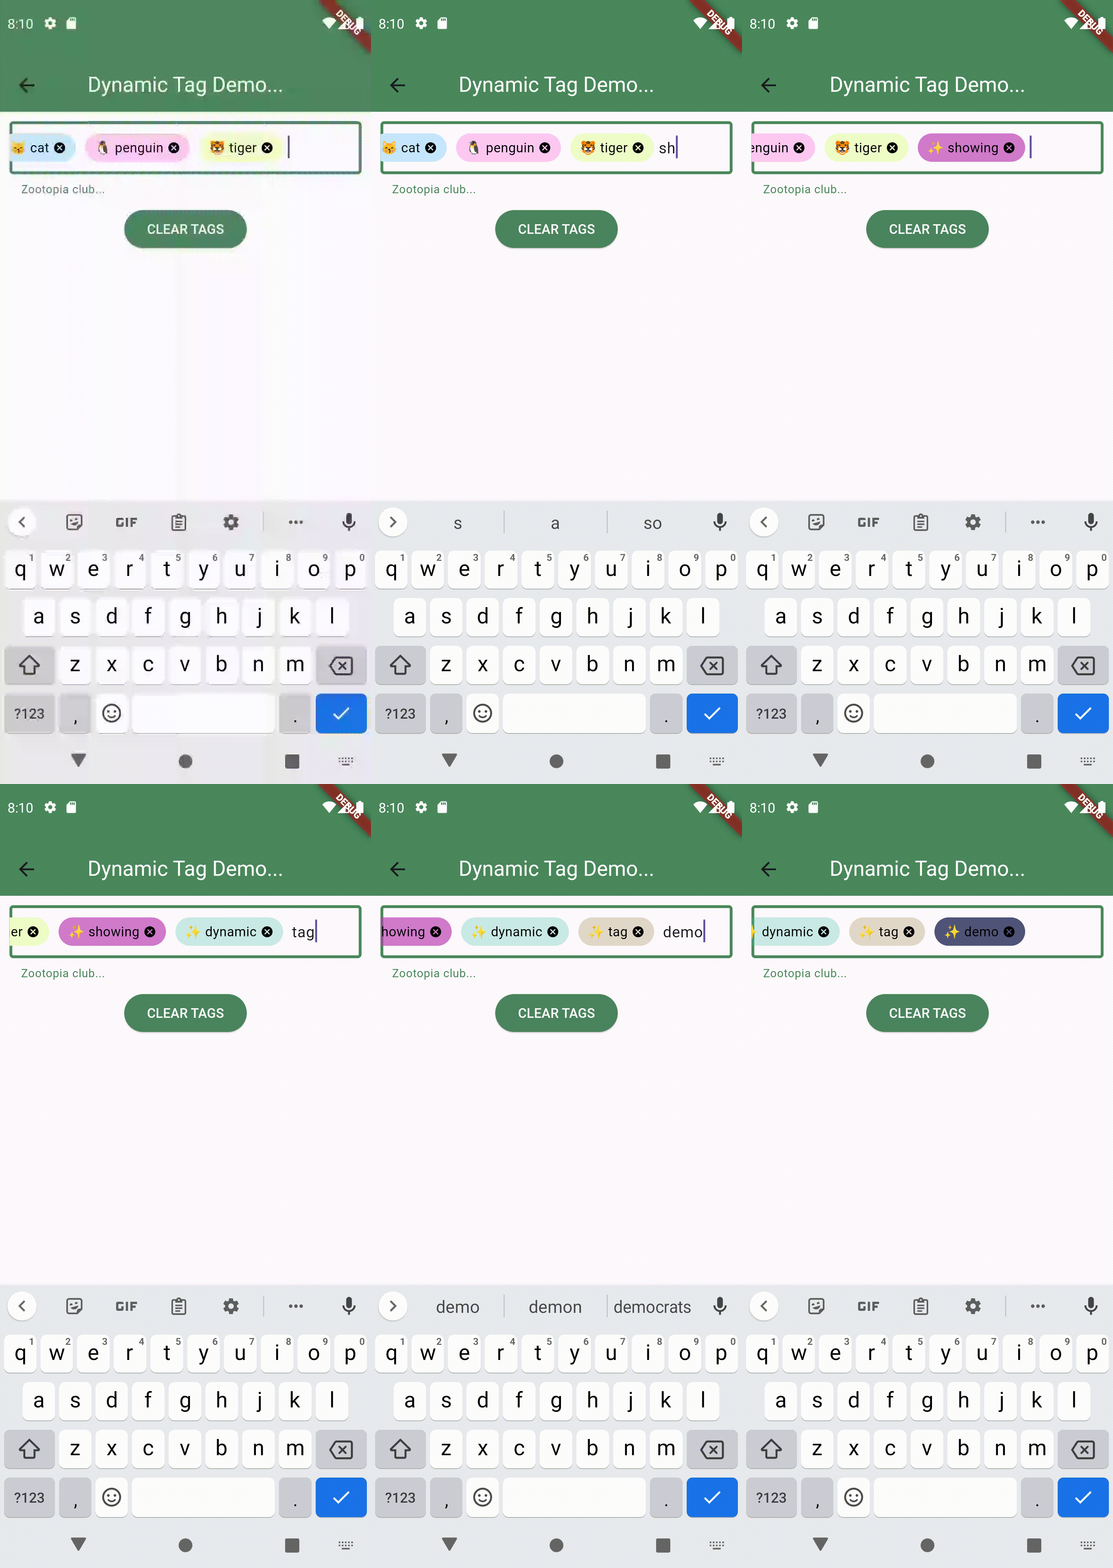
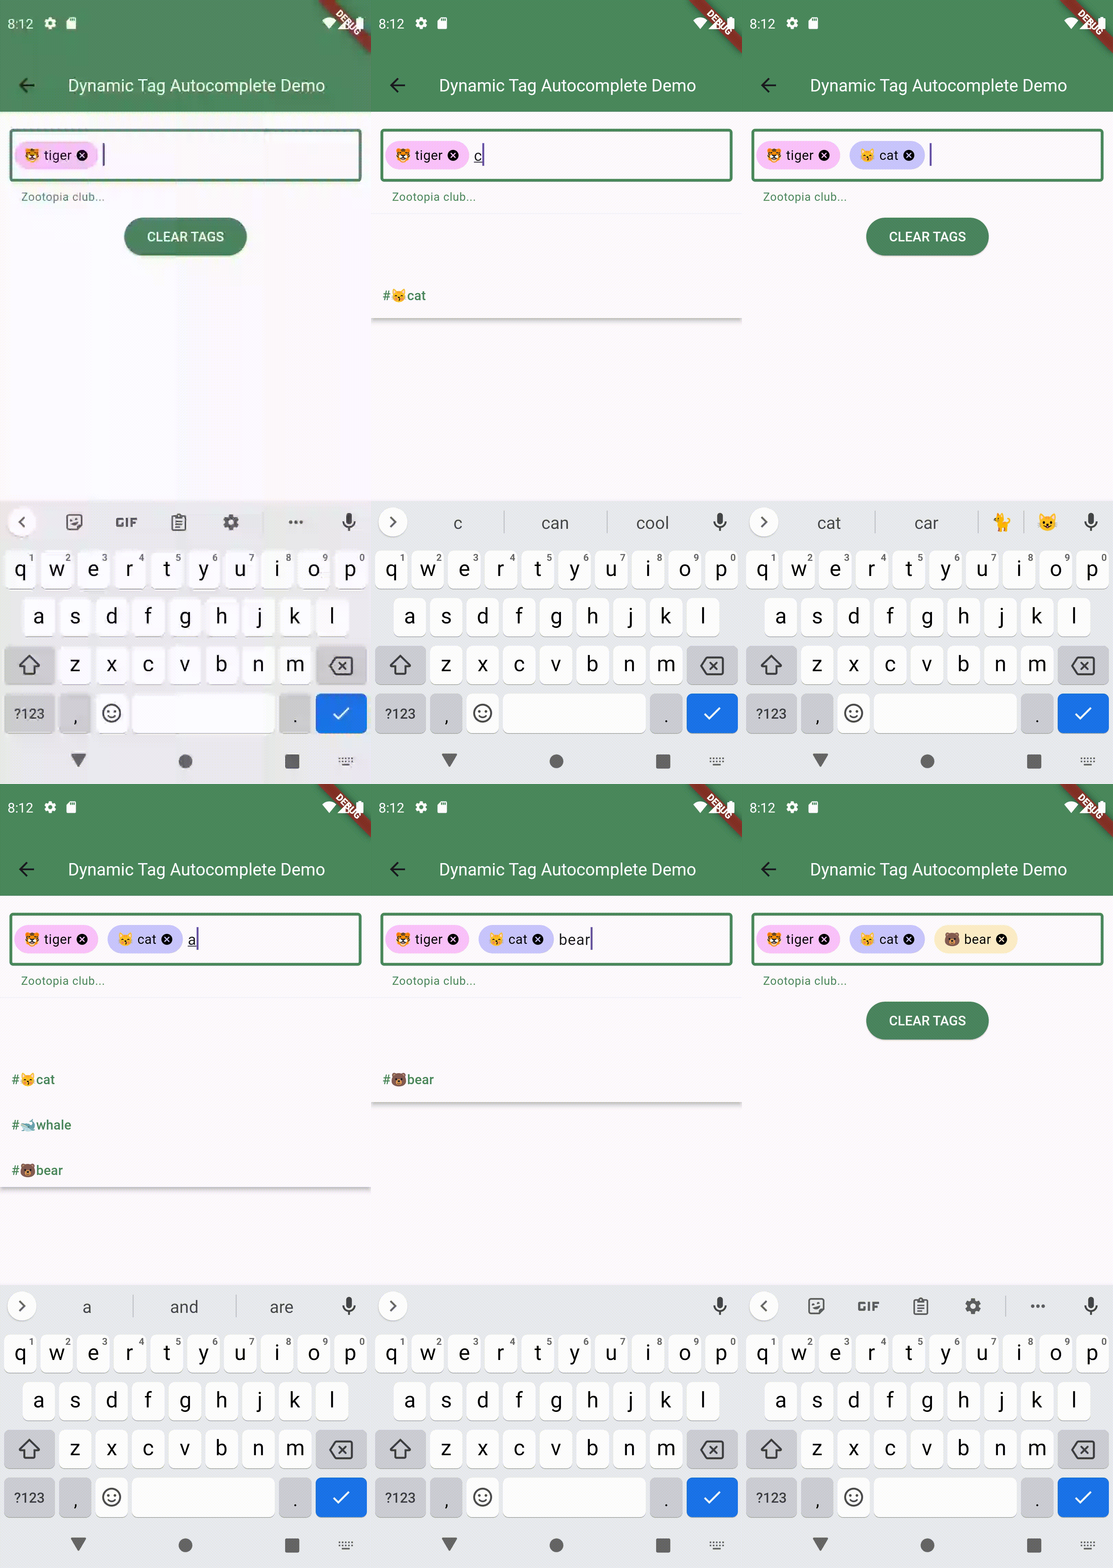
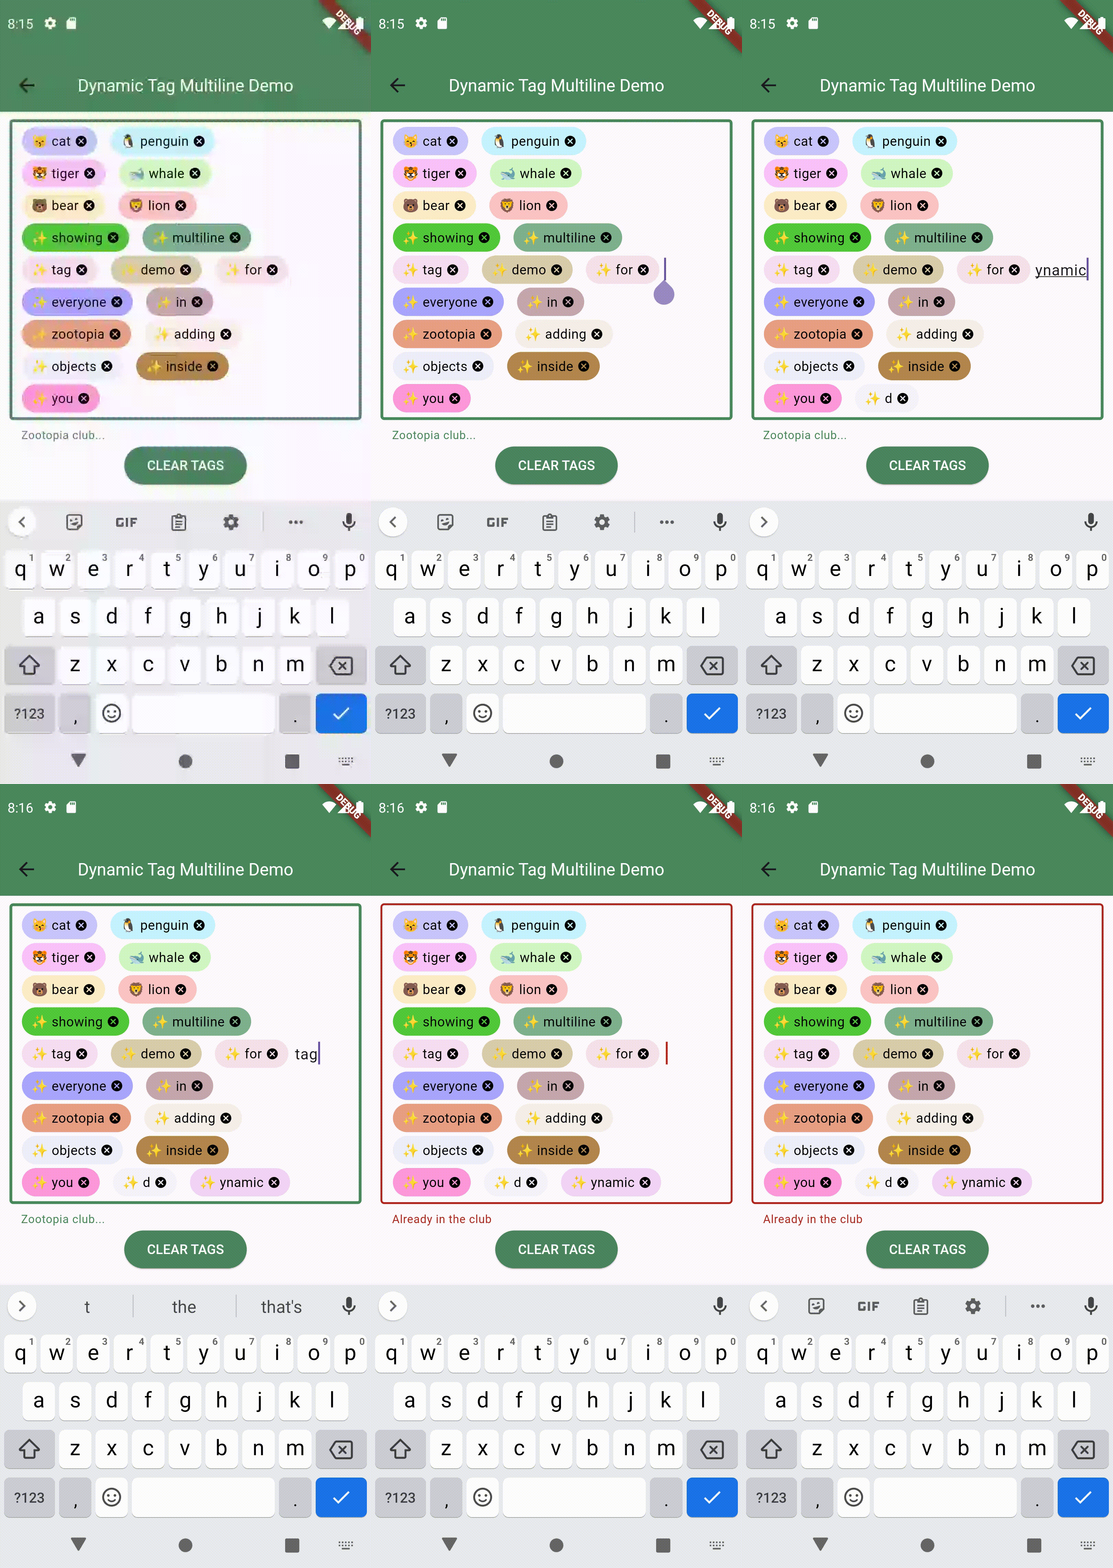
More Advanced Functionality Via A Custom Controller
If you feel like you want more functionality than what is offered by the 2 default controllers, then you can easily extend TextfieldTagsController class to your own custom class and inherit all its functionalities and add your own stuffs as bellow example shows.
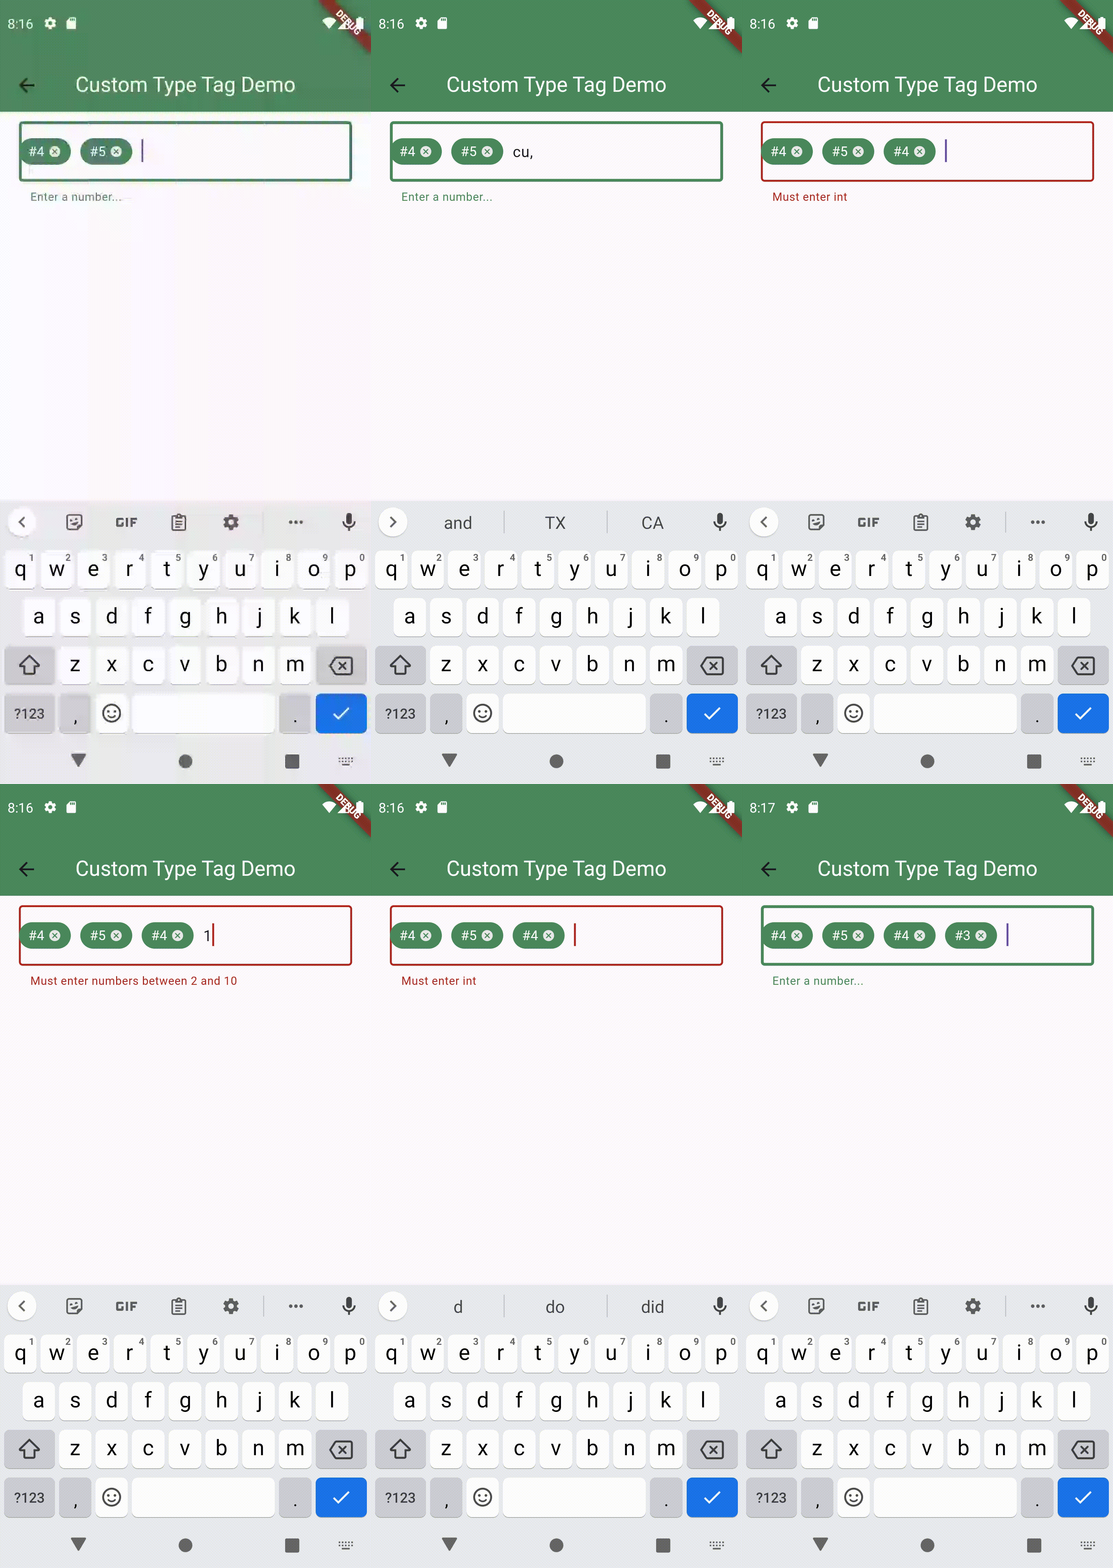
The bellow example shows you how you can use a numbers tag picker that selects numbers between 2 and 10 with the exception of number 8.
  // Create my own custom controller
  class MyIntTagController<T extends int> extends TextfieldTagsController<T> {
      @override
      bool? onTagSubmitted(T value) {
          String? validate = getValidator != null ? getValidator!(value) : null;
          if (validate == null && value > 2 && value < 10) {
            bool? addTag = super.addTag(value);
            if (addTag == true) {
              setError = null;
              scrollTags();
            }
          } else if (validate != null) {
            setError = validate;
          } else {
            setError = 'Must enter numbers between 2 and 10';
          }
          return null;
      }

      @override
      set setError(String? error) {
        super.setError = error;
        notifyListeners();
      }

      doOtherThings(){
        ...
      }
  }

  class MyWidget extends StatelessWidget {
    const MyWidget({Key? key}) : super(key: key);
    final _myintTagController = MyIntTagController<int>();

    @override
    Widget build(BuildContext context) {
      return TextFieldTags<int>(
        textfieldTagsController: _myintTagController,
        initialTags:[ 4, 5 ],
        validator: (int tag){
          if (tag == 8){
            return '8 is not allowed';
          }
          return null;
        },
        inputFieldBuilder: (context, inputFieldValues){
          return TextField(
            controller: inputFieldValues.textEditingController,
            focusNode: inputFieldValues.focusNode,
          );
        }
      );
    }
  }
