HyperPay SDK for Flutter


Flutter plugin wrapping the official HyperPay (OPPWA) Mobile SDK v7.4.0 for Android and iOS.
Features
- ReadyUI — Pre-built checkout screen with all payment brands
- CustomUI — Build your own payment form, submit via the SDK
- Apple Pay (iOS) and Google Pay (Android)
- VISA, MasterCard, MADA, STC Pay support
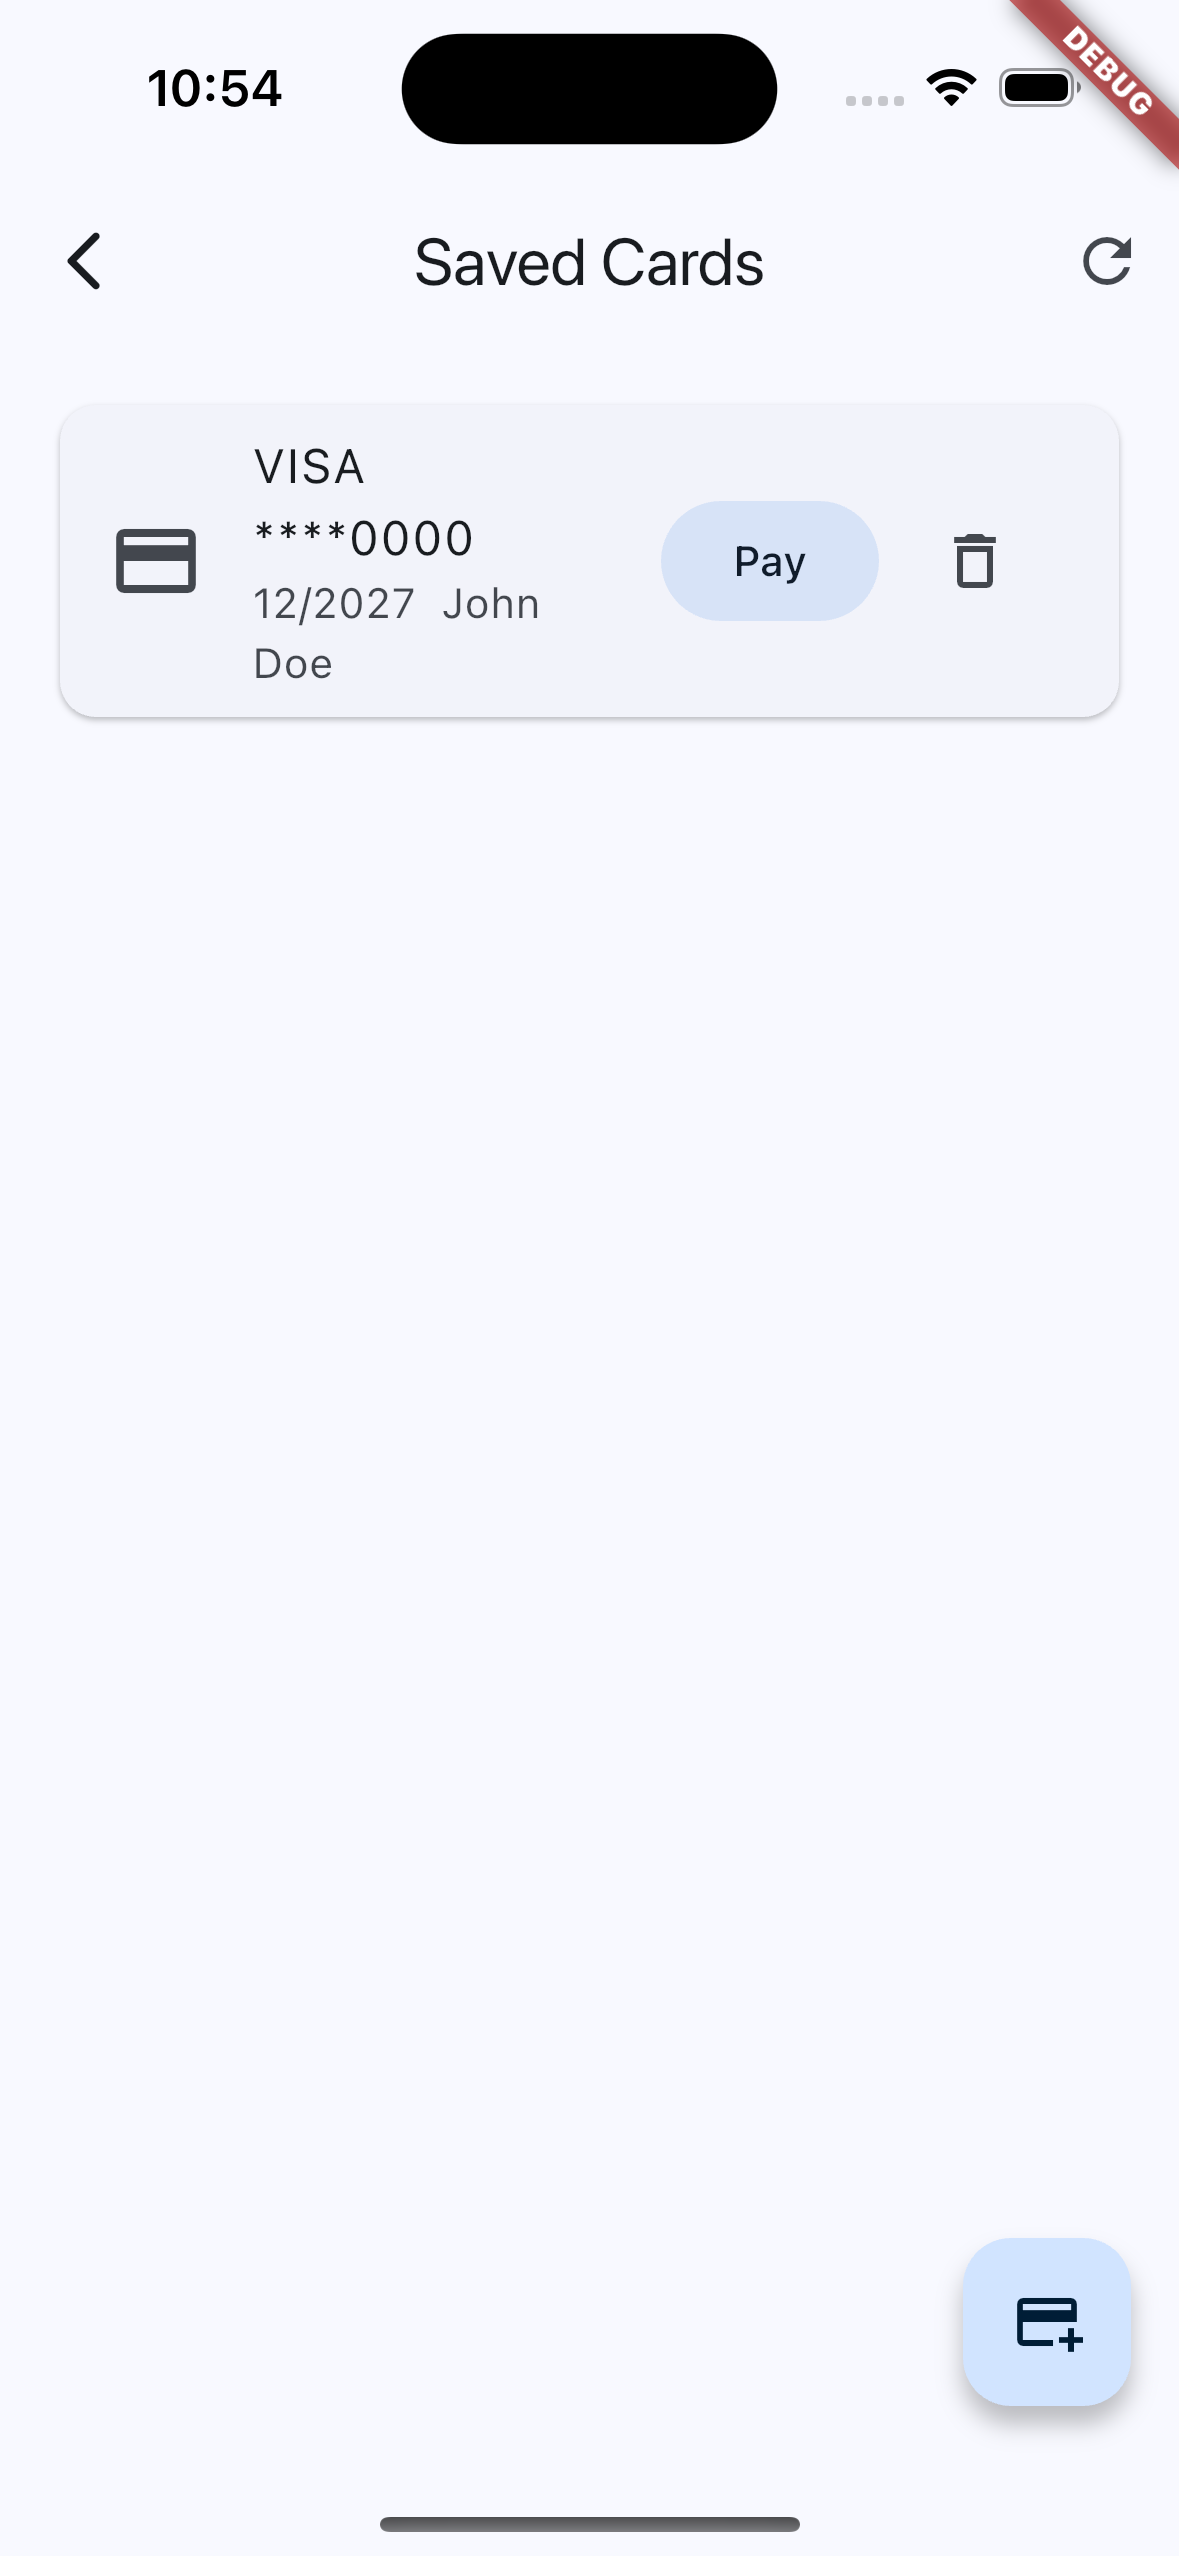
- Tokenization — Save cards for future payments
- 3DS2 authentication — Handled automatically by the SDK
- Async payment flows — Redirect-based payments (e.g. 3DS, bank redirects)
- Test and Live modes
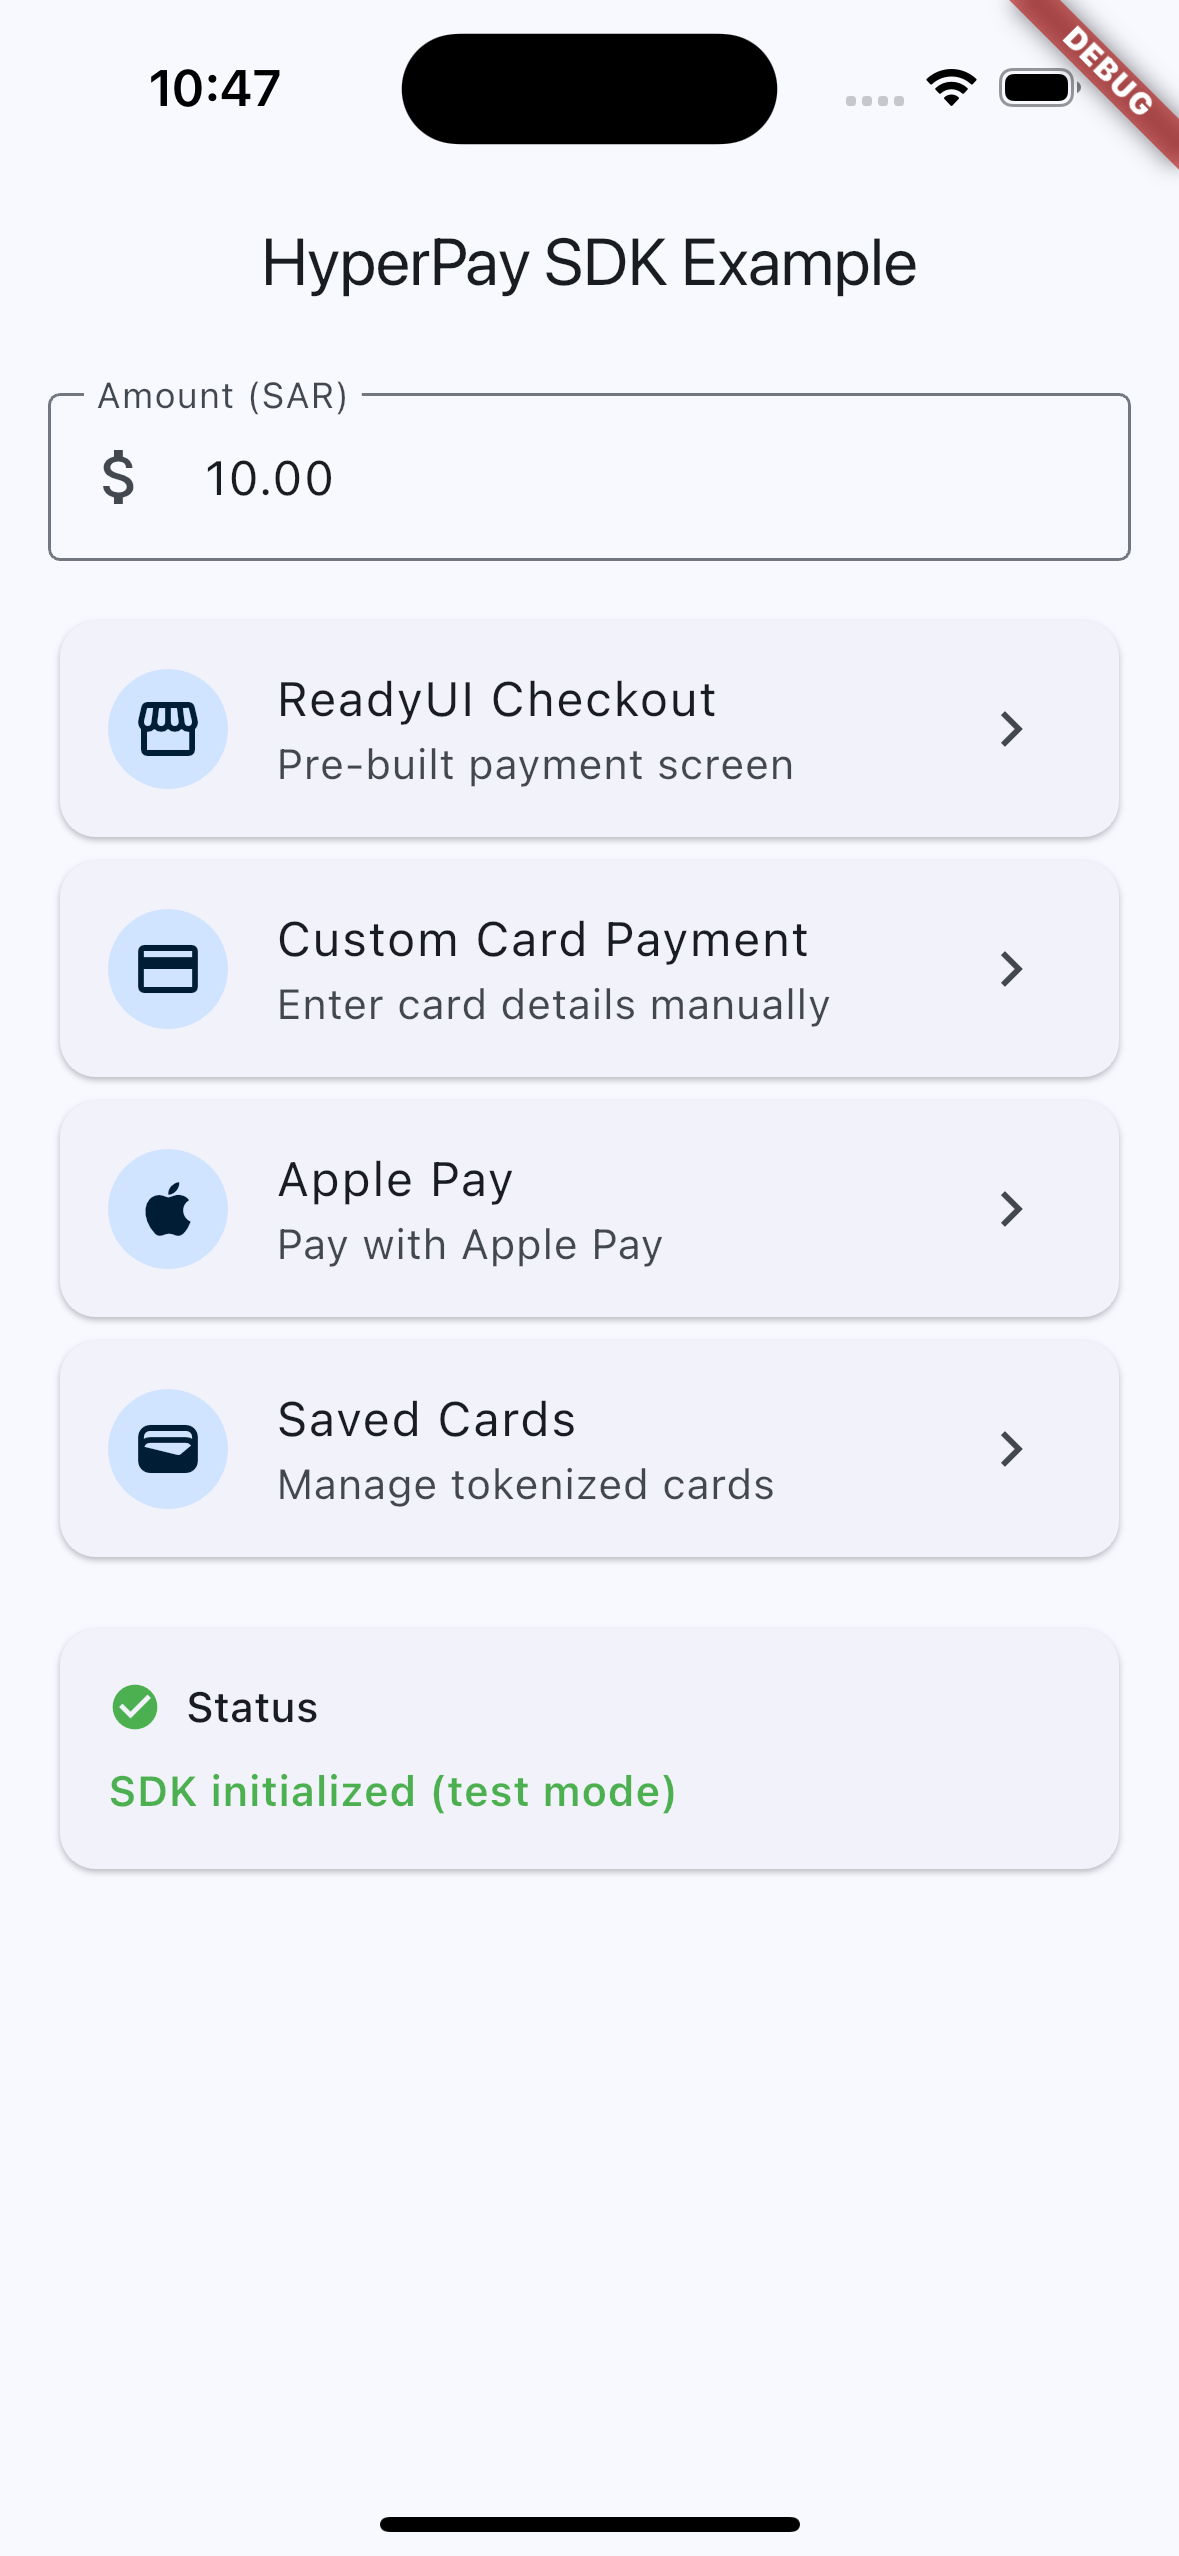
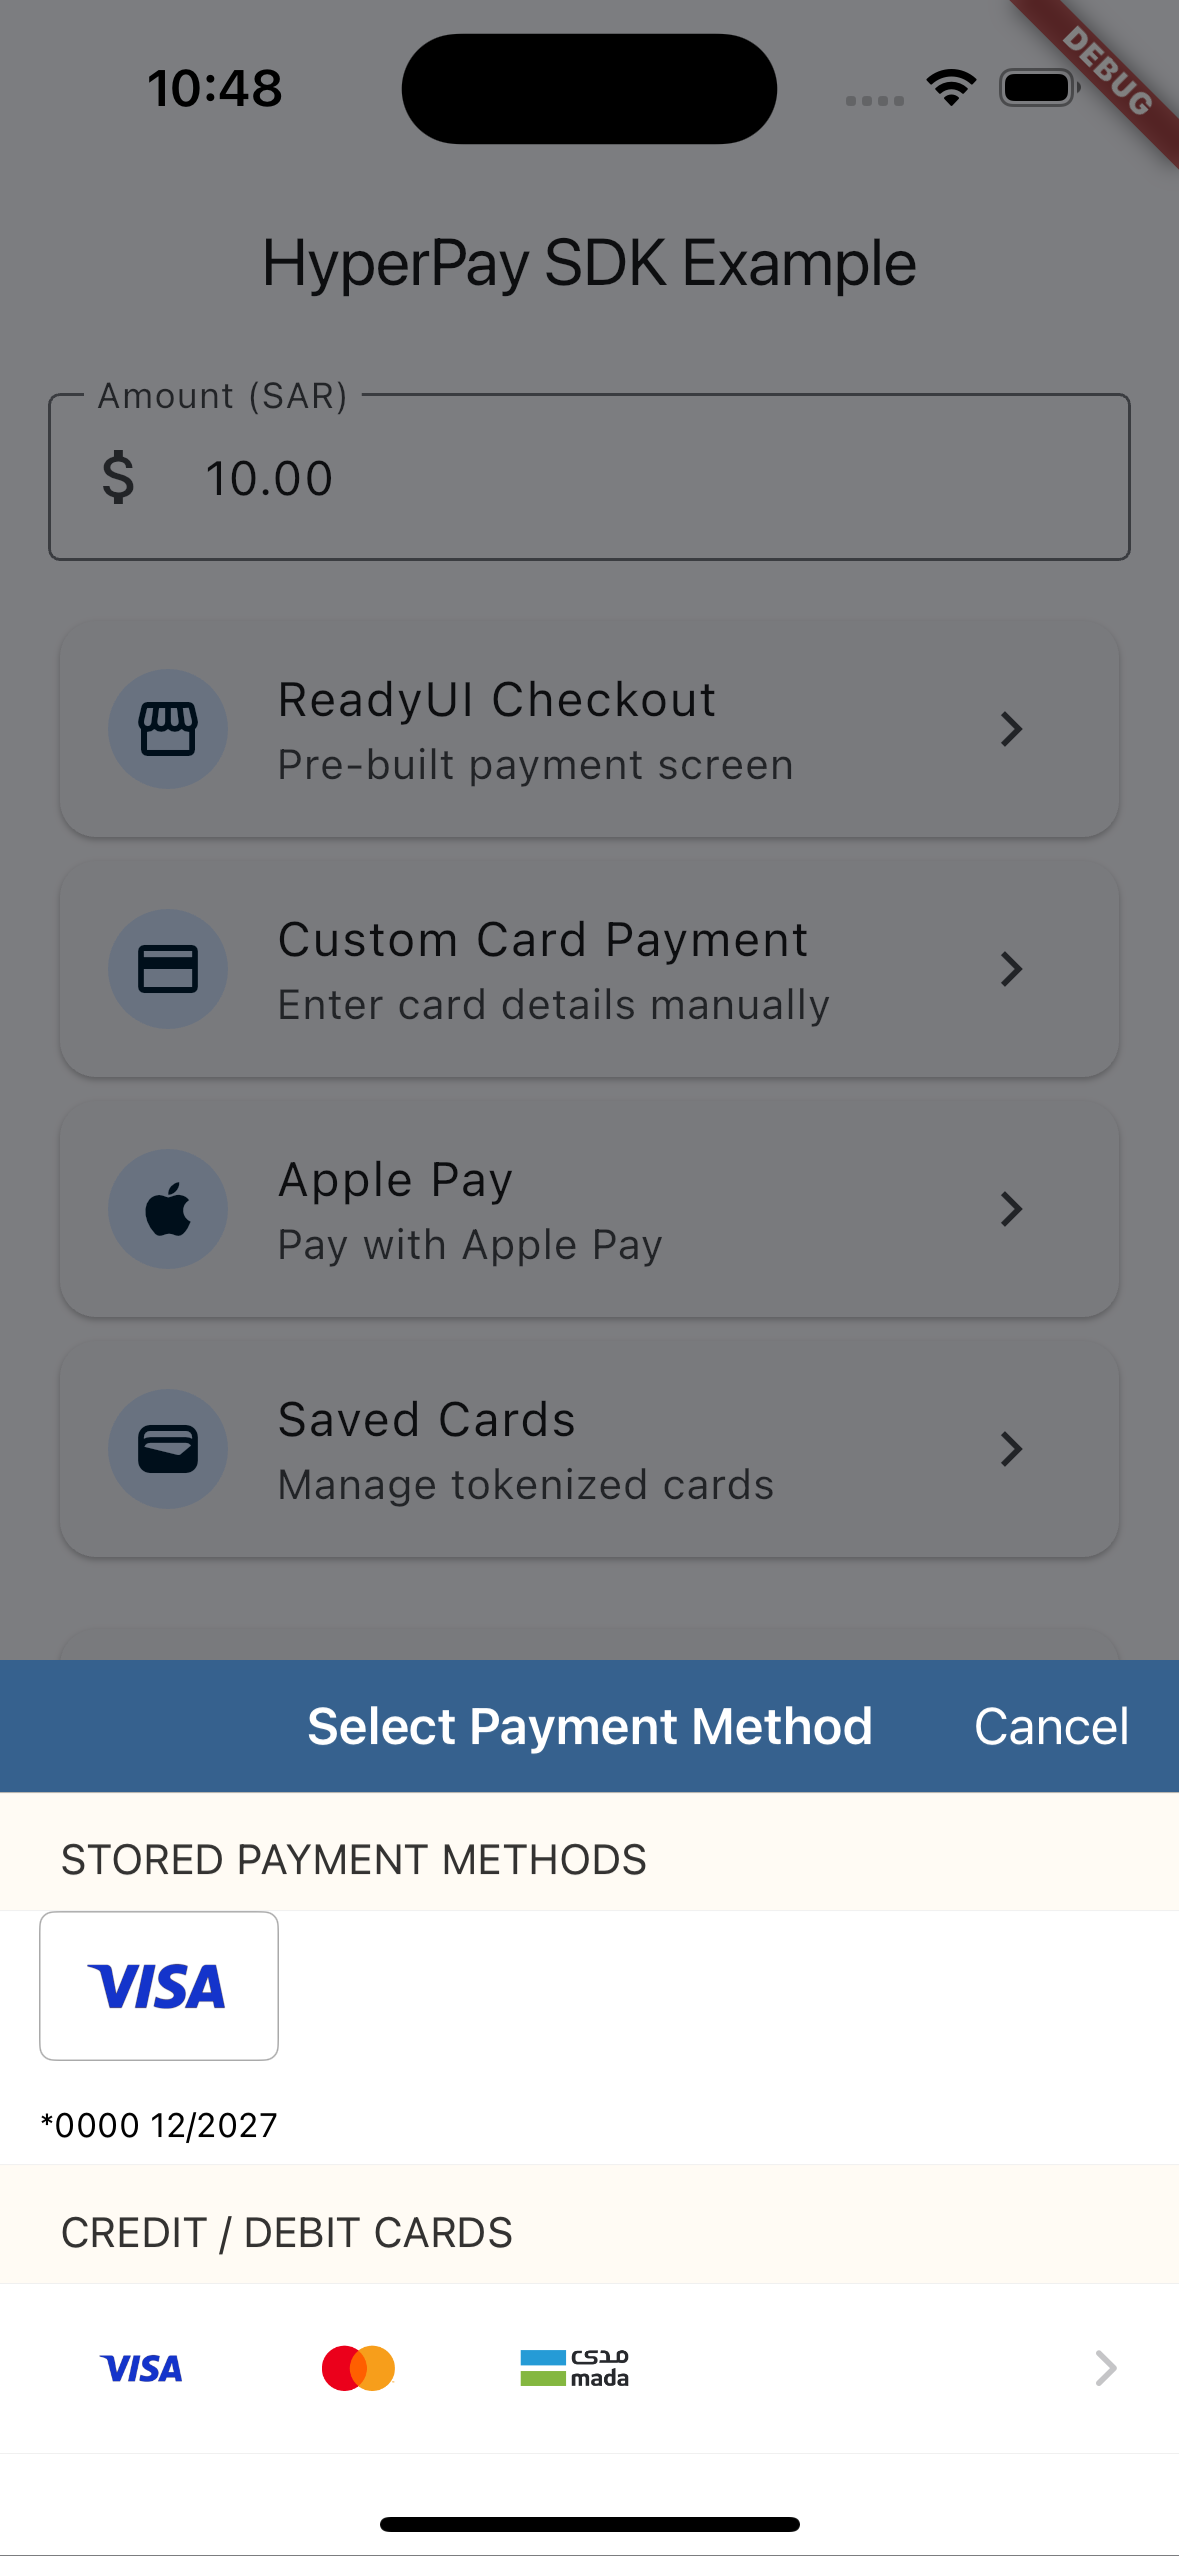
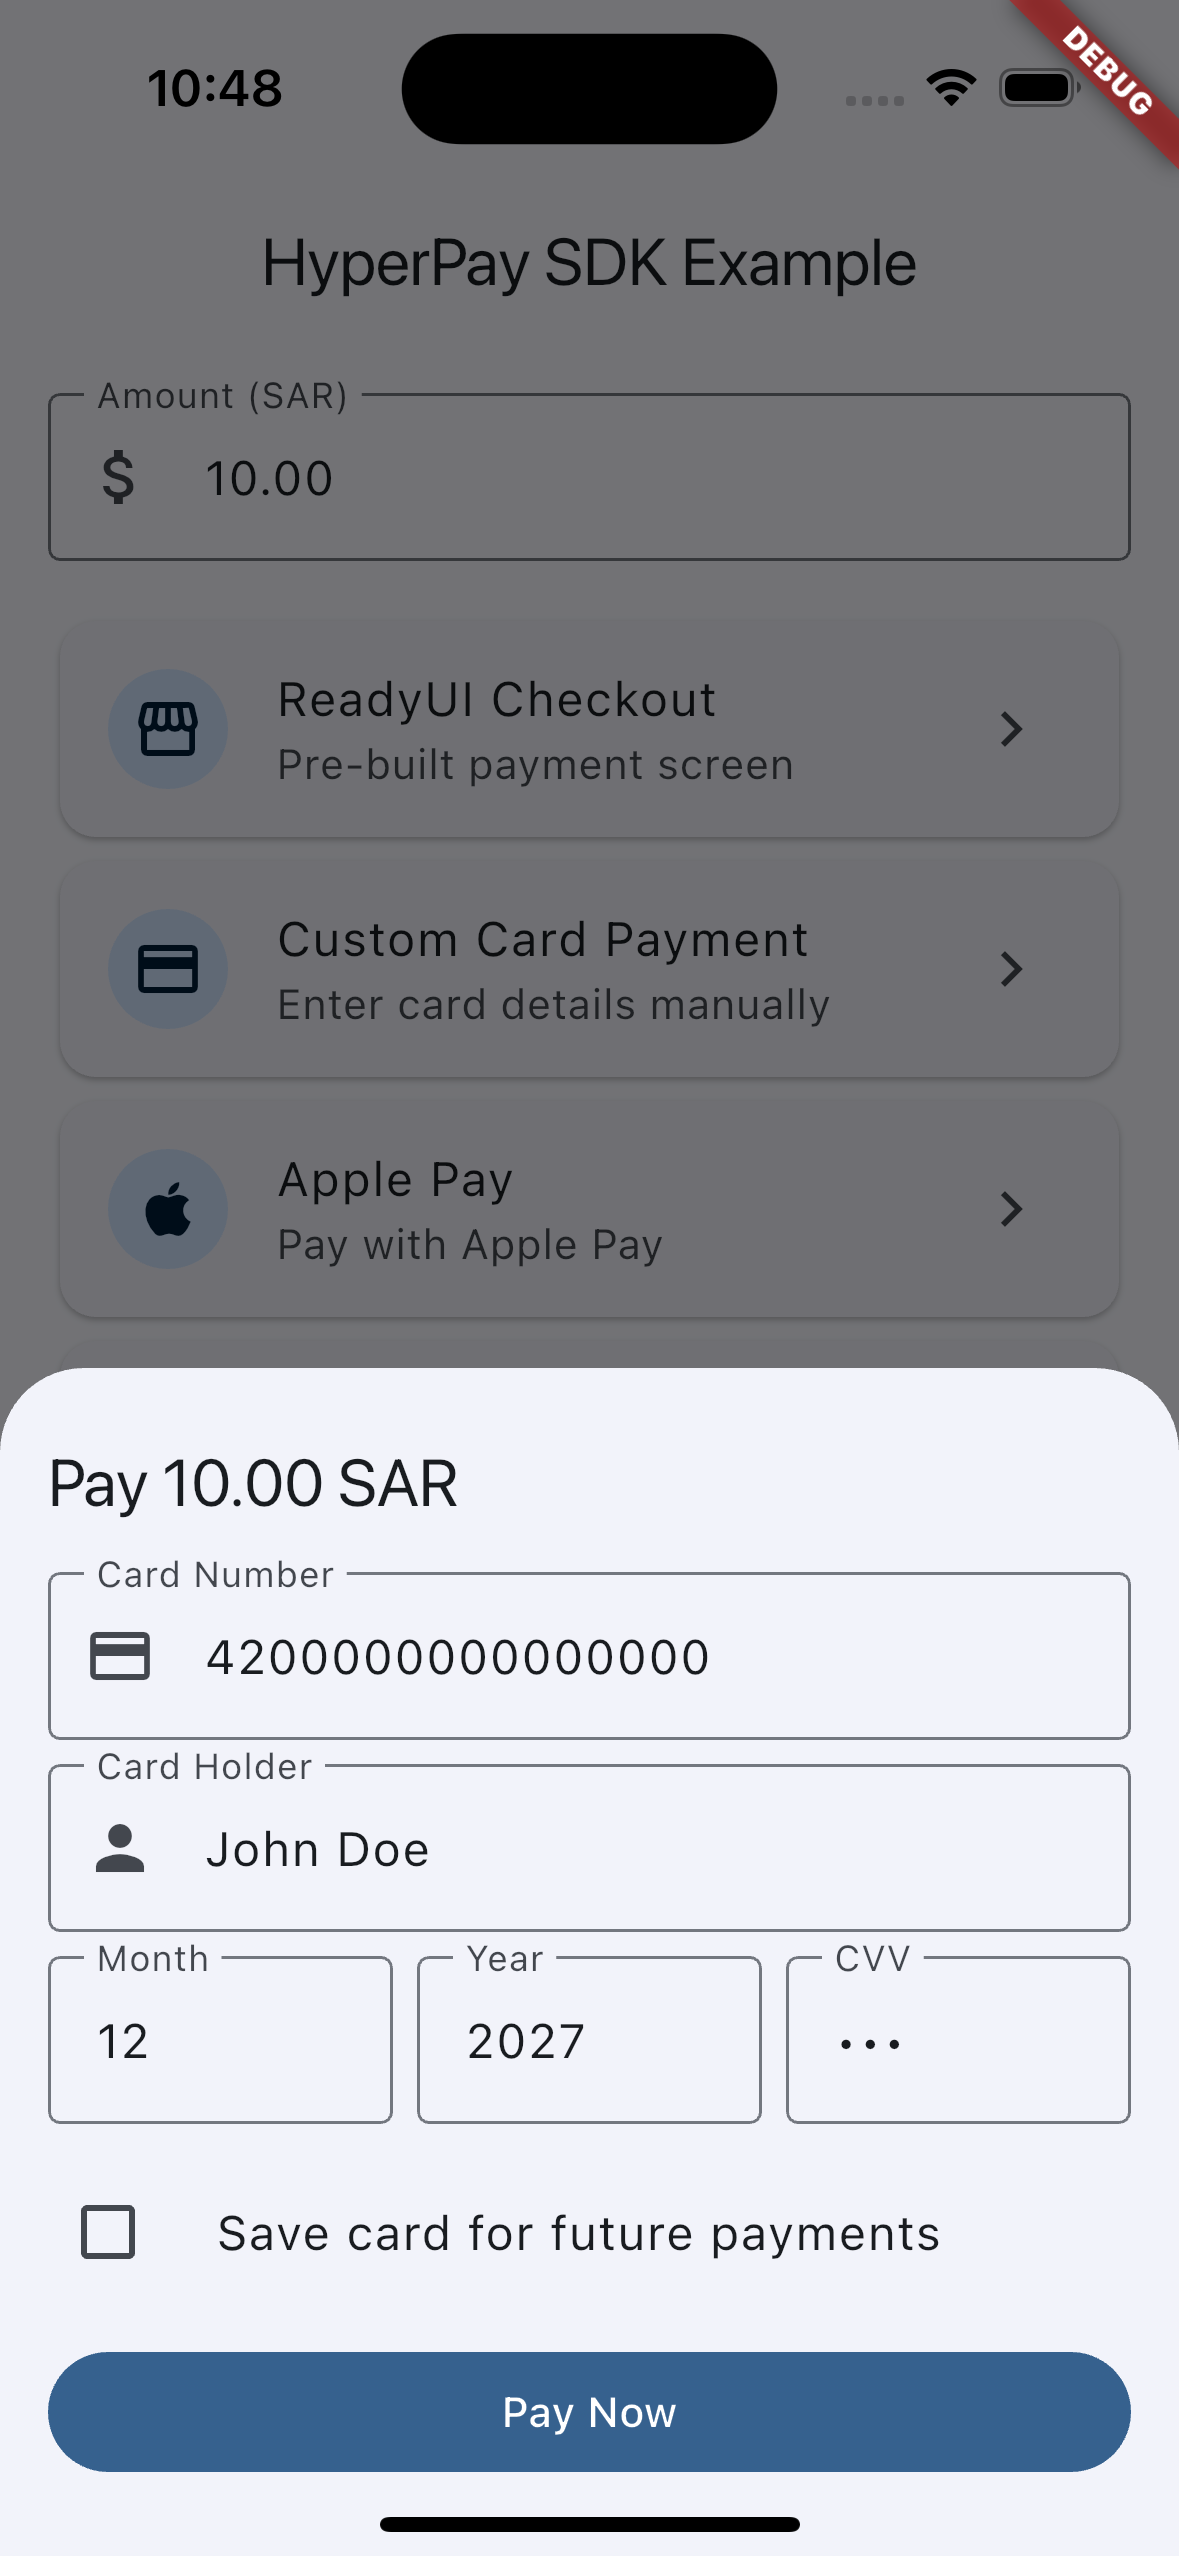
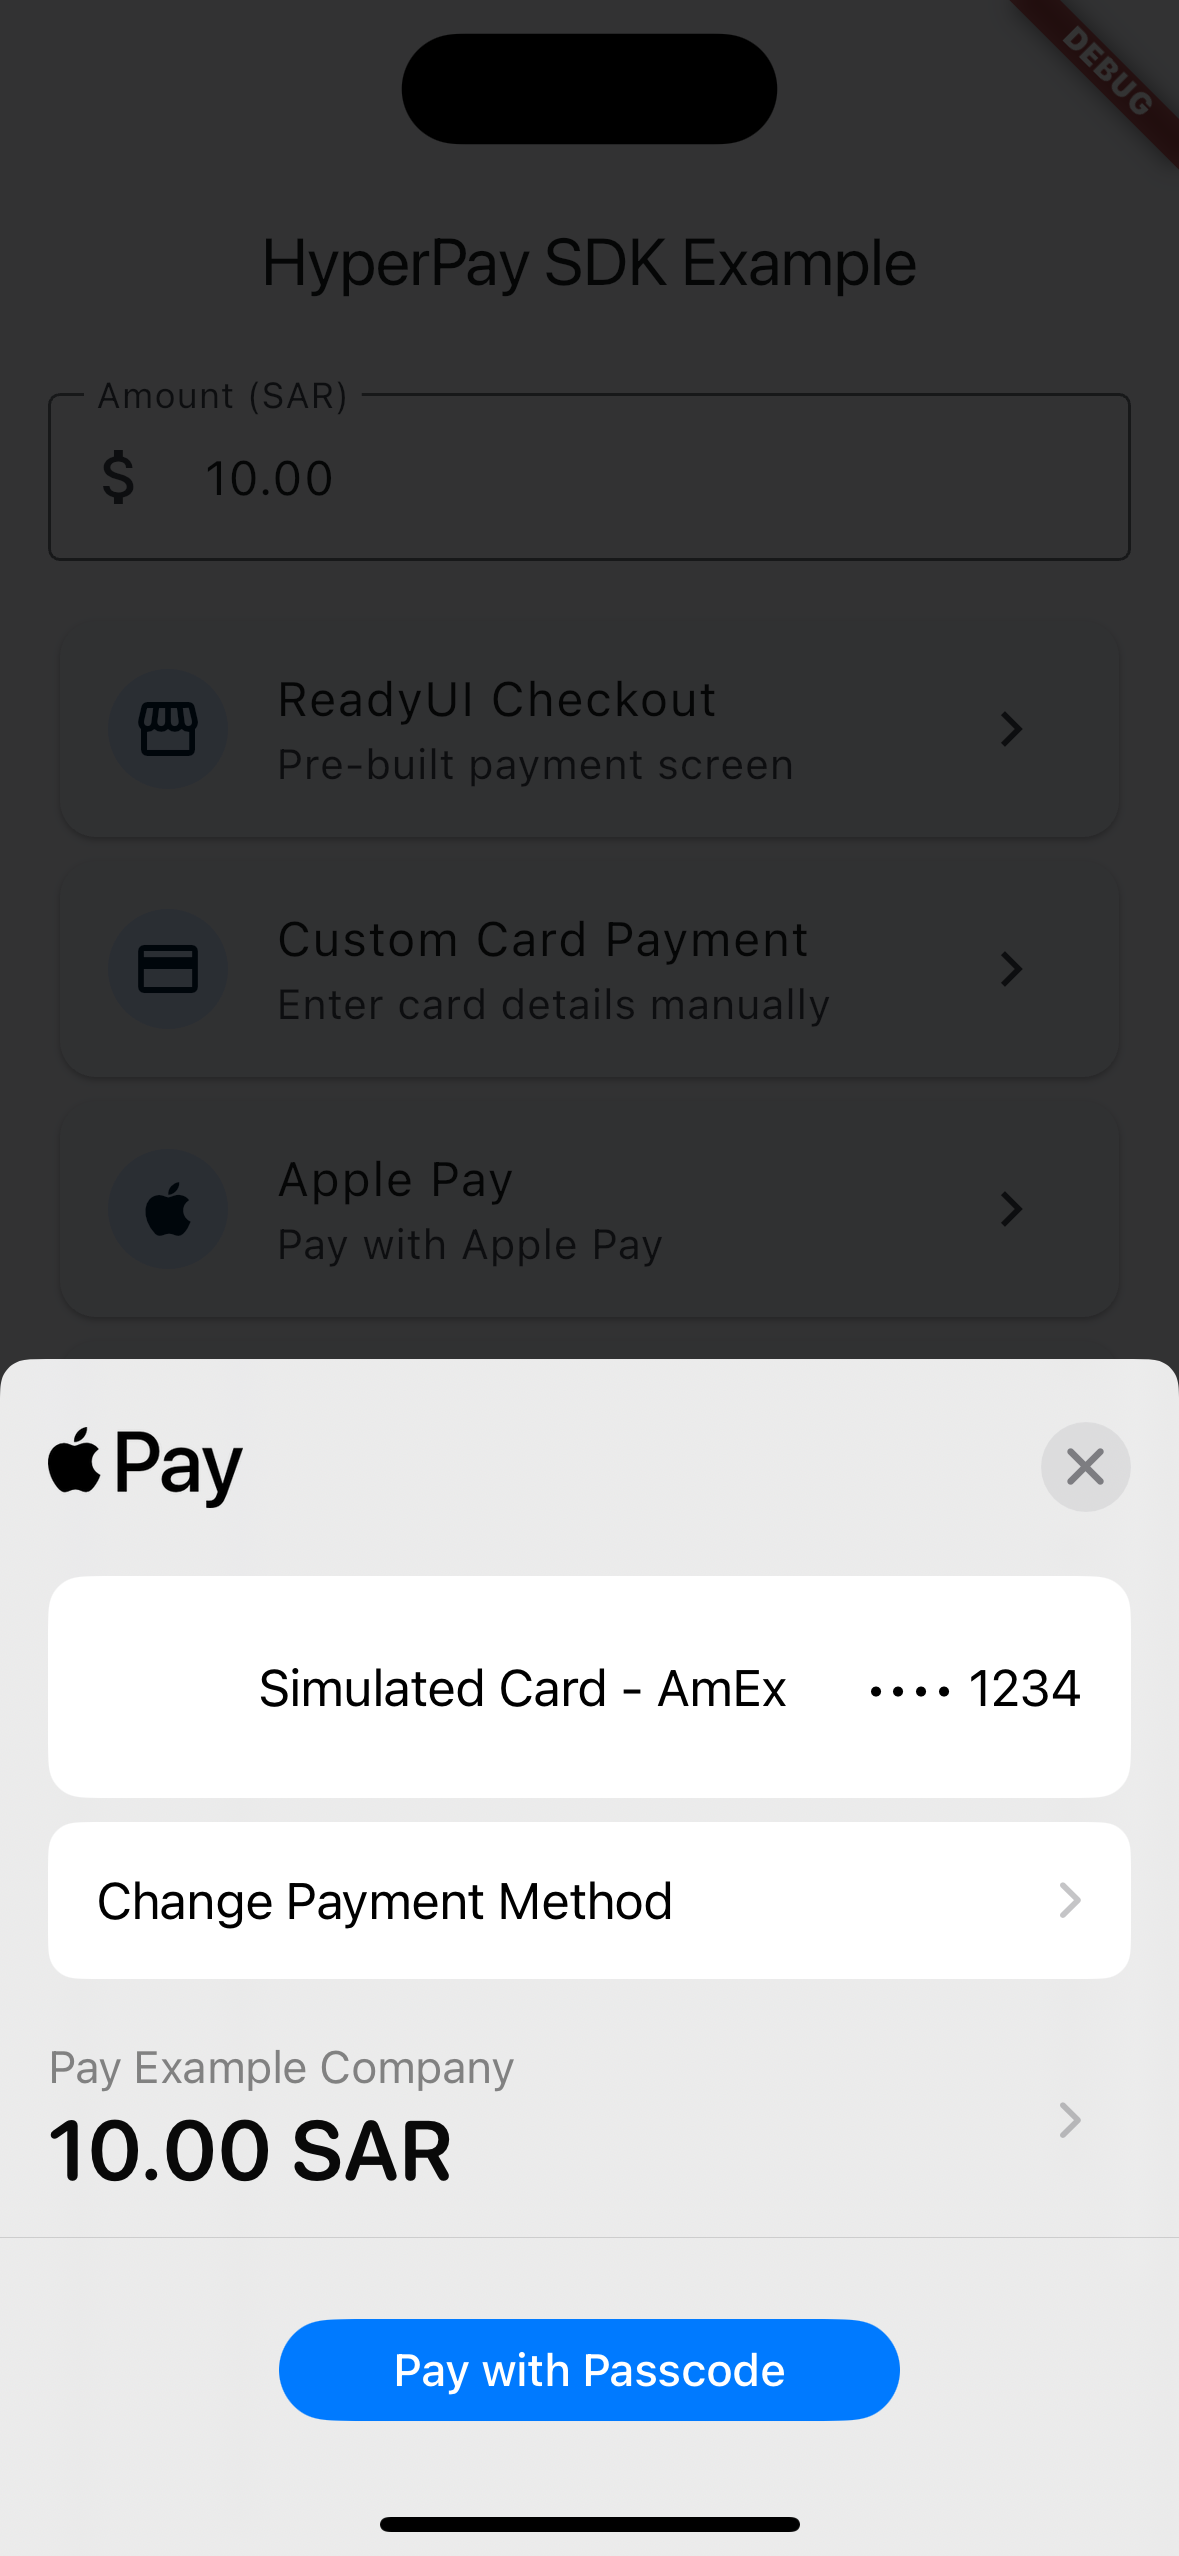
Screenshots
| Home | ReadyUI | Custom UI | Apple Pay | Saved Cards |
|---|---|---|---|---|
 |
 |
 |
 |
 |
Requirements
| Platform | Minimum Version |
|---|---|
| iOS | 13.0 |
| Android | API 24 (Android 7.0) |
| Flutter | 3.0+ |
| Dart | 3.0+ |
Getting Started
There are 2 steps to integrate HyperPay into your Flutter app:
- Install the plugin
- Configure your Android and iOS projects
Note: The native HyperPay OPPWA SDK binaries (AARs and XCFrameworks) are fetched automatically at build time via JitPack (Android) and CocoaPods (iOS). No manual binary placement is required.
Step 1 — Install the Plugin
flutter pub add hyperpay_sdk
Or add manually to your pubspec.yaml:
dependencies:
  hyperpay_sdk: ^1.0.4
Then run:
flutter pub get
Step 2 — Platform Setup
Android
1. Add JitPack repository in your project-level settings.gradle (inside dependencyResolutionManagement.repositories or pluginManagement.repositories):
maven { url 'https://jitpack.io' }
2. Set minimum SDK and Java version in android/app/build.gradle:
android {
    compileSdk 35

    compileOptions {
        sourceCompatibility JavaVersion.VERSION_17
        targetCompatibility JavaVersion.VERSION_17
    }

    kotlinOptions {
        jvmTarget = '17'
    }

    defaultConfig {
        minSdk 24
        targetSdk 35
    }
}
3. Configure the shopper result URL scheme in android/app/src/main/AndroidManifest.xml:
<activity android:name=".MainActivity"
    android:launchMode="singleTop"
    ...>

    <!-- HyperPay shopper result callback -->
    <intent-filter>
        <action android:name="android.intent.action.VIEW" />
        <category android:name="android.intent.category.DEFAULT" />
        <category android:name="android.intent.category.BROWSABLE" />
        <data android:scheme="com.your.app.payments" />
    </intent-filter>

    <!-- Main launcher (keep existing) -->
    <intent-filter>
        <action android:name="android.intent.action.MAIN" />
        <category android:name="android.intent.category.LAUNCHER" />
    </intent-filter>
</activity>
Important: The scheme must be lowercase only (e.g.
com.your.app.payments, notcom.your.App.Payments). This must match theshopperResultUrlparameter you pass to the SDK.
4. Google Pay (optional) — add inside <application> in your AndroidManifest.xml:
<meta-data
    android:name="com.google.android.gms.wallet.api.enabled"
    android:value="true" />
iOS
1. Set deployment target in ios/Podfile:
platform :ios, '13.0'
2. Configure static framework in ios/Podfile inside the target 'Runner' block:
target 'Runner' do
  use_frameworks!
  use_modular_headers!

  flutter_install_all_ios_pods File.dirname(File.realpath(__FILE__))

  # HyperPay SDK requires static framework
  $static_framework = ['hyperpay_sdk']

  pre_install do |installer|
    Pod::Installer::Xcode::TargetValidator.send(
      :define_method,
      :verify_no_static_framework_transitive_dependencies
    ) {}
    installer.pod_targets.each do |pod|
      if $static_framework.include?(pod.name)
        def pod.build_type
          Pod::BuildType.static_library
        end
      end
    end
  end
end
Then run:
cd ios && pod install
3. Configure URL scheme — add to ios/Runner/Info.plist:
<key>CFBundleURLTypes</key>
<array>
    <dict>
        <key>CFBundleTypeRole</key>
        <string>Editor</string>
        <key>CFBundleURLName</key>
        <string>com.your.app.payments</string>
        <key>CFBundleURLSchemes</key>
        <array>
            <string>com.your.app.payments</string>
        </array>
    </dict>
</array>
Or in Xcode: Target > Info > URL Types and add your scheme.
4. Apple Pay (optional) — enable the Apple Pay capability in Xcode and configure your merchant ID. See the full step-by-step guide: Apple Pay Merchant ID Setup.
Running the Example App
cd example
cp .env.example .env
Edit .env with your HyperPay credentials:
HYPERPAY_ENTITY_ID=your_entity_id_here
HYPERPAY_ACCESS_TOKEN=your_access_token_here
Then run:
flutter run
Usage
Initialize the SDK
import 'package:hyperpay_sdk/hyperpay_sdk.dart';

// Call once at app start
await HyperpaySdk.setup(mode: PaymentMode.test);
ReadyUI (Pre-built Checkout Screen)
The simplest way to accept payments. Launches a pre-built payment screen from the SDK.
final result = await HyperpaySdk.checkoutReadyUI(
  checkoutId: checkoutId,  // obtained from your server
  brands: ['VISA', 'MASTER', 'MADA'],
  shopperResultUrl: 'com.your.app.payments',
  // Optional: Google Pay (Android only)
  googlePayConfig: GooglePayConfig(
    gatewayMerchantId: 'your-merchant-id',
    merchantName: 'Your Company',
    countryCode: 'SA',
    totalPrice: 100.0,
    currencyCode: 'SAR',
  ),
  // Optional: Apple Pay (iOS only)
  applePayConfig: ApplePayConfig(
    merchantId: 'merchant.com.your.app',
    countryCode: 'SA',
    currencyCode: 'SAR',
    amount: 100.0,
    companyName: 'Your Company',
  ),
);

if (result.isSuccess) {
  // Verify payment on your server using result.resourcePath
  print('Resource path: ${result.resourcePath}');
} else if (result.isCanceled) {
  print('Payment canceled');
} else {
  print('Error: ${result.errorCode} - ${result.errorMessage}');
}
CustomUI (Your Own Payment Form)
Build your own payment form and submit card details directly.
final result = await HyperpaySdk.payCustomUI(
  checkoutId: checkoutId,  // obtained from your server
  brand: 'VISA',
  cardNumber: '4111111111111111',
  holder: 'John Doe',
  expiryMonth: '12',
  expiryYear: '2025',
  cvv: '123',
  shopperResultUrl: 'com.your.app.payments',
  tokenize: true,  // save card for future payments
);

if (result.isSuccess) {
  if (result.transactionType == 'async') {
    // Redirect-based payment (3DS, bank redirect) — wait for callback
    print('Async payment, redirecting...');
  } else {
    // Synchronous payment — verify on server
    print('Resource path: ${result.resourcePath}');
  }
}
Apple Pay (iOS only)
Requires Merchant ID setup in Apple Developer portal. See Apple Pay Merchant ID Setup for the full guide.
final result = await HyperpaySdk.payApplePay(
  checkoutId: checkoutId,
  merchantId: 'merchant.com.your.app',
  countryCode: 'SA',
  currencyCode: 'SAR',
  amount: 100.0,
  companyName: 'Your Company',
);
Check Payment Status
final info = await HyperpaySdk.getPaymentStatus(
  checkoutId: checkoutId,
  resourcePath: result.resourcePath,
);
print('Status: ${info.status}');
Important: Always verify the final payment status on your backend server using the HyperPay server-to-server API. Never rely solely on the client-side result.
Production Integration
In production, never store your HyperPay access token in the client app. The example app calls the HyperPay API directly for convenience, but a real app should use a backend:
┌─────────┐         ┌──────────┐         ┌──────────────┐
│  App    │──(1)──▶│  Your    │──(2)──▶│  HyperPay    │
│ (Flutter)│◀──(3)──│  Server  │◀──(4)──│  API         │
│         │         │          │         │              │
│  SDK ───(5)────────────────────────▶│  Payment     │
│         │◀──(6)──────────────────────│  Gateway     │
│         │──(7)──▶│  Verify  │──(8)──▶│              │
└─────────┘         └──────────┘         └──────────────┘
- App requests a checkout from your server (amount, currency, etc.)
- Your server calls
POST https://oppwa.com/v1/checkoutswith your credentials - Your server returns the
checkoutIdto the app - (HyperPay responds to your server)
- App passes
checkoutIdtoHyperpaySdk.checkoutReadyUI(...)orpayCustomUI(...) - SDK handles the payment flow and returns a
PaymentResult - App sends
resourcePathto your server for verification - Your server calls HyperPay's server-to-server API to confirm the payment
// In your app — get checkoutId from YOUR backend, not HyperPay directly
final checkoutId = await yourApi.createCheckout(amount: 100.0, currency: 'SAR');

final result = await HyperpaySdk.checkoutReadyUI(
  checkoutId: checkoutId,
  brands: ['VISA', 'MASTER', 'MADA'],
  shopperResultUrl: 'com.your.app.payments',
);

if (result.isSuccess) {
  // Verify on your server
  await yourApi.verifyPayment(resourcePath: result.resourcePath!);
}
See the HyperPay documentation for full API details.
API Reference
HyperpaySdk
| Method | Description |
|---|---|
setup(mode:) |
Initialize the SDK. Call once before any payment. |
checkoutReadyUI(...) |
Launch the pre-built checkout UI. Returns PaymentResult. |
payCustomUI(...) |
Submit a card payment from your own form. Returns PaymentResult. |
payApplePay(...) |
Submit an Apple Pay payment (iOS only). Returns PaymentResult. |
getPaymentStatus(...) |
Get checkout info for verification. Returns CheckoutInfo. |
PaymentResult
| Field | Type | Description |
|---|---|---|
isSuccess |
bool |
Whether the payment was successful |
isCanceled |
bool |
Whether the user canceled |
resourcePath |
String? |
Resource path for server-side verification |
errorCode |
String? |
Error code from the SDK |
errorMessage |
String? |
Human-readable error message |
transactionType |
String? |
"sync" or "async" |
CheckoutInfo
| Field | Type | Description |
|---|---|---|
status |
String? |
Payment status (e.g. "CHARGED") |
paymentBrand |
String? |
Brand used (e.g. "VISA") |
rawResponse |
Map? |
Raw SDK response data |
PaymentMode
| Value | Description |
|---|---|
test |
Sandbox environment |
live |
Production environment |
Supported Payment Brands
| Brand | ReadyUI | CustomUI | Notes |
|---|---|---|---|
VISA |
Yes | Yes | |
MASTER |
Yes | Yes | |
MADA |
Yes | Yes | Saudi Arabia debit network |
STC_PAY |
Yes | No | |
APPLEPAY |
Yes (via config) | Via payApplePay |
iOS only |
GOOGLEPAY |
Yes (via config) | N/A | Android only |
Customizing UI Colors
The ReadyUI checkout screen can be themed to match your app's branding.
iOS
Pass the themeColor parameter to checkoutReadyUI. This tints the navigation bar, buttons, and controls:
final result = await HyperpaySdk.checkoutReadyUI(
  checkoutId: checkoutId,
  brands: ['VISA', 'MASTER', 'MADA'],
  shopperResultUrl: 'com.your.app.payments',
  themeColor: const Color(0xFF6200EE).toARGB32(), // your brand color
);
Android
The themeColor parameter has no effect on Android. Instead, override the SDK's theme in your android/app/src/main/res/values/styles.xml:
<!-- Override the HyperPay checkout theme -->
<style name="OpwaTheme" parent="Theme.MaterialComponents.Light">
    <item name="colorPrimary">@color/your_primary</item>
    <item name="colorPrimaryDark">@color/your_primary_dark</item>
    <item name="colorAccent">@color/your_accent</item>
</style>
CustomUI
With CustomUI you build the payment form yourself, so you have full control over colors using Flutter's ThemeData.
Troubleshooting
Android: ClassNotFoundException or missing SDK classes
Ensure JitPack is added to your repositories (maven { url 'https://jitpack.io' }). Run flutter clean && flutter pub get and rebuild.
iOS: Framework not found
- Run
cd ios && pod install --repo-update - Clean build:
flutter clean && flutter pub get
iOS Simulator: 3DS crashes
The deploy (release) 3DS framework doesn't include simulator slices. Simulator testing may require the debug 3DS framework.
Async payments not returning
Ensure the URL scheme is correctly configured in both your native project and matches the shopperResultUrl parameter exactly (lowercase, no special characters).
Google Pay not showing
- Add the wallet meta-data to
AndroidManifest.xml - Ensure
play-services-walletdependency is present - Google Pay requires a real device (not emulator) in most cases
Support
If this package saved you time, consider buying me a coffee:

Contributing
Contributions are welcome! Please open an issue or submit a pull request on GitHub.
License
MIT License. See LICENSE for details.