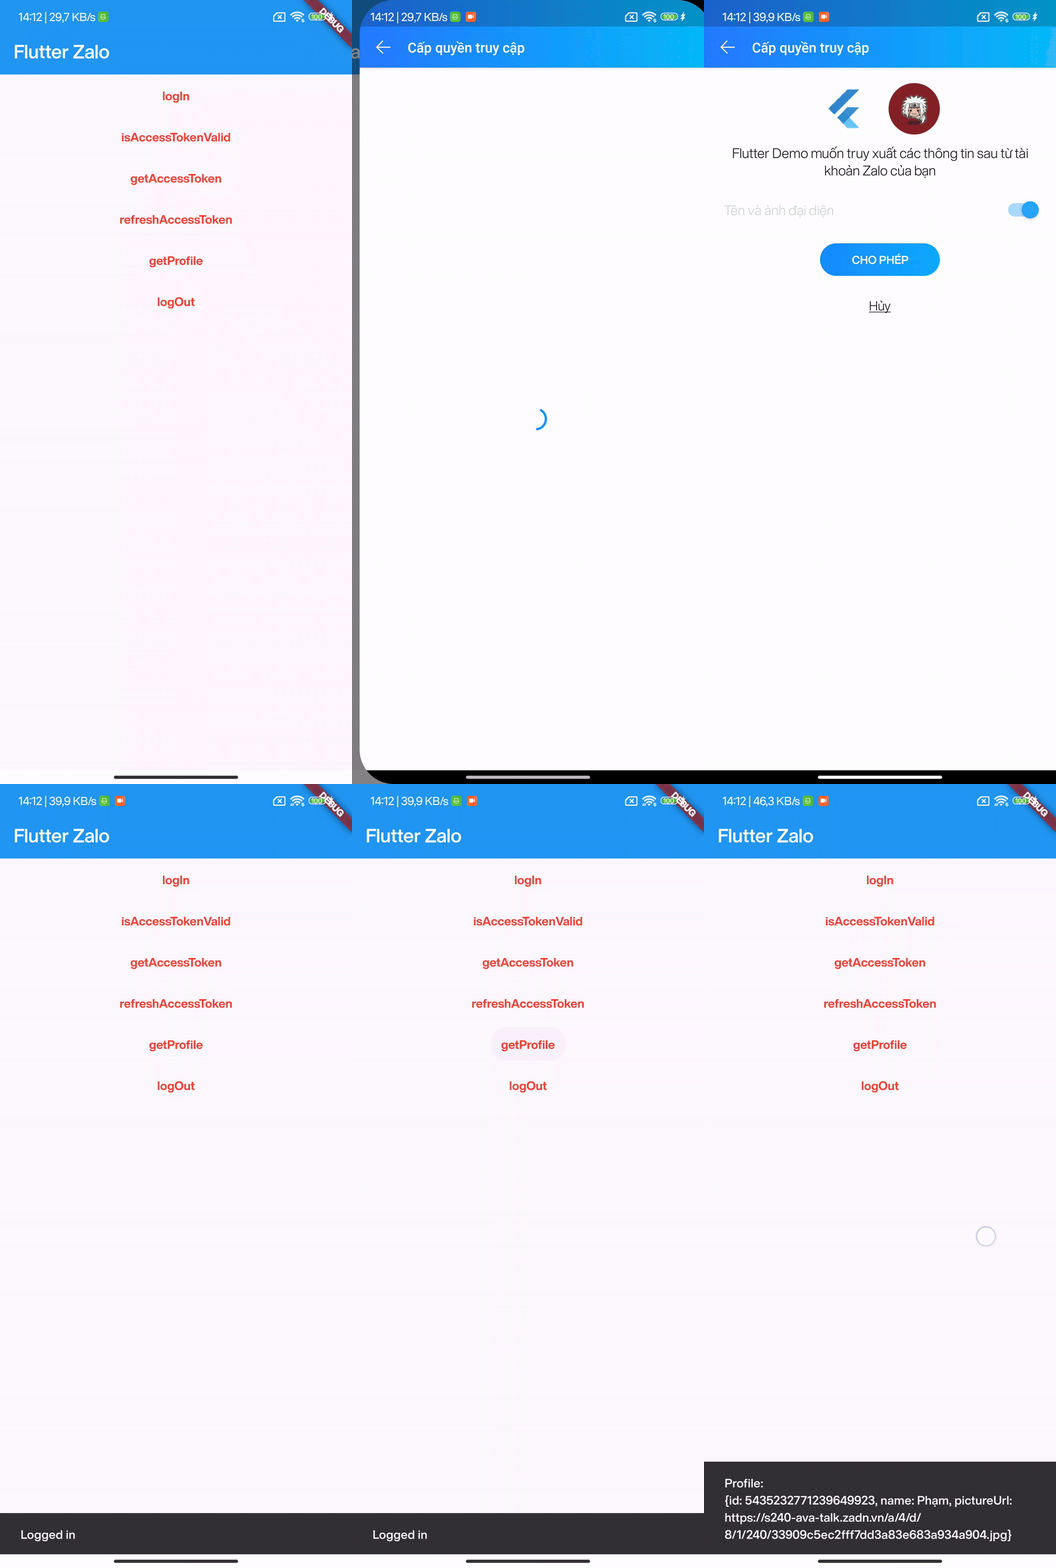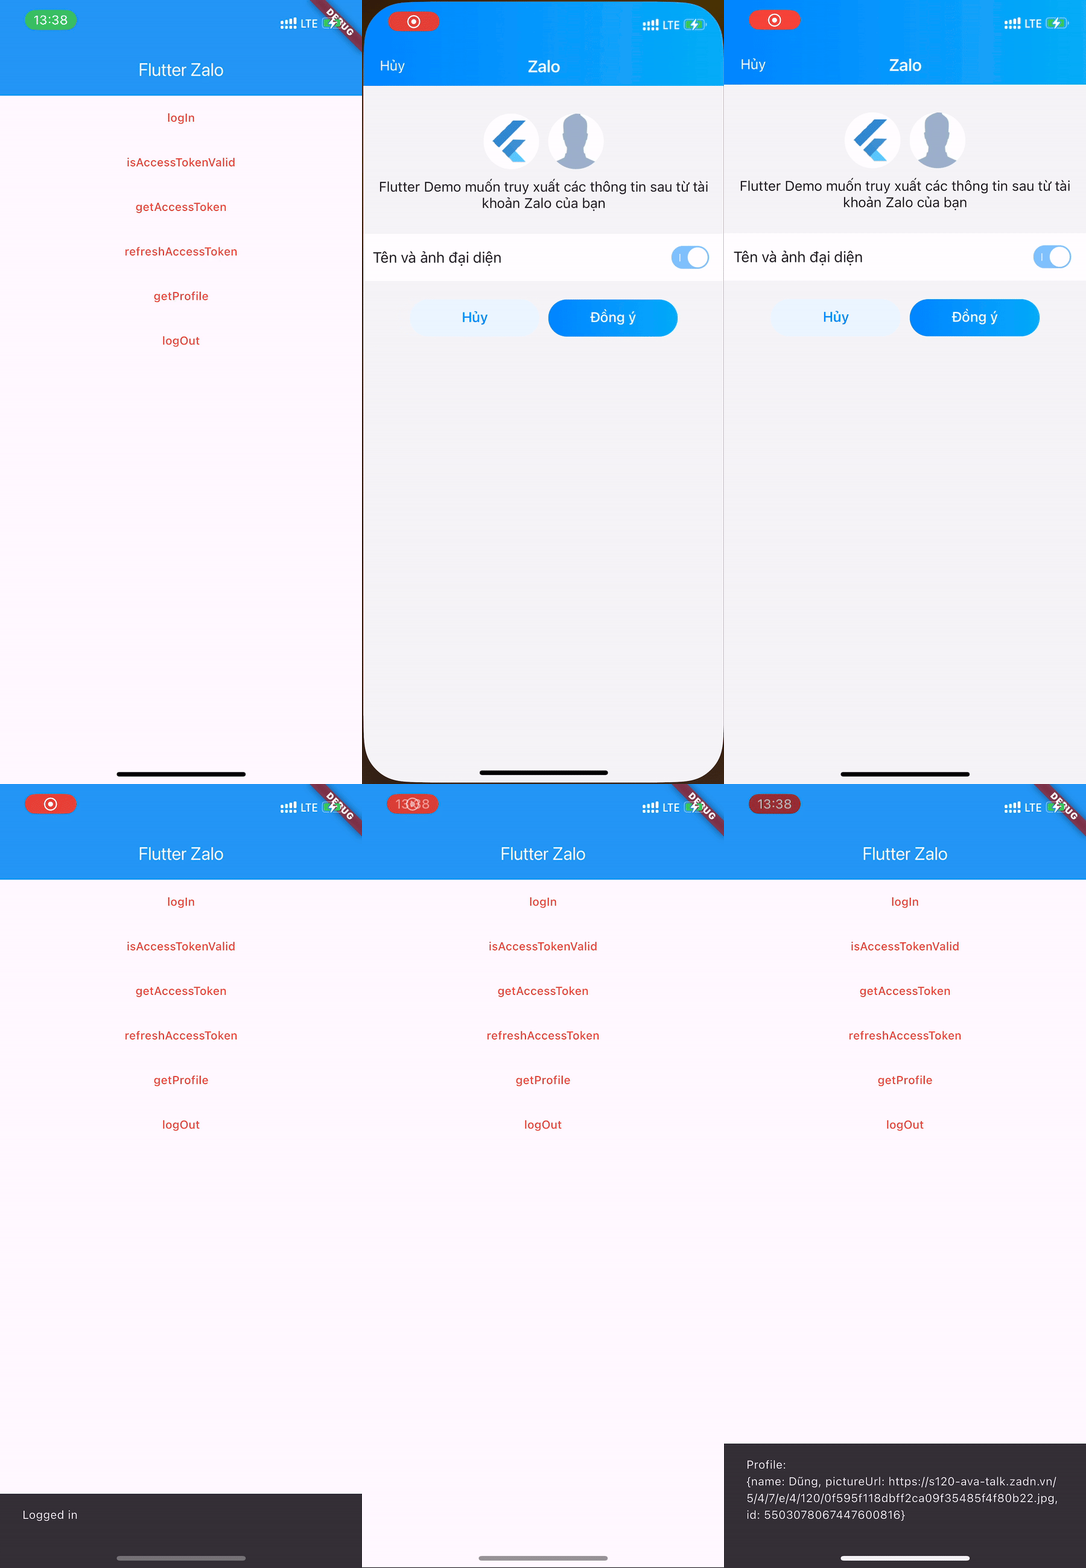
 Flutter Zalo

This package is only compatible with Zalo SDK V4. Documentation can be found here.


1. Installation
Run this command:
flutter pub add flutter_zalo
2. Setup
2.1 Create an application
Go to this page: https://developers.zalo.me and create account/new app
2.2 Setup for Android
To make this plugin working we need to have there key:
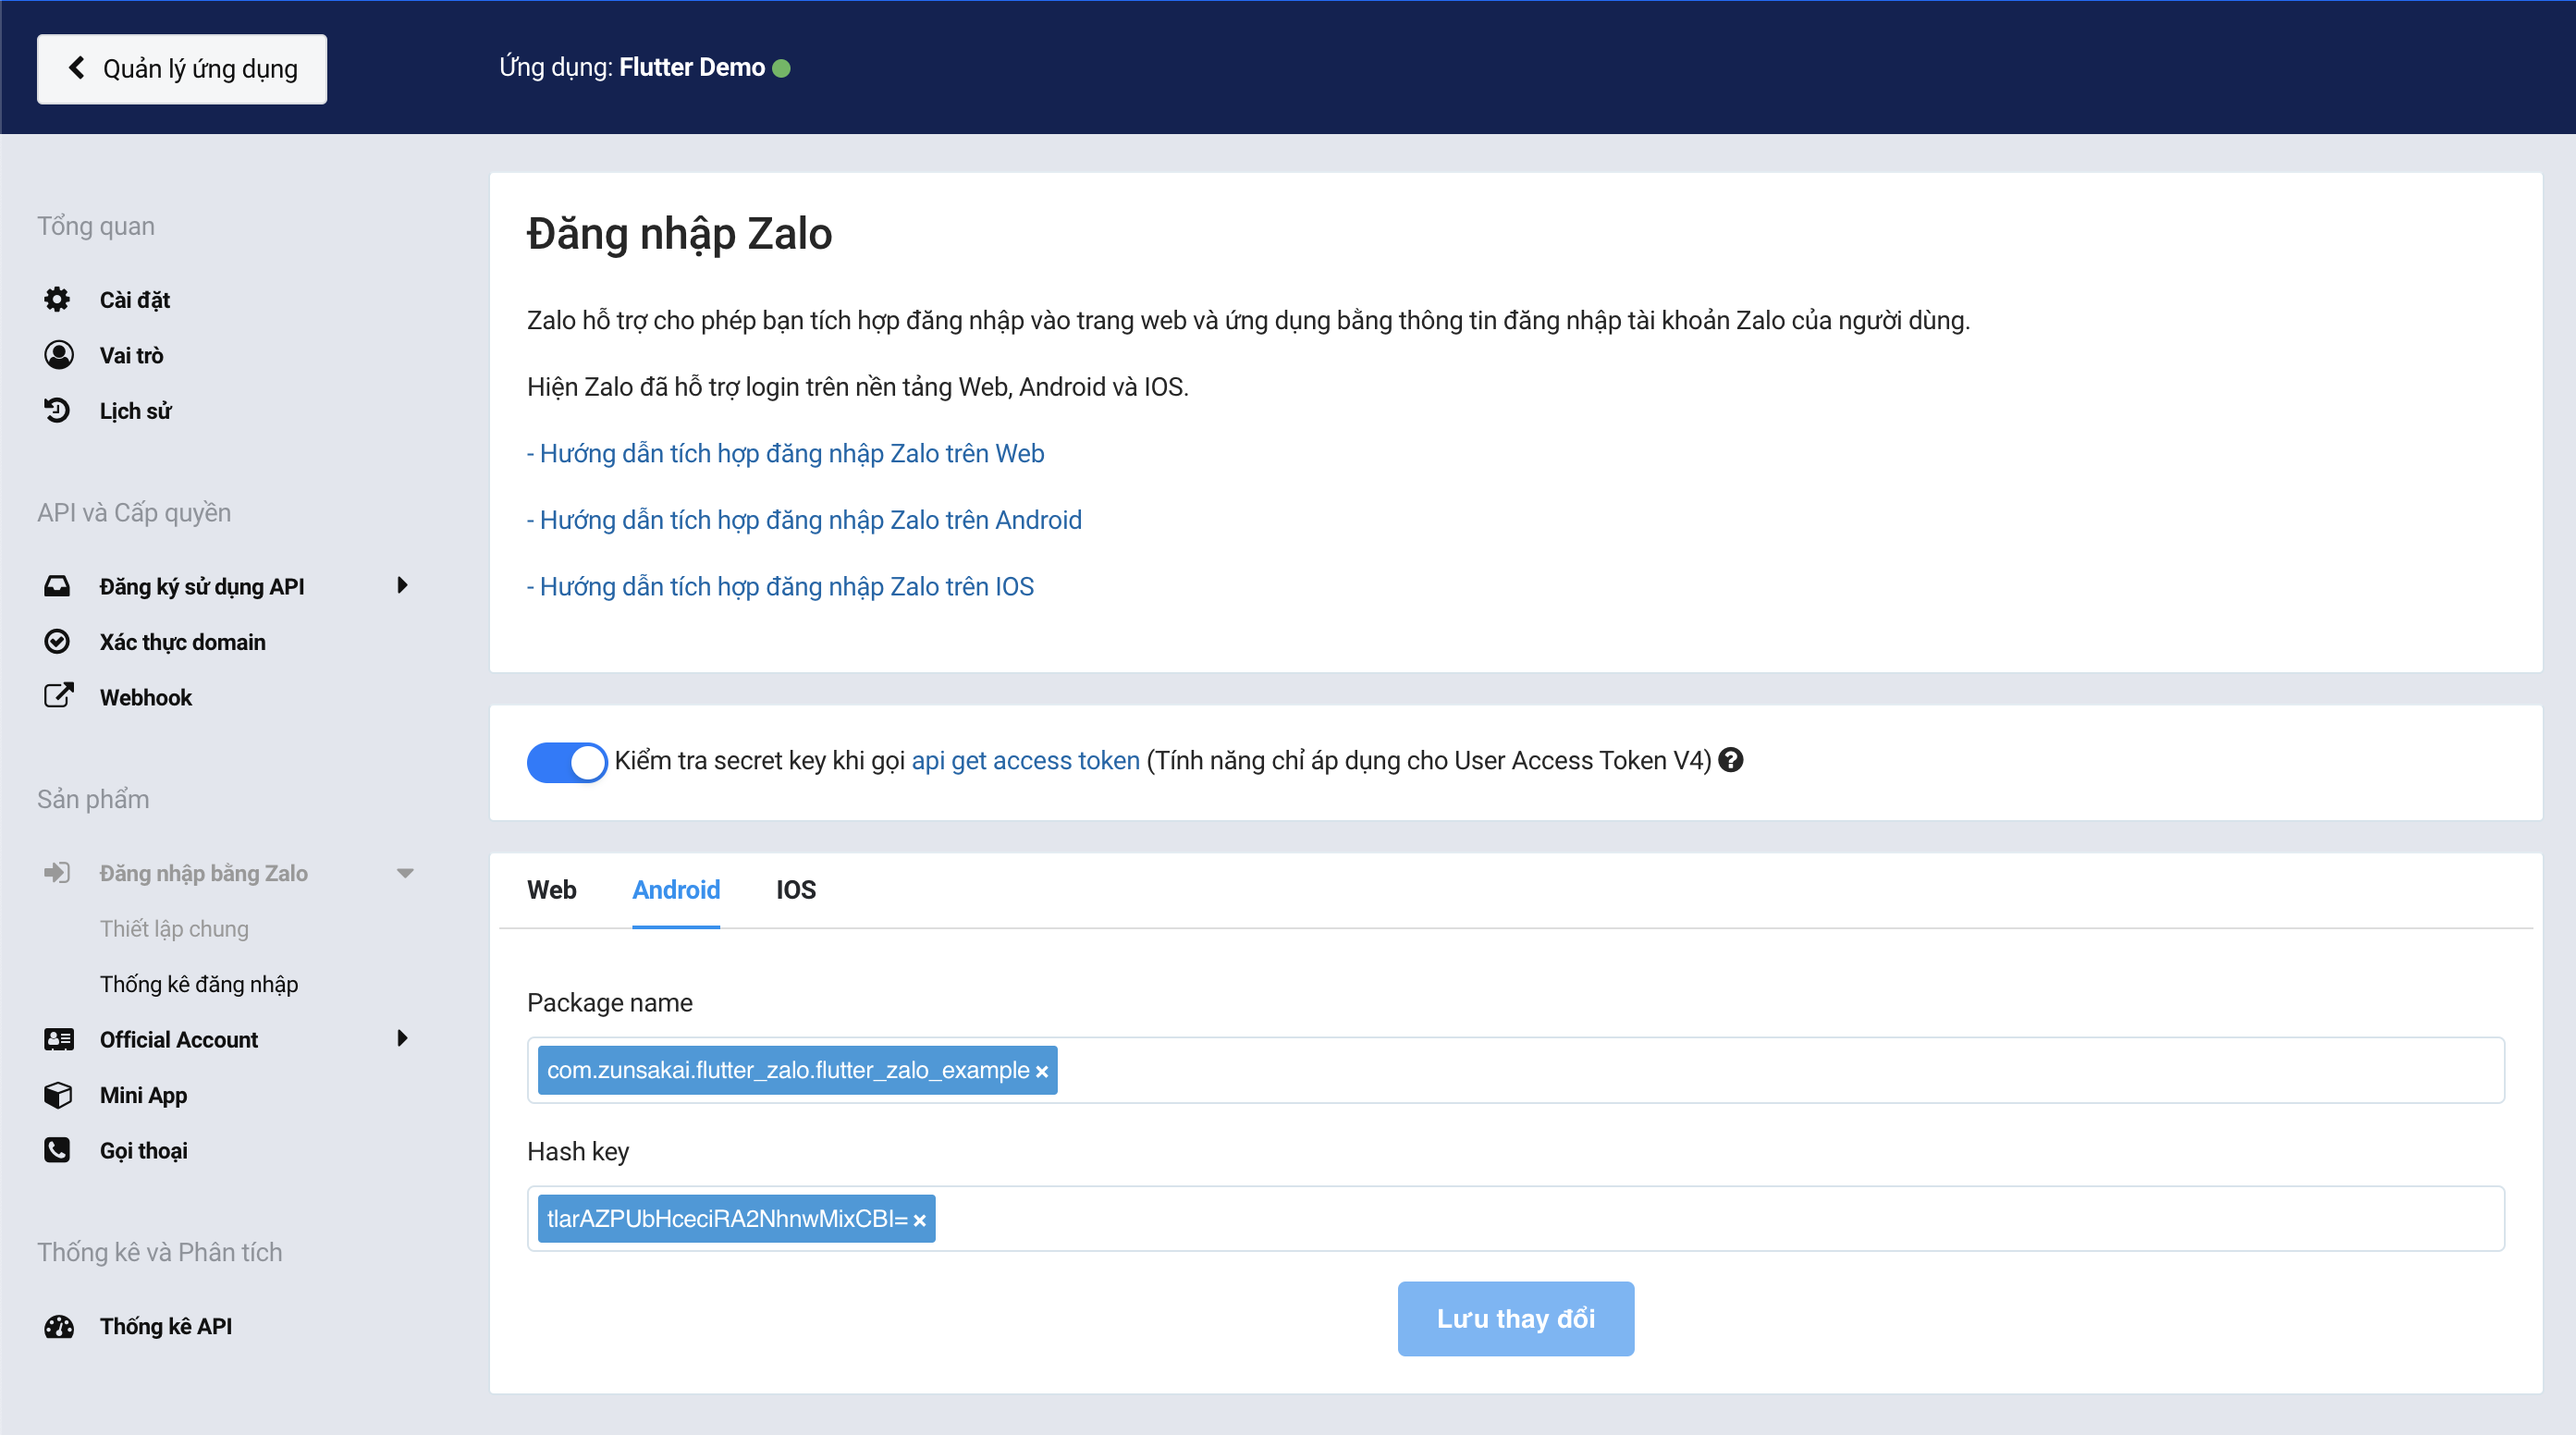
APP ID(Tổng quan > Cài đặt > Thông tin ứng dụng > ID ứng dụng)Android Hash Key:- On DEBUG mode: To get the hash key, you can launch the application for the first time and call the
initfunction. See the example, you will see it in the console log.V/FlutterZaloPlugin( 3701): --------------------------------------------------------------------------- V/FlutterZaloPlugin( 3701): | Please add this Hash Key to Zalo developers dashboard for Login | V/FlutterZaloPlugin( 3701): | Hash Key: tlarAZPUbHceciRA2NhnwMixCBI= | V/FlutterZaloPlugin( 3701): --------------------------------------------------------------------------- - On PRODUCTION mode: Use keytool for generate hash key
keytool -exportcert -alias YOUR_KEY_ALIAS -keystore /path/to/your/keystore/my-release-key.keystore | openssl sha1 -binary | openssl base64
- On DEBUG mode: To get the hash key, you can launch the application for the first time and call the
Config your Package name and Hash key on Zalo dashboard:

2.2.1 Modify AndroidManifest.xml
Open android/app/src/main/AndroidManifest.xml. Replace ${applicationName} to .MainApplication and add meta-data tag.
From:
<manifest xmlns:android="http://schemas.android.com/apk/res/android">
    <application
        ...
        android:name="${applicationName}"
        ...>
        <activity
            ...
        </activity>
        ...
    </application>
    ...
</manifest>
To:
<manifest xmlns:android="http://schemas.android.com/apk/res/android">
    <application
        ...
        android:name=".MainApplication"
        ...>
        <activity
            ...
        </activity>
        ...

        <!-- Zalo SDK -->
        <meta-data
                android:name="com.zing.zalo.zalosdk.appID"
                android:value="@string/appID" />
    </application>
    ...
</manifest>
2.2.2 Create a new file strings.xml
Create a new file android/app/src/main/res/values/strings.xml and add the following code, replace [YOUR-APP-ID] with your App ID above.
<?xml version="1.0" encoding="utf-8"?>
<resources>
    <string name="appID" translatable="false">[YOUR-APP-ID]</string>
</resources>
2.2.3 Modify MainActivity
Open android/app/src/main/kotlin/[YOUR-PACKAGE]/MainActivity.kt and add the following code.
From:
package your.package.name

import io.flutter.embedding.android.FlutterActivity

class MainActivity: FlutterActivity()
To:
package your.package.name

import android.content.Intent
import io.flutter.embedding.android.FlutterActivity
import com.zing.zalo.zalosdk.oauth.ZaloSDK

class MainActivity : FlutterActivity() {
    override fun onActivityResult(requestCode: Int, resultCode: Int, data: Intent?) {
        super.onActivityResult(requestCode, resultCode, data)
        ZaloSDK.Instance.onActivityResult(this, requestCode, resultCode, data)
    }
}
2.2.4 Create a new file MainApplication.kt
Create a new file android/app/src/main/kotlin/[YOUR-PACKAGE]/MainApplication.kt and add the following code.
package your.package.name

import android.app.Application
import com.zing.zalo.zalosdk.oauth.ZaloSDKApplication

class MainApplication : Application() {
    override fun onCreate() {
        super.onCreate()
        ZaloSDKApplication.wrap(this);
    }
}
If you already have a MainApplication.kt file, you can add the following code to the onCreate method.
ZaloSDKApplication.wrap(this);
2.3 Setup for iOS
To make this plugin working we need to have there key:
APP ID(Tổng quan > Cài đặt > Thông tin ứng dụng > ID ứng dụng)
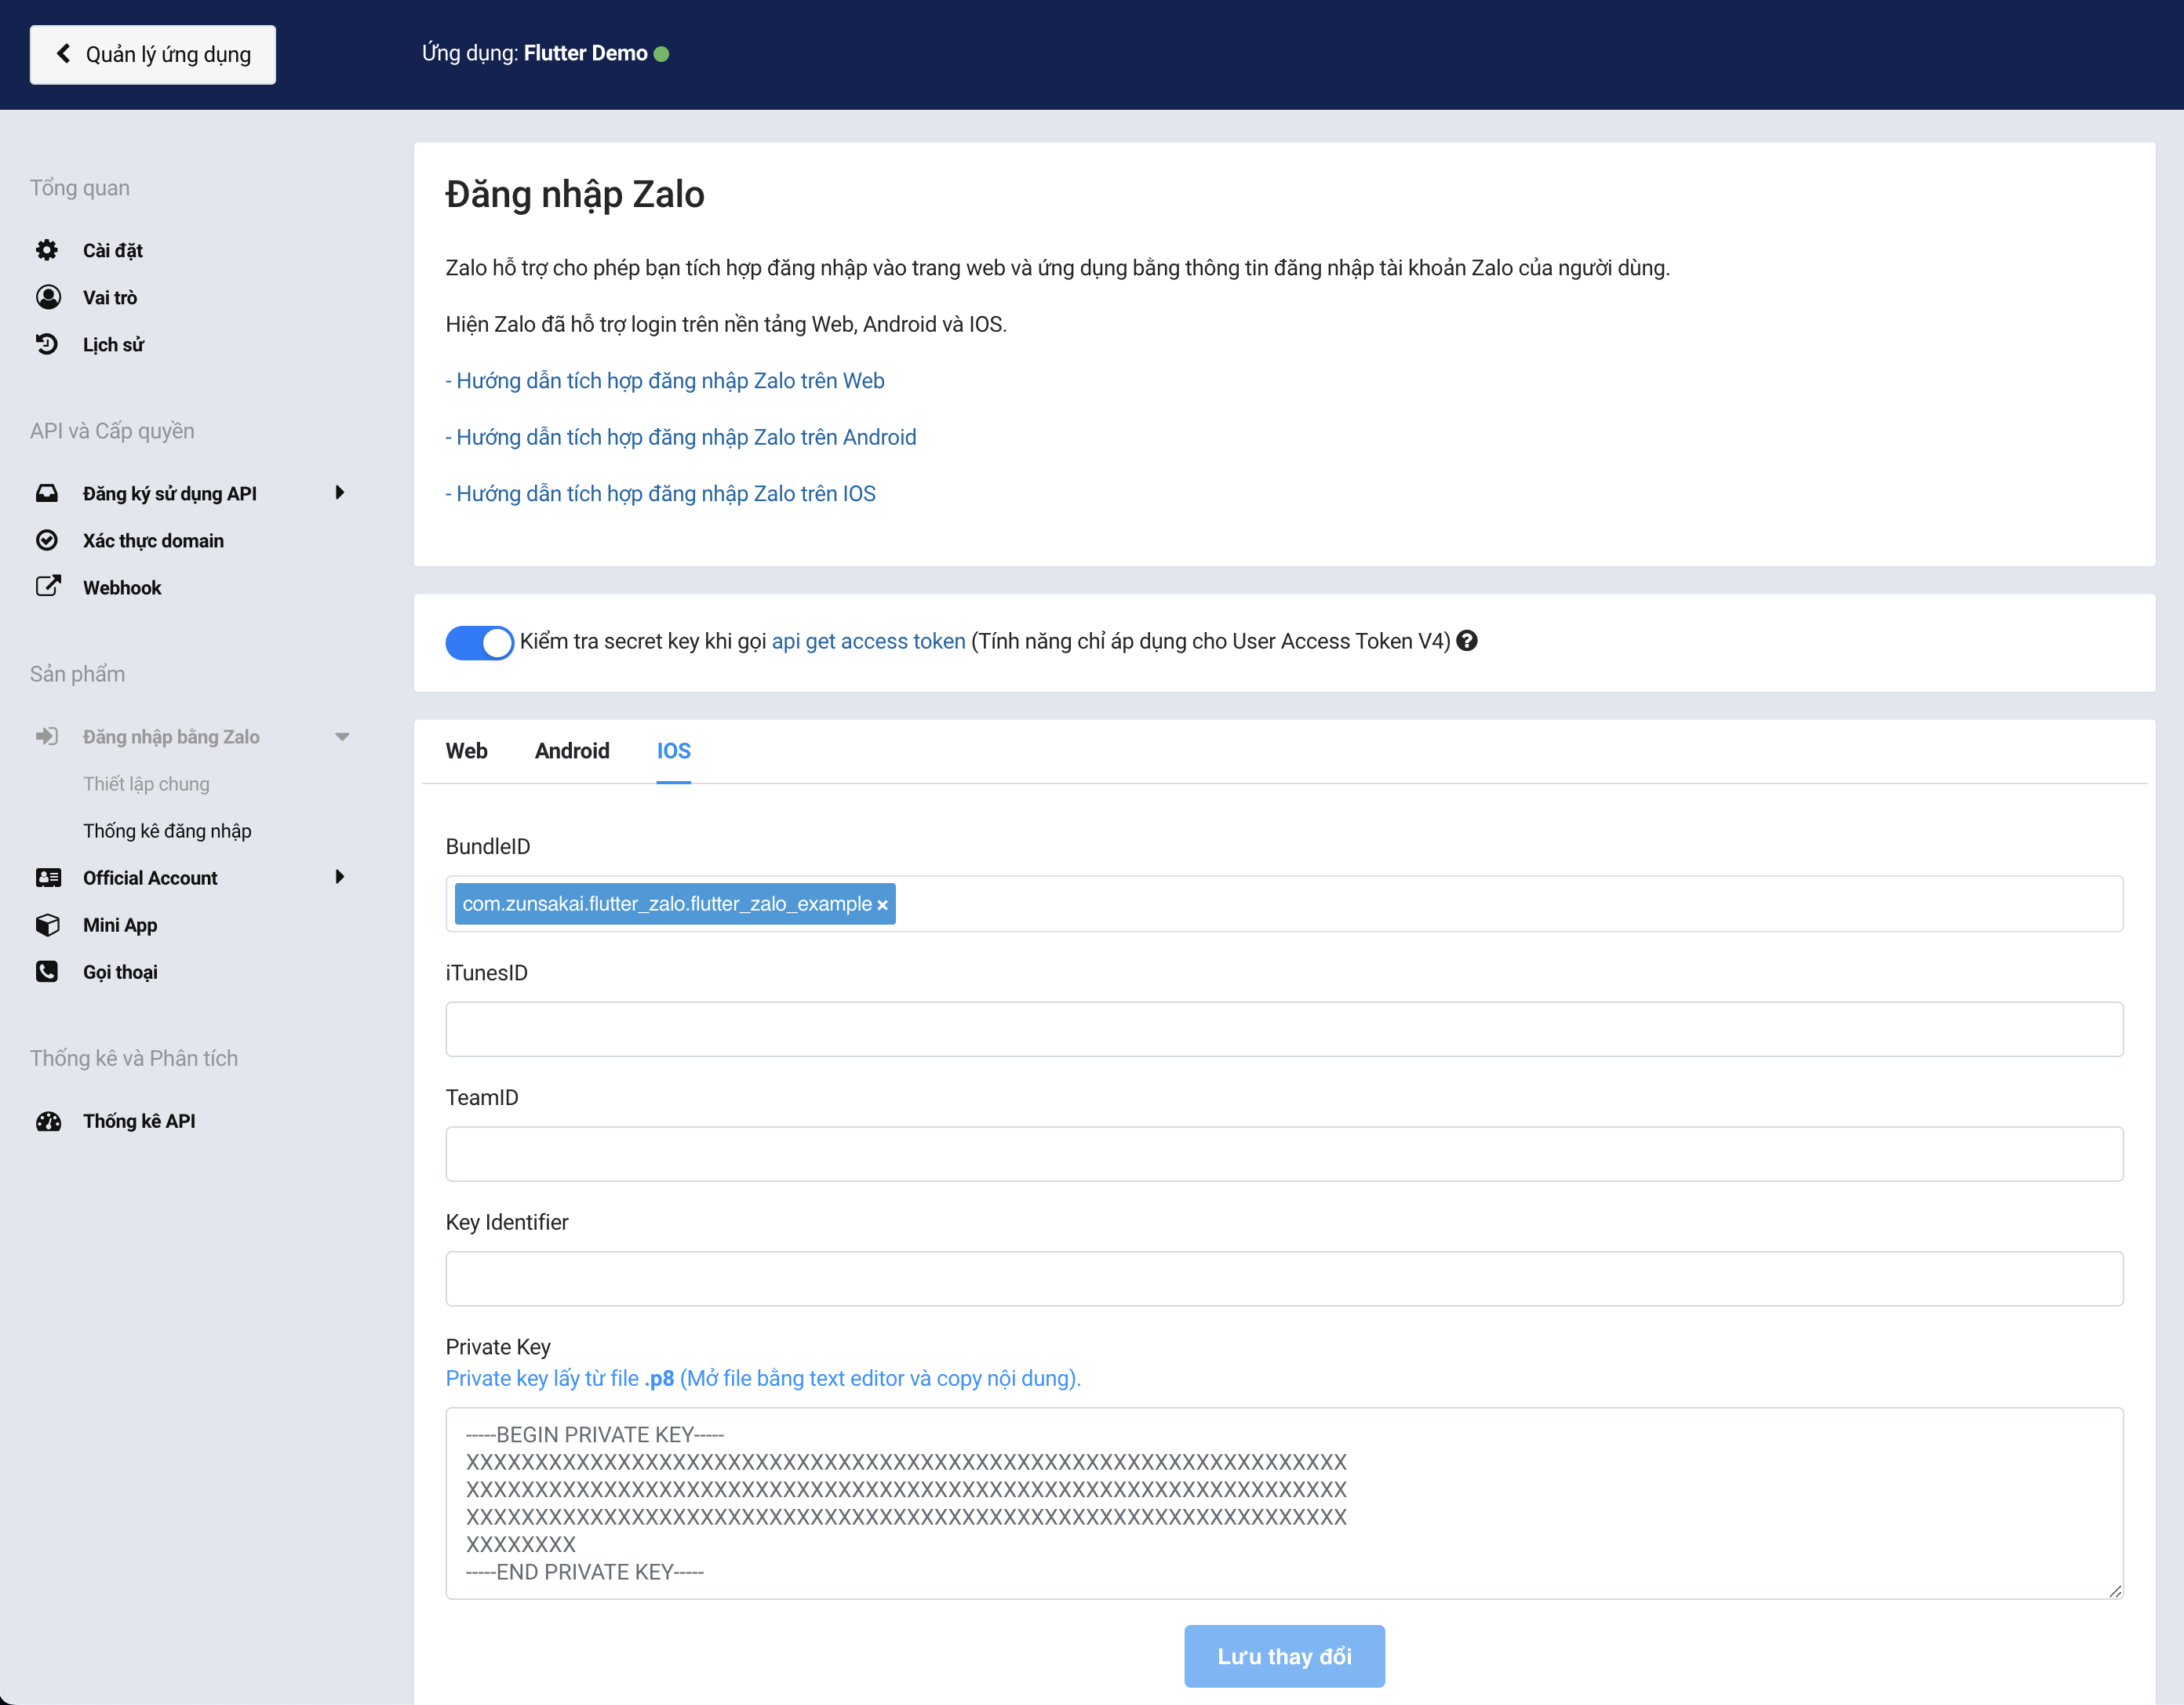
Config your BundleIDy on Zalo dashboard:

2.3.1 Modify Info.plist
Open /ios/Runner/Info.plist and add the following code, replace [YOUR-APP-ID] with your App ID above.
    <key>CFBundleURLTypes</key>
    <array>
        <dict>
            <key>CFBundleTypeRole</key>
            <string>Editor</string>
            <key>CFBundleURLName</key>
            <string>zalo</string>
            <key>CFBundleURLSchemes</key>
            <array>
                <string>zalo-[YOUR-APP-ID]</string>
            </array>
        </dict>
    </array>
    <key>ZaloAppID</key>
    <string>[YOUR-APP-ID]</string>
    <key>LSApplicationQueriesSchemes</key>
    <array>
        <string>zalosdk</string>
        <string>zaloshareext</string>
    </array>
2.3.2 Modify AppDelegate.swift
Open ios/Runner/AppDelegate.swift and add the following code.
From:
import UIKit
import Flutter

@main
@objc class AppDelegate: FlutterAppDelegate {
  override func application(
    _ application: UIApplication,
    didFinishLaunchingWithOptions launchOptions: [UIApplication.LaunchOptionsKey: Any]?
  ) -> Bool {
    GeneratedPluginRegistrant.register(with: self)
    return super.application(application, didFinishLaunchingWithOptions: launchOptions)
  }
}
To
import Flutter
import UIKit
import ZaloSDK

@main
@objc class AppDelegate: FlutterAppDelegate {
    override func application(
        _ application: UIApplication,
        didFinishLaunchingWithOptions launchOptions: [UIApplication.LaunchOptionsKey: Any]?
    ) -> Bool {
        GeneratedPluginRegistrant.register(with: self)
        return super.application(application, didFinishLaunchingWithOptions: launchOptions)
    }

    override func application(
        _ app: UIApplication,
        open url: URL,
        options: [UIApplication.OpenURLOptionsKey : Any] = [:]) -> Bool {
        /// 0b. Receive callback from zalo
        return ZDKApplicationDelegate.sharedInstance().application(app, open: url, options: options)
    }
}
3. Usage
Import the package
import 'package:flutter_zalo/flutter_zalo.dart';
3.1 Login with Zalo
Open Zalo app to login, if Zalo app is not installed, it will open Zalo webview to login.
void logIn() {
  FlutterZalo().logIn();
}
Get access token
void getAccessToken() async {
  String? accessToken = await FlutterZalo().getAccessToken();
}
Refresh access token
void refreshAccessToken() async {
  bool? isRefreshed = await FlutterZalo().refreshAccessToken();
}
Get profile
void getProfile() async {
  Map<String, dynamic>? profile = await FlutterZalo().getProfile();
  // {id: 2415874209616155291, name: Bob, pictureUrl: https://s240-ava-talk.zadn.vn/a/4/d/8/1/240/33909c5ec2fff7dd3a83e683a934a904.jpg}
}